In 1975 my mom bought a brand new 1974 Triumph Spitfire, a small two-seat British sports car, and drove it for many years. In 2015, with the car having been off the road for many years, I initially set out to get it running again. My ambitions quickly grew as I decided to refurbish the car and get it into a better state than when it was new, if possible.
When I started this project, I had no real knowledge of the detailed mechanics of how cars worked. I used a few workshop manuals in conjunction with a tremendous online community at the Triumph Experience to come to comprehend every component. Some of the highlights were:
- Rebuilding the engine
- Rebuilding the gearbox
- Rebuilding the differential
- Designing a modern wiring harness to replace the “prince of darkness” design of Lucas
- Designing a custom circuit to provide daytime-running-light capability
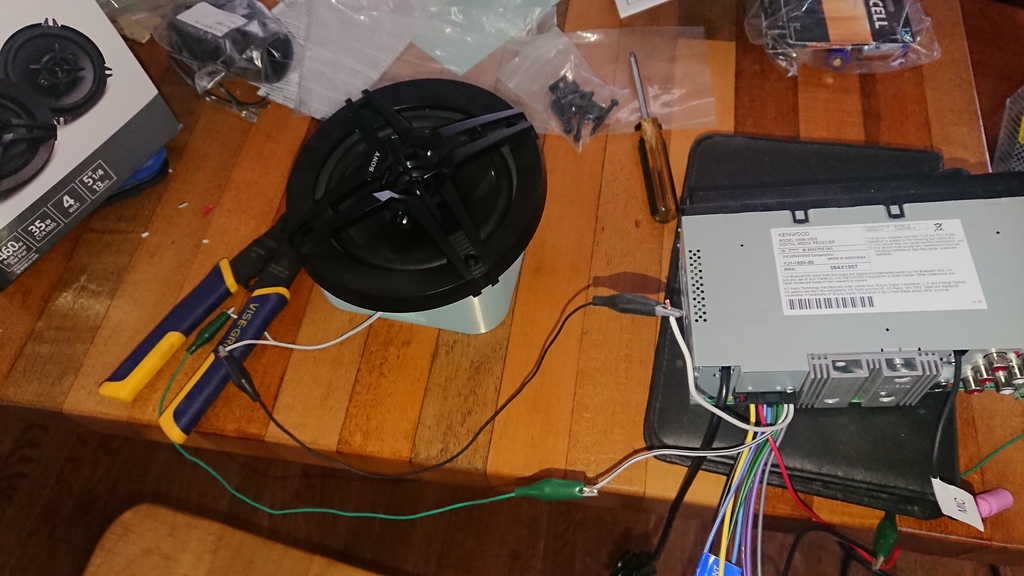
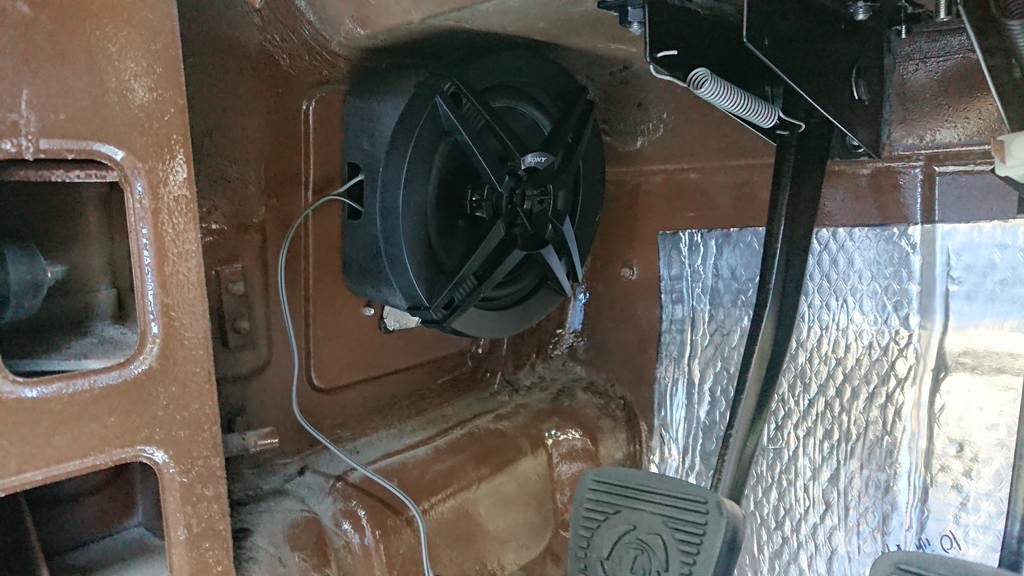
- Learning CAD and 3D printing to make radio and speaker enclosures
There were a few things I had professional help with:
- The body work and paint - Classic Vision
- Engine machining
- Final alignment
- Exhaust system fitting
This project would turn out to be monumental and play out over the course of several years. Working on this taught me a lot about project management - especially in regard to managing dependencies, time, and costs. A lot hinged around getting the bodywork and paint done, which would also be the largest external expense. This created the general allotment of work: have the frame painted, progress through the drivetrain, have the body on the refurbished frame painted, and then do everything else.
Thankfully there were many projects that were largely independent of one another and could progress in parallel as I waited on parts to arrive (sometimes from England) or worked through unexpected issues. I generally kept myself to working on two or three tasks at most to keep from spinning too many plates.
I had to remain persistent throughout the project - it is easy to embark on something difficult and give up at the first (or Nth) problem. What kept me going was the combination of physical and mental effort, the continuous learning, and a strong desire to achieve my goal of reaching a better state than where I started. The sunk cost didn’t hurt, either!
This page contains a small sample of the work that went into this project.
The Before and After
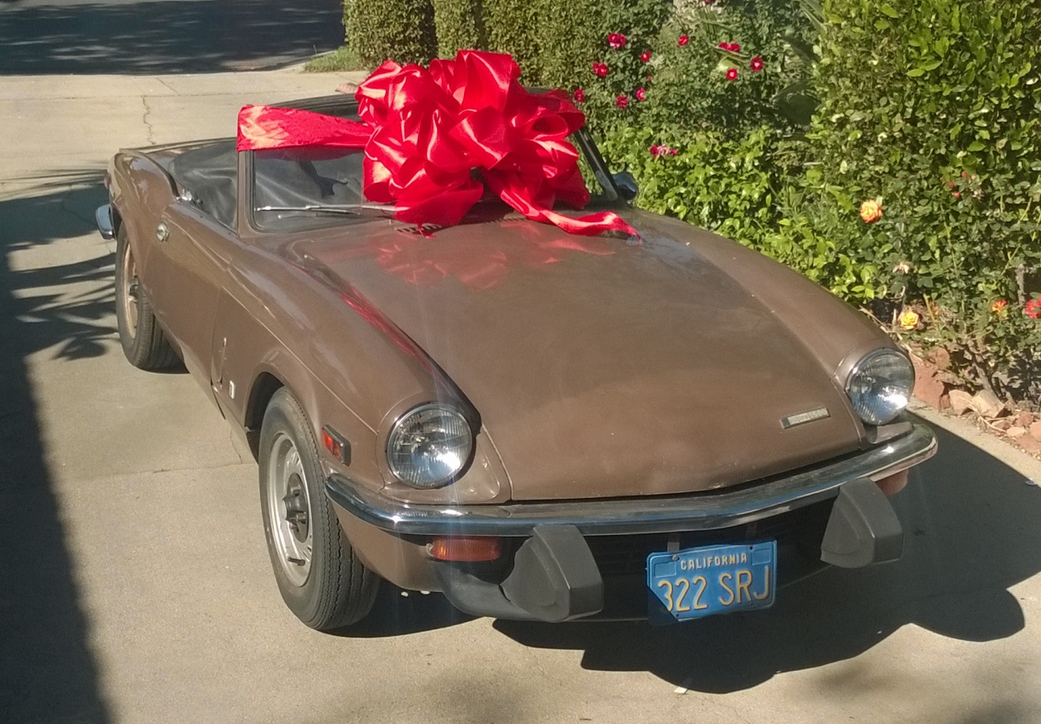
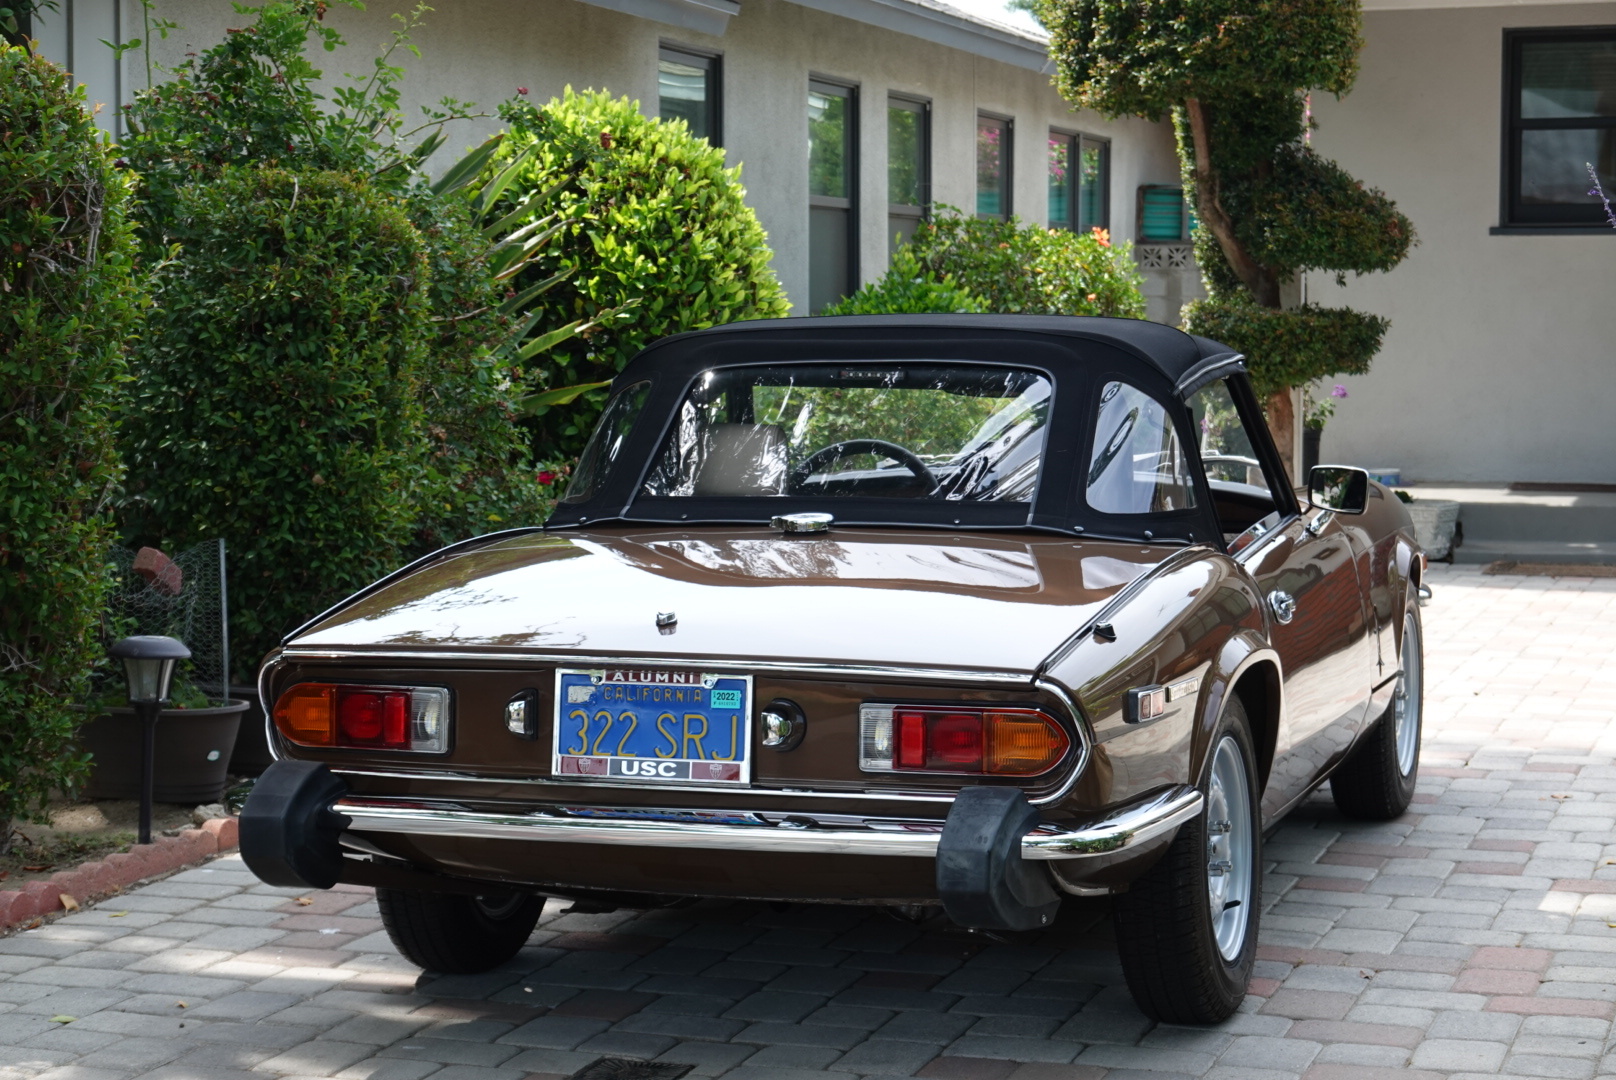
Here’s how the car looked when it was new:
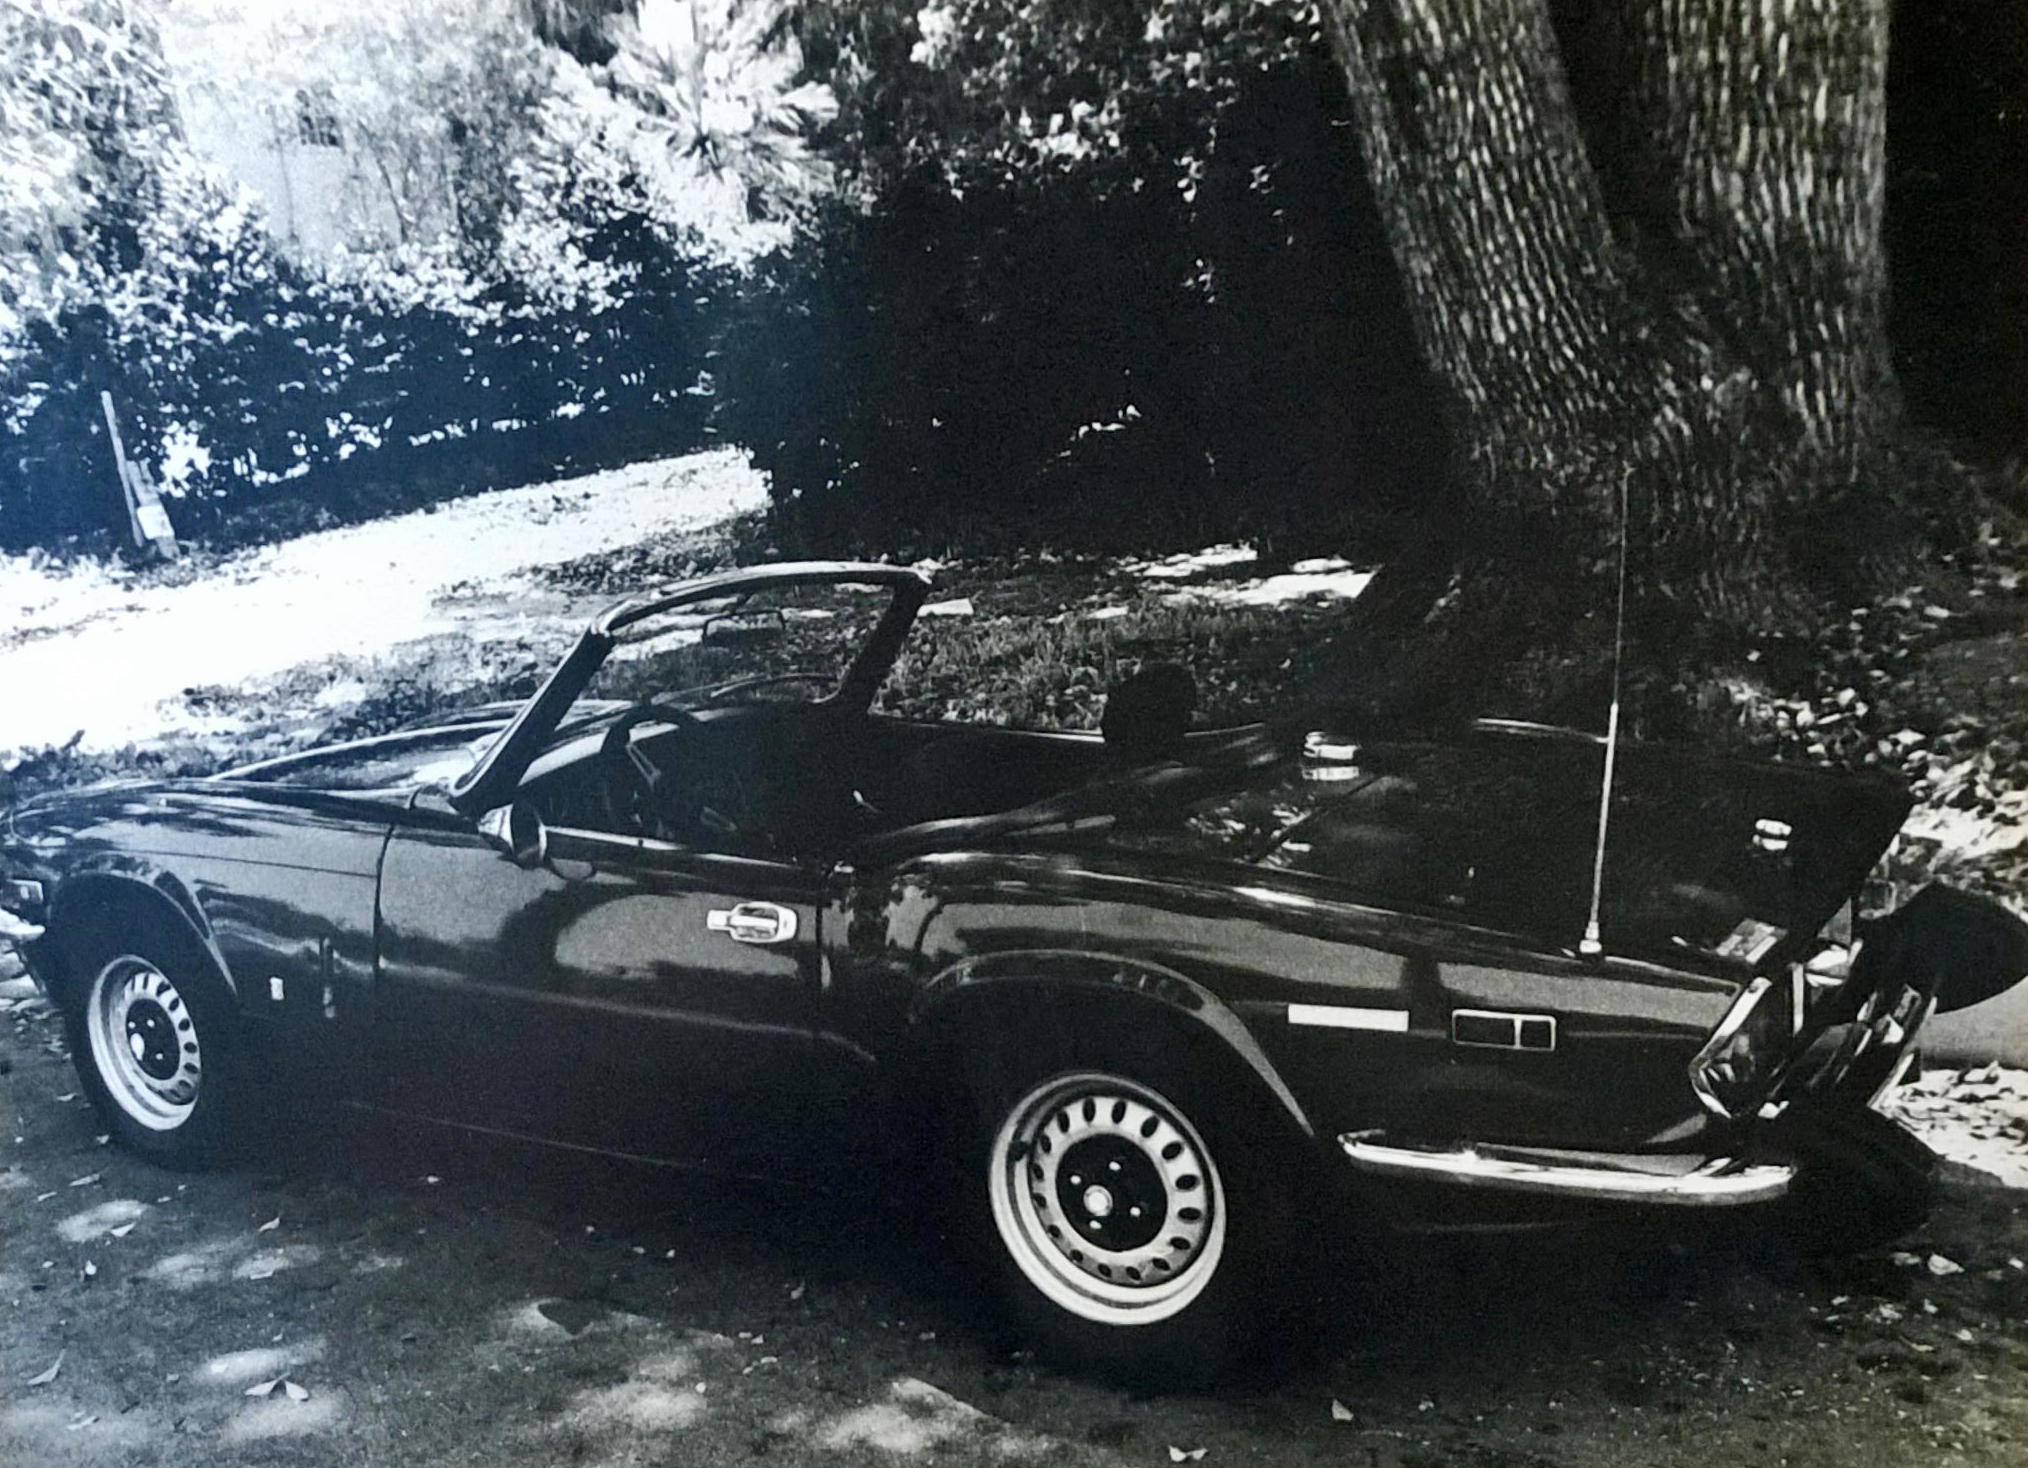
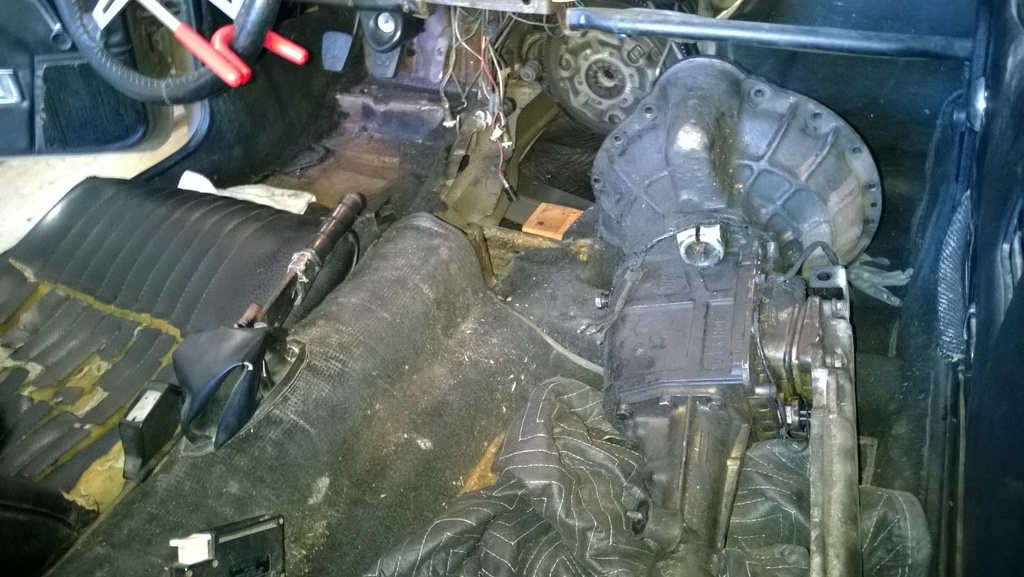
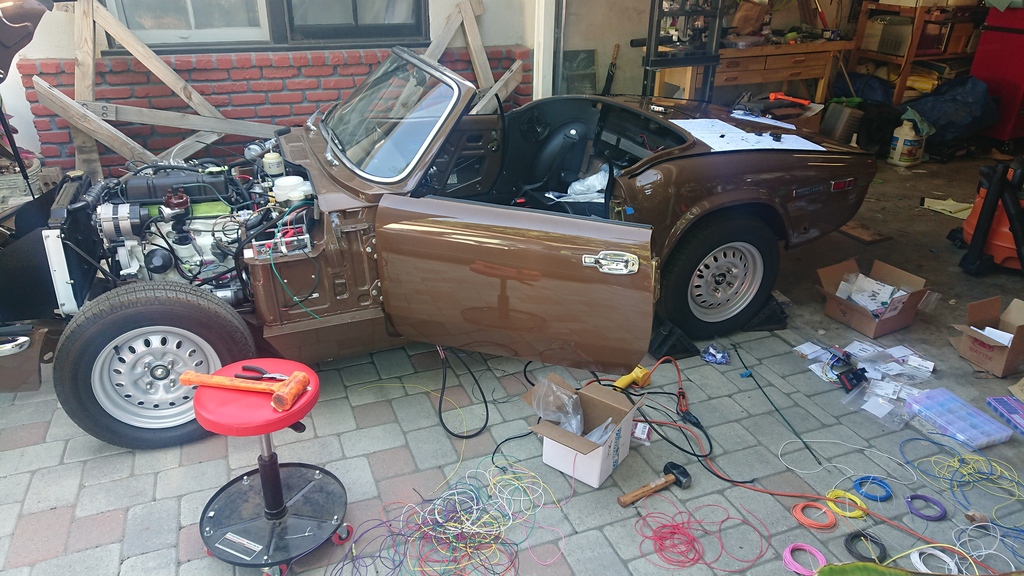
And how things looked when I got started - not that bad from the surface, right? The inside would tell a very different story. A gift, or a curse?
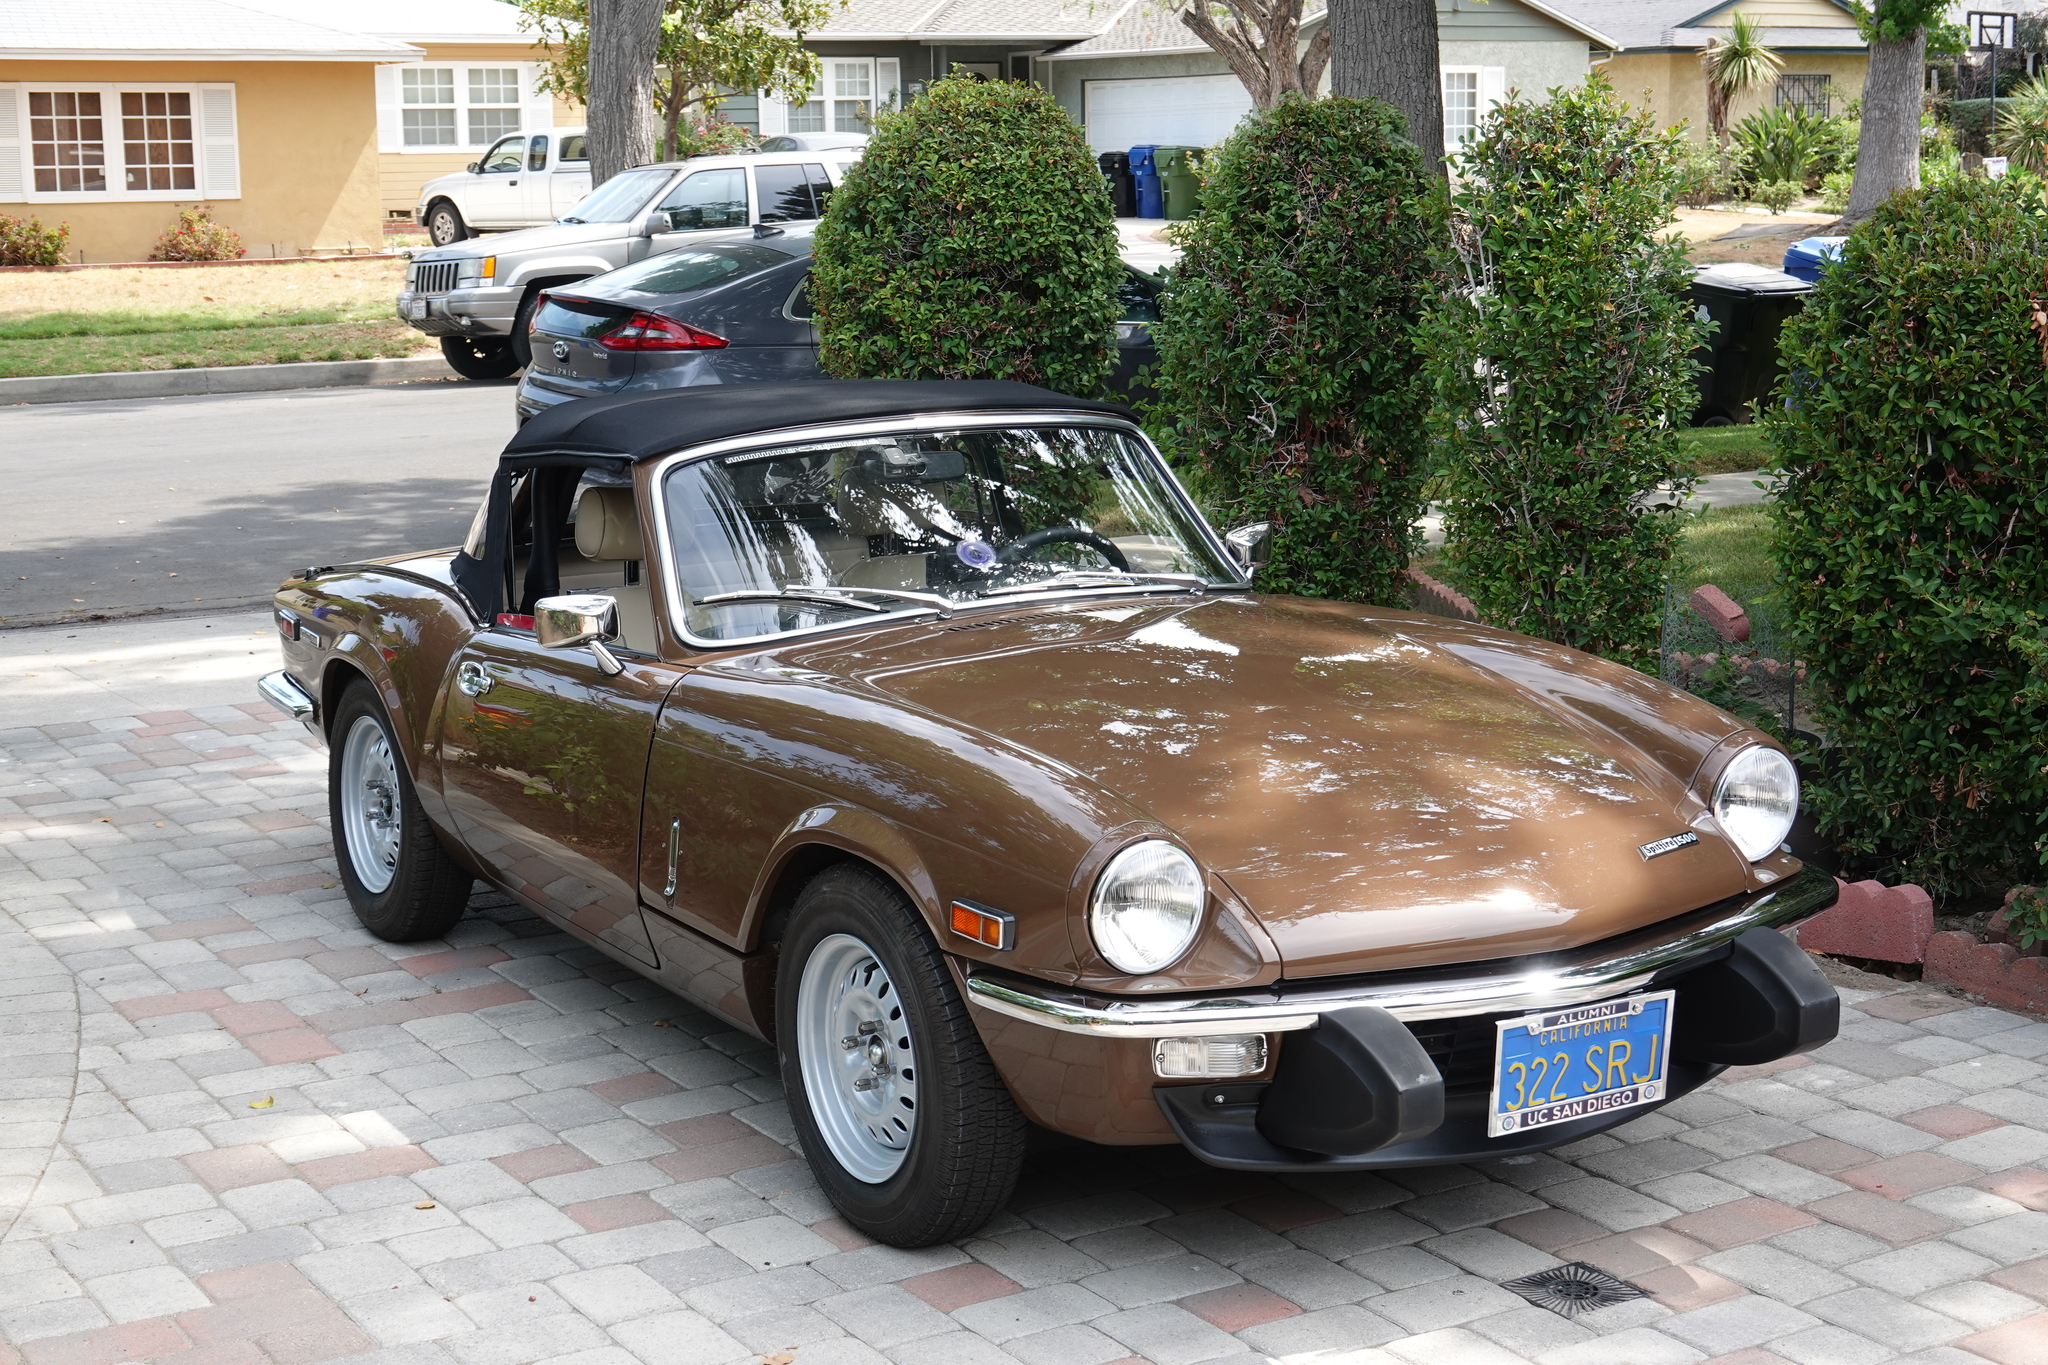
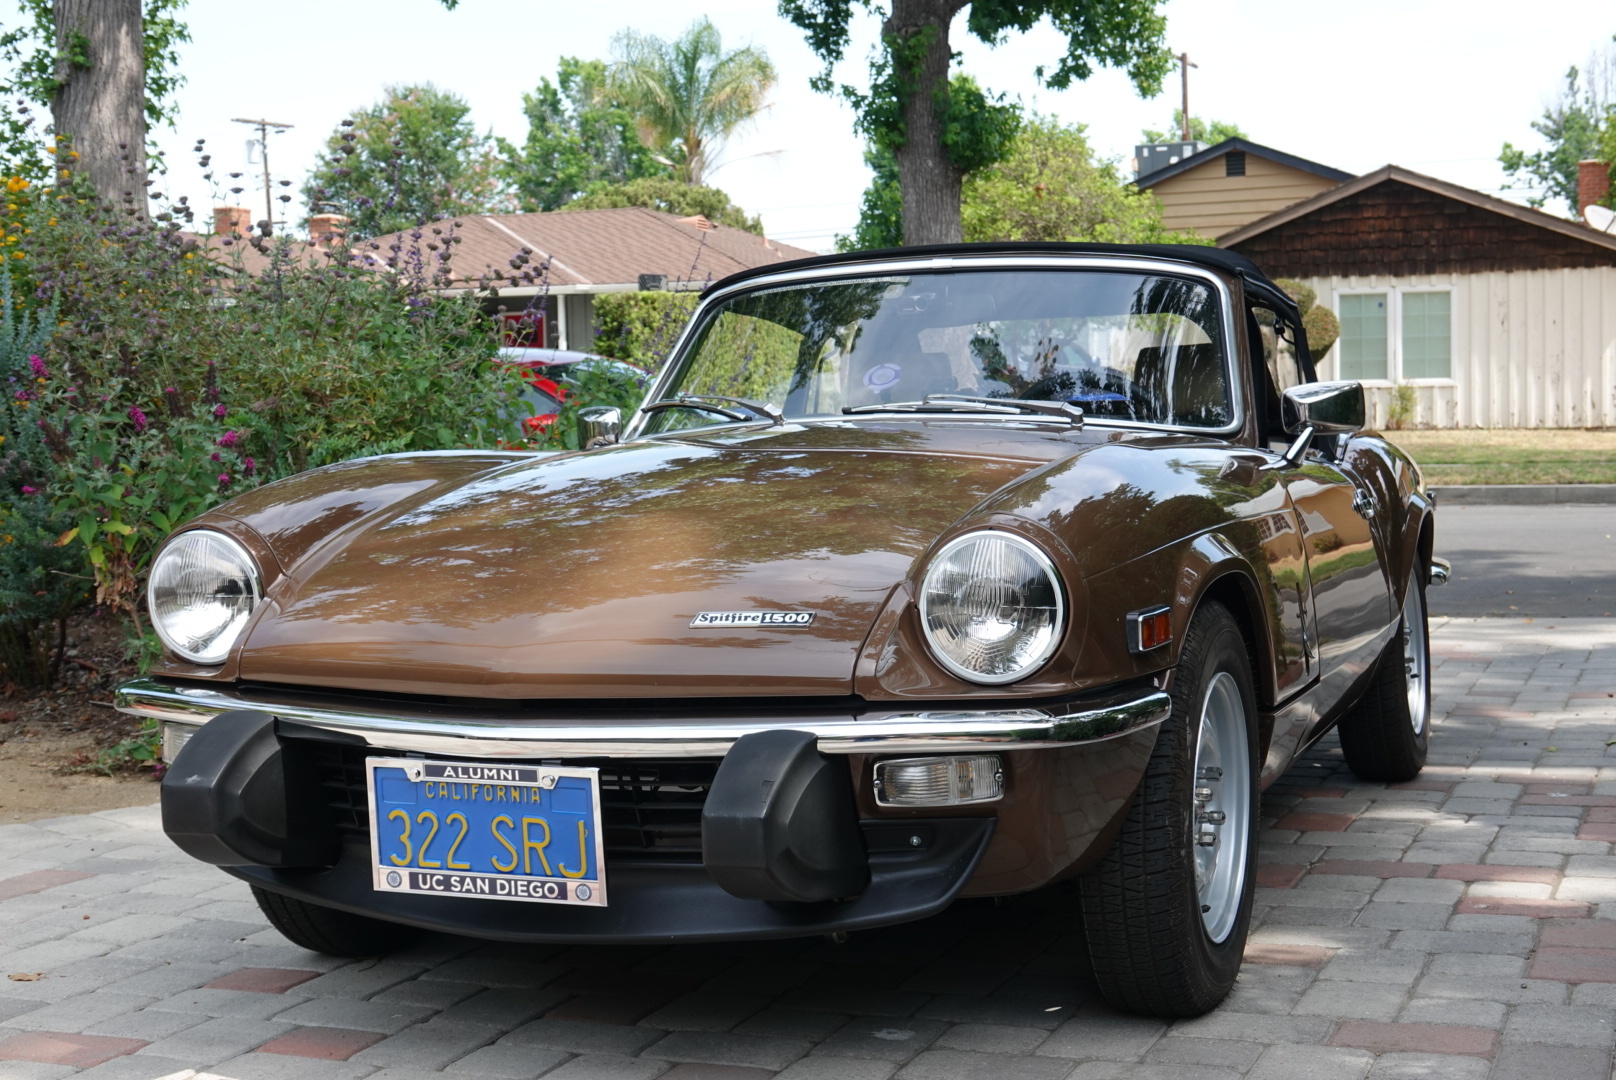
And to cut to the chase, the after:


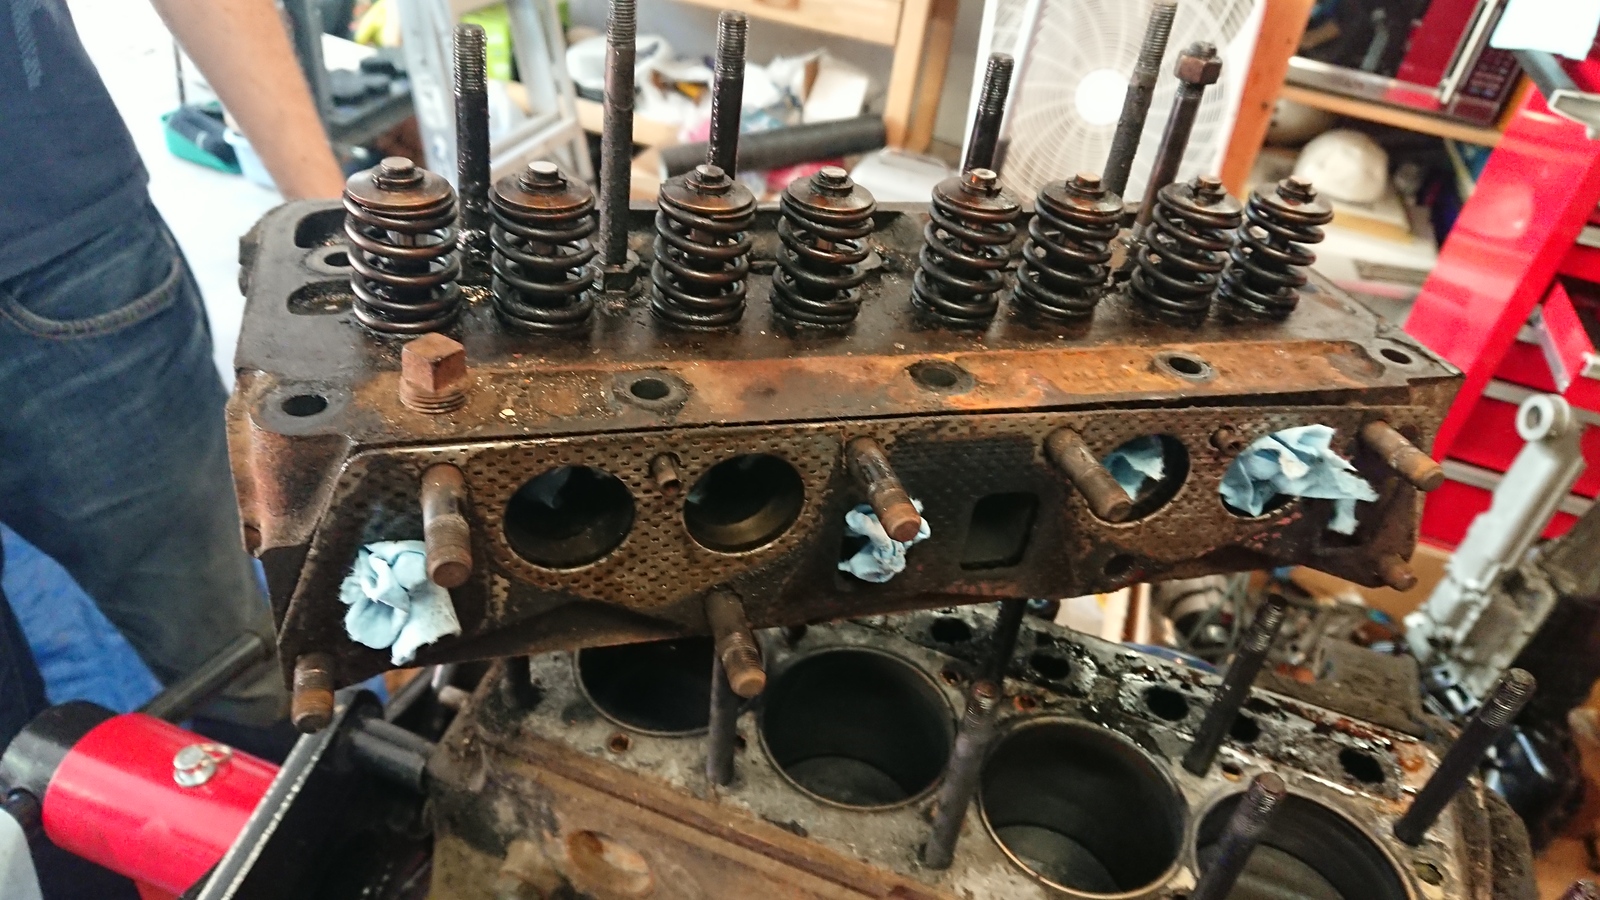
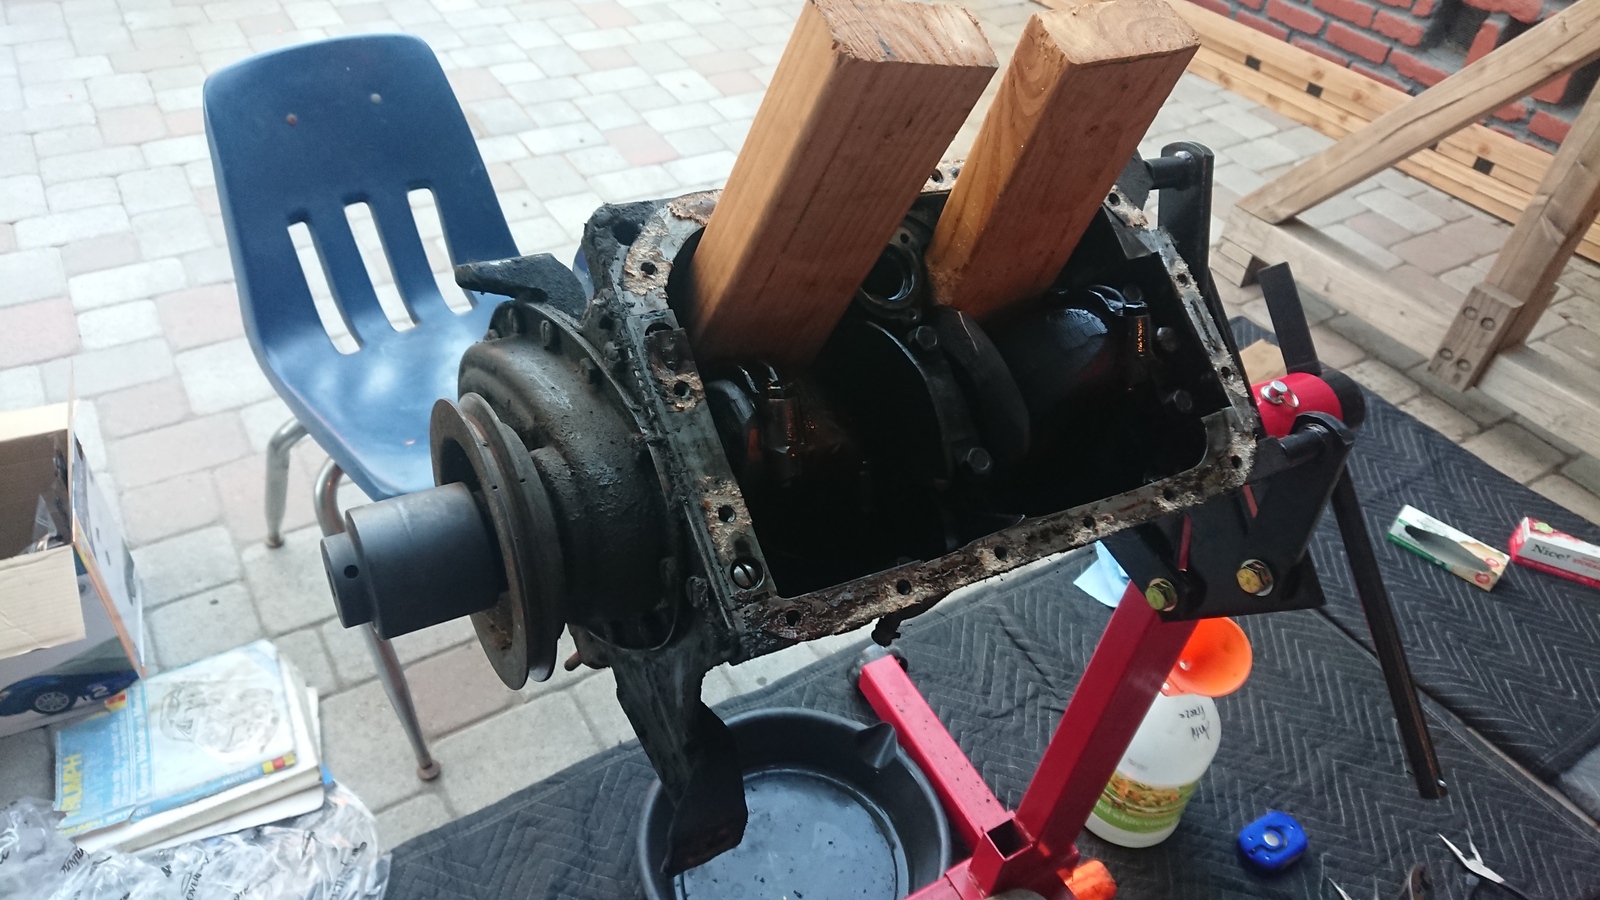
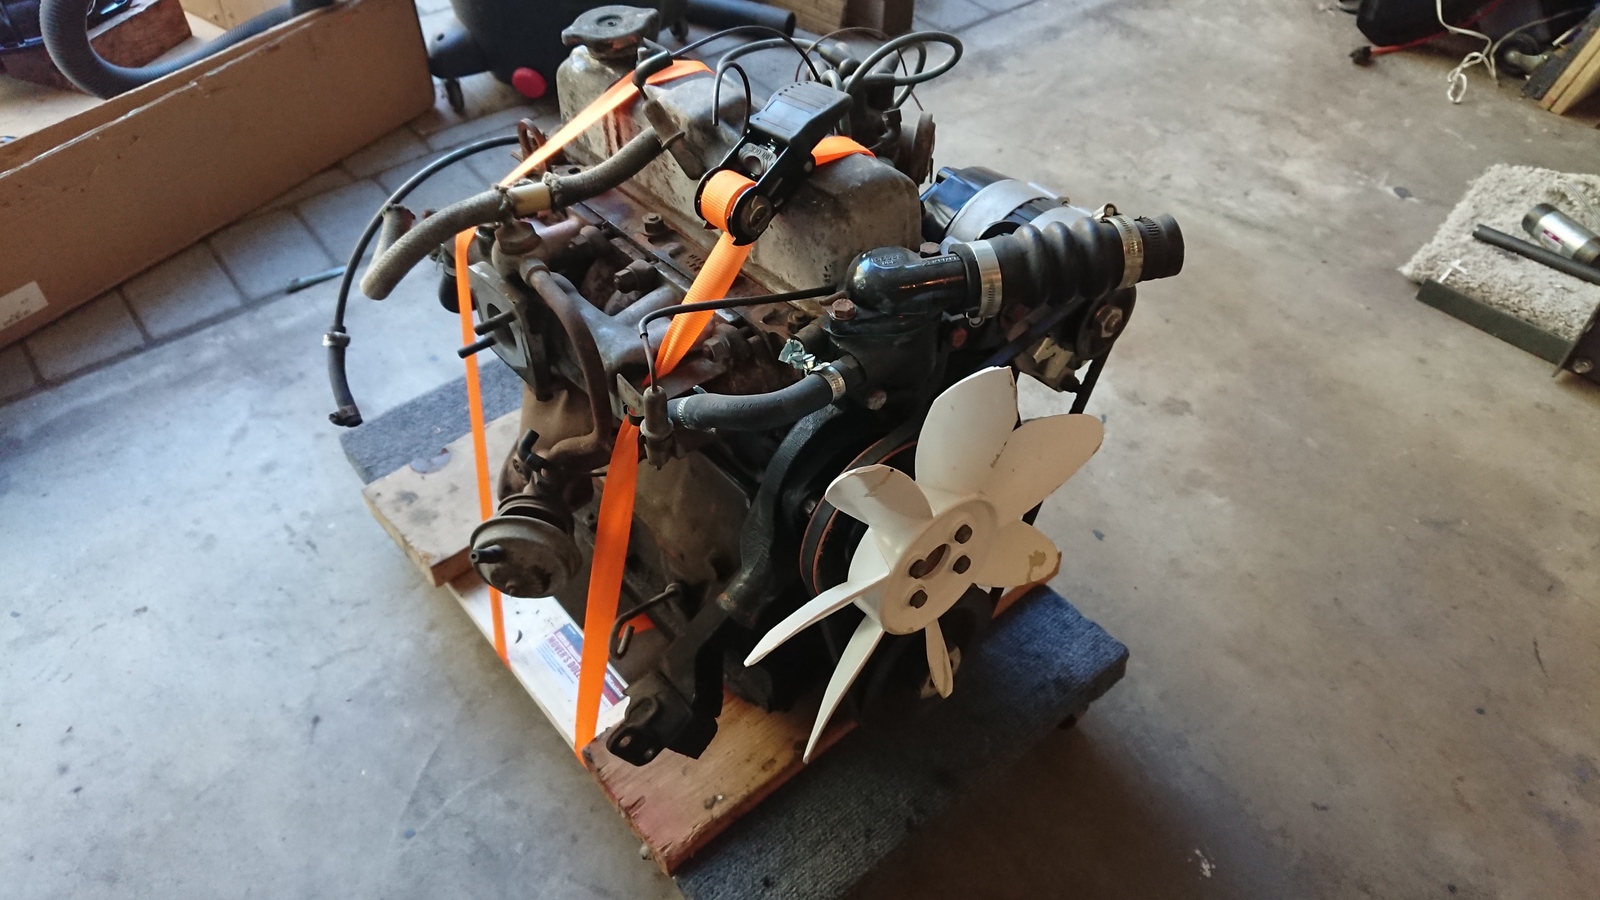
Disassembly and cleanup
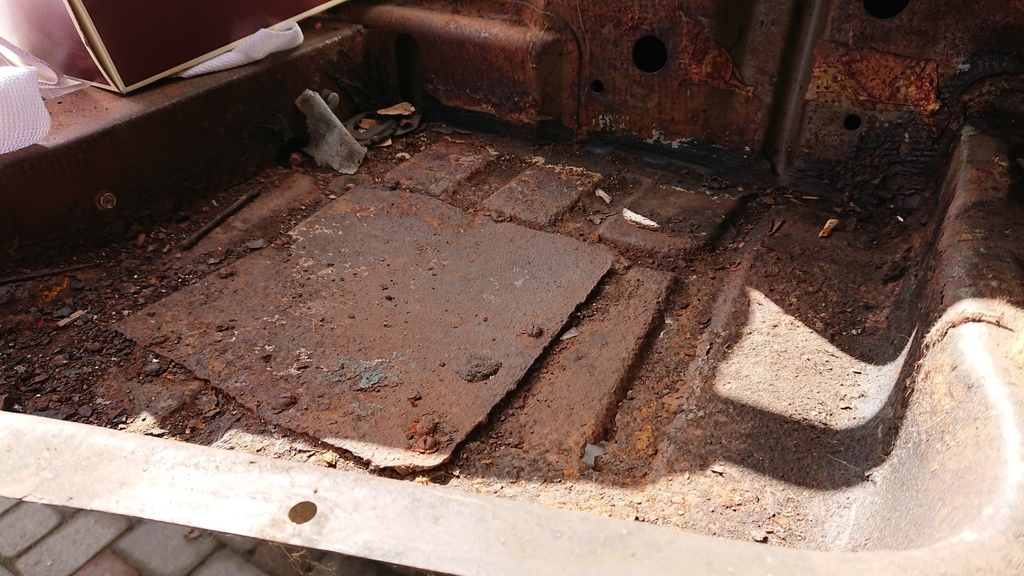
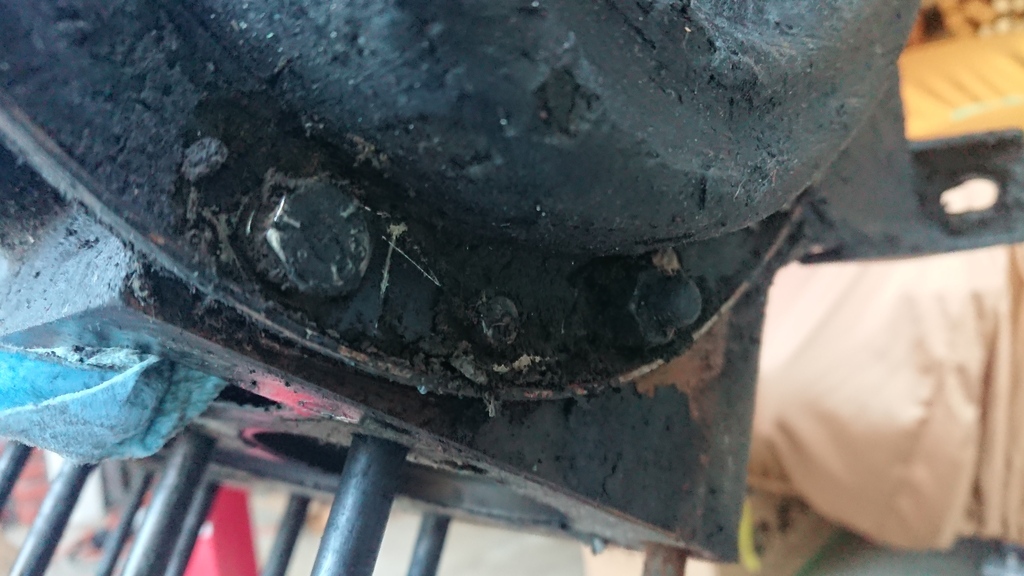
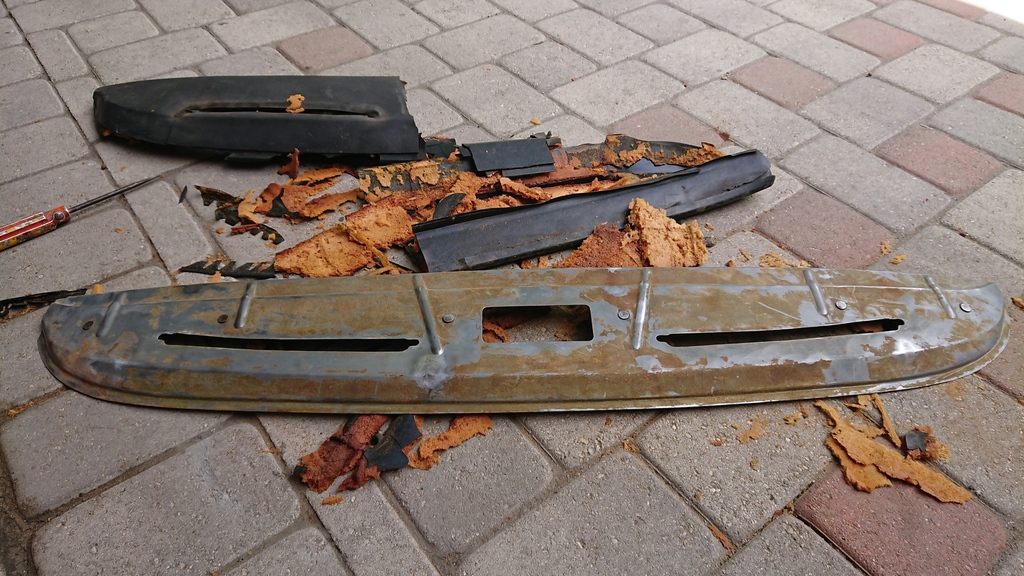
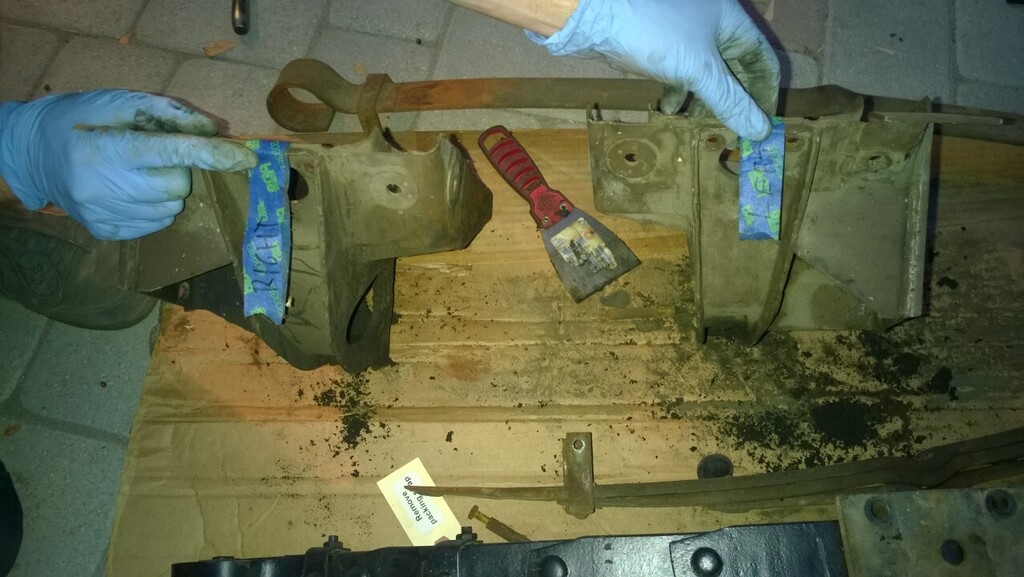
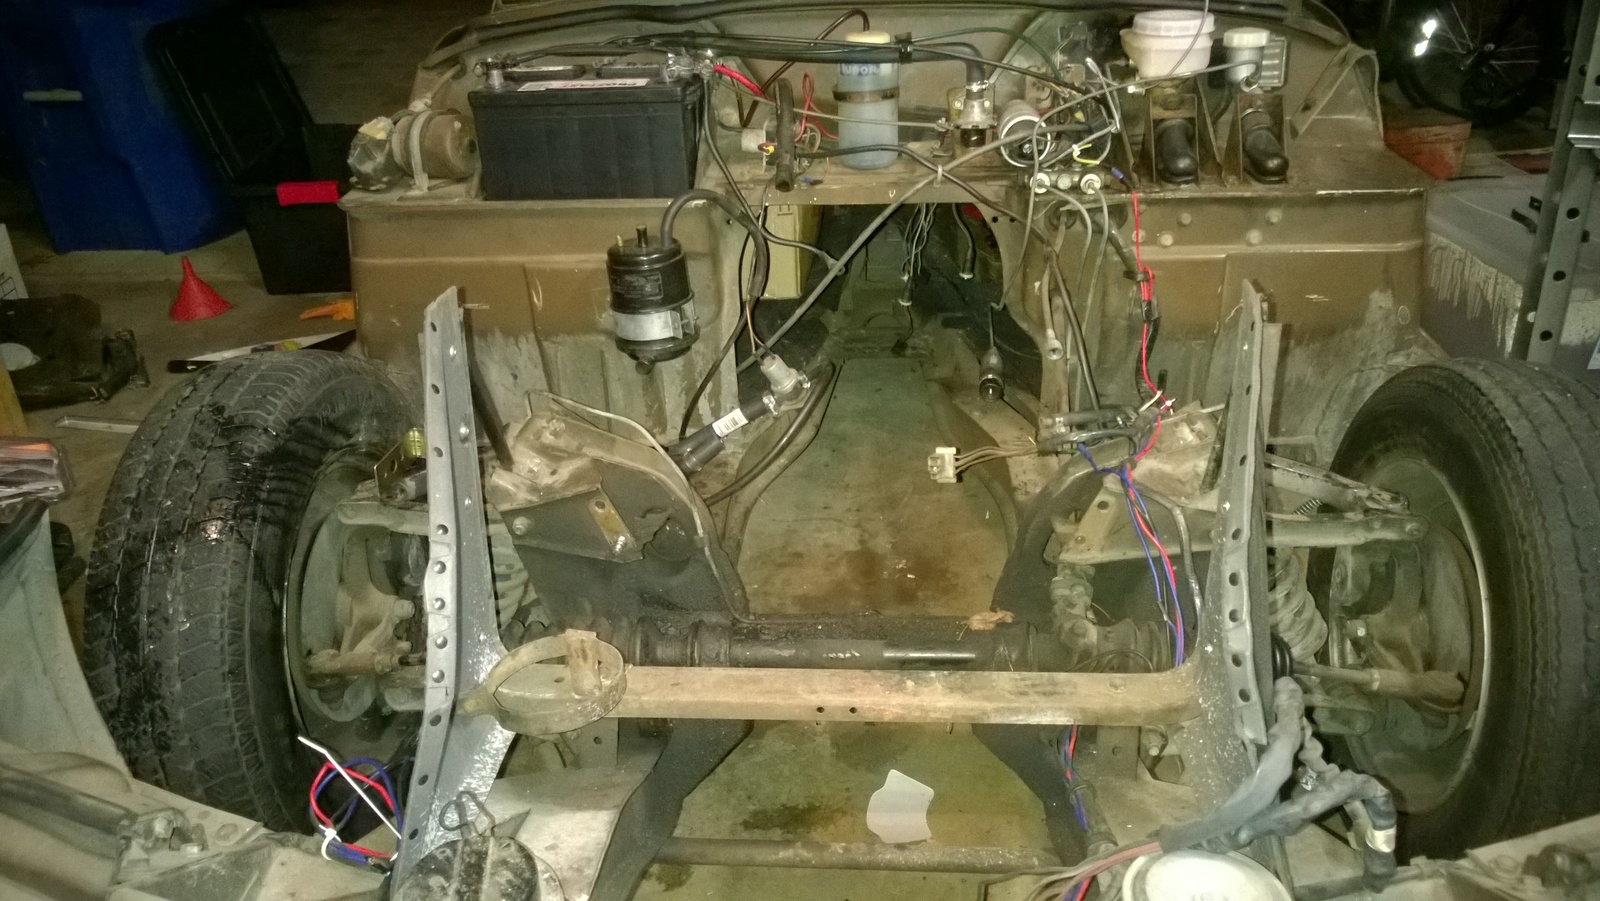
Underneath the bodywork, which was in acceptable condition, the car was encased in a thick layer of grime. A combination of years of grime and being a California car saved it from having much rust damage aside from a hole in the driver’s footwell.
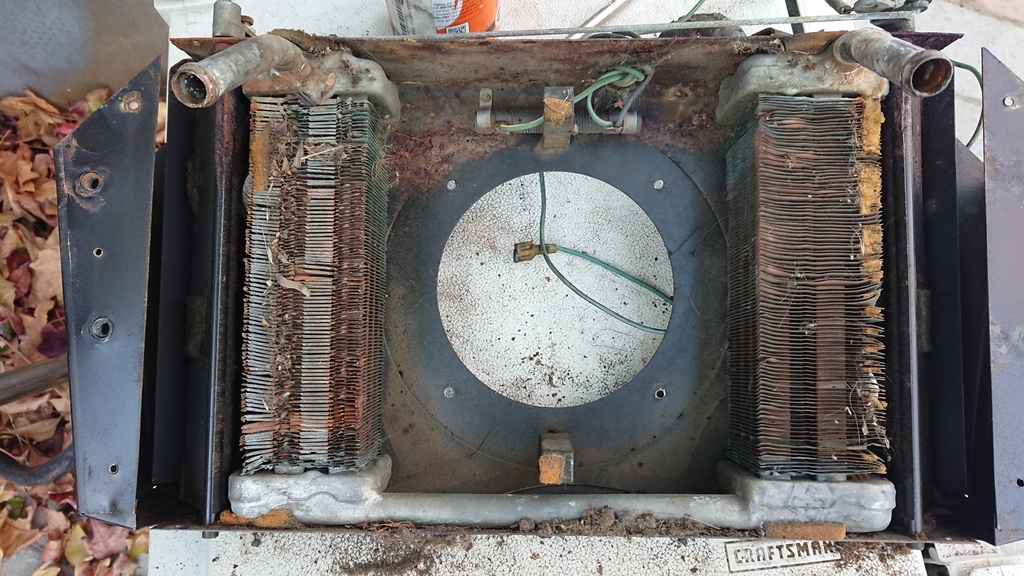
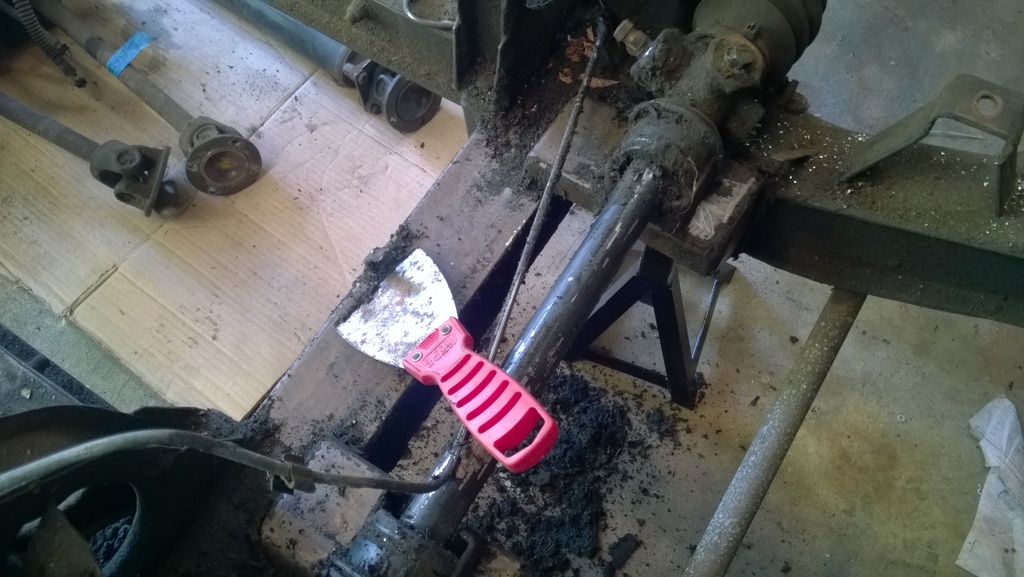
A short collection of some of my favorite “cleaning up gunk” images:

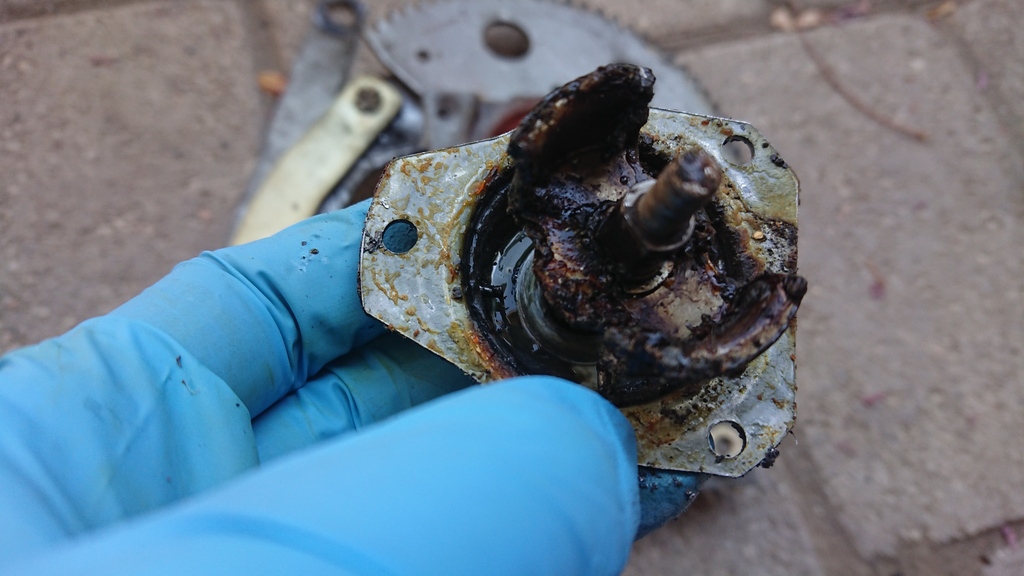

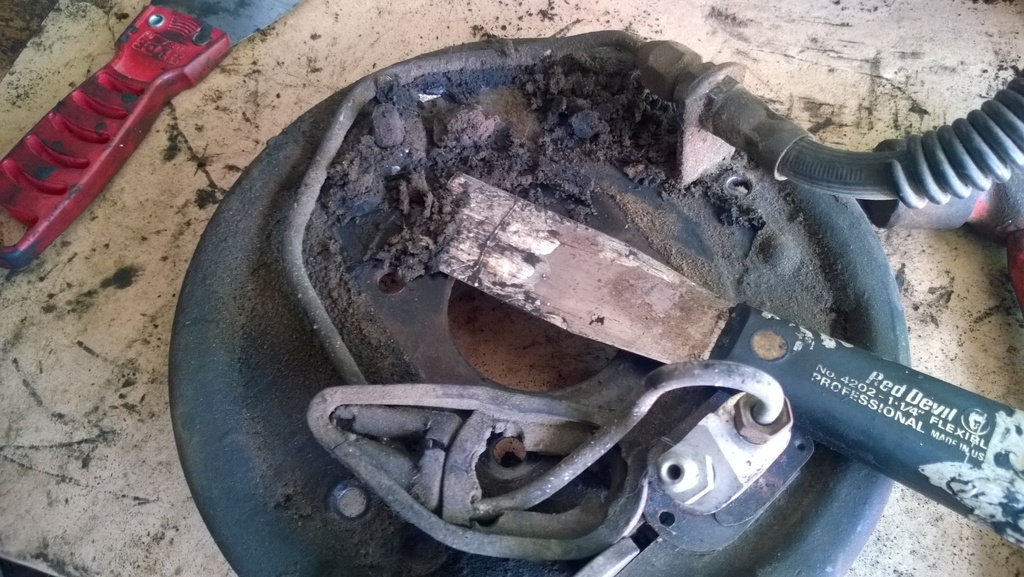
I bought a parts washer and a sandblast cabinet that I used throughout the rebuild, enabled by a woefully underpowered air compressor. Cleaning parts was by far the most laborious of all endeavours and my least favorite part of the process. Every part essentially went through the following:
- Manually remove as much gunk as possible, usually by scraping
- Degrease using chemicals
- Rinse with plain water
- Dry quickly to avoid flash rust
- Sandblast, sand, or otherwise prep the surface
- Prime
- Paint
Repeat this process about one thousand times, and you’ve done the most trivial parts of rebuilding a car! I did get a lot of things powder coated, which meant I only needed to do steps 1 through 4, and used the magic of cash money to accomplish 5 through 7–and this is indeed money well spent.
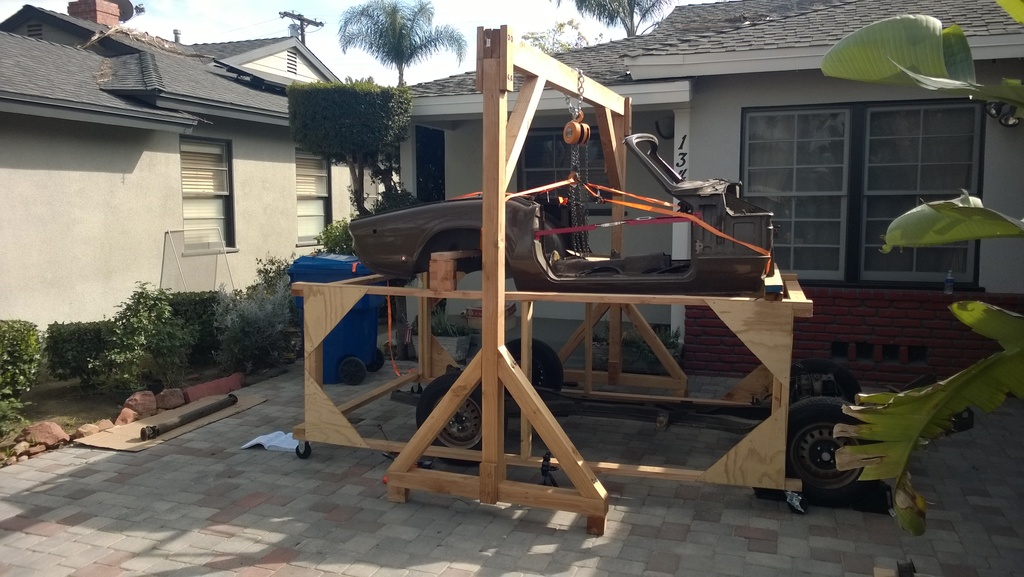
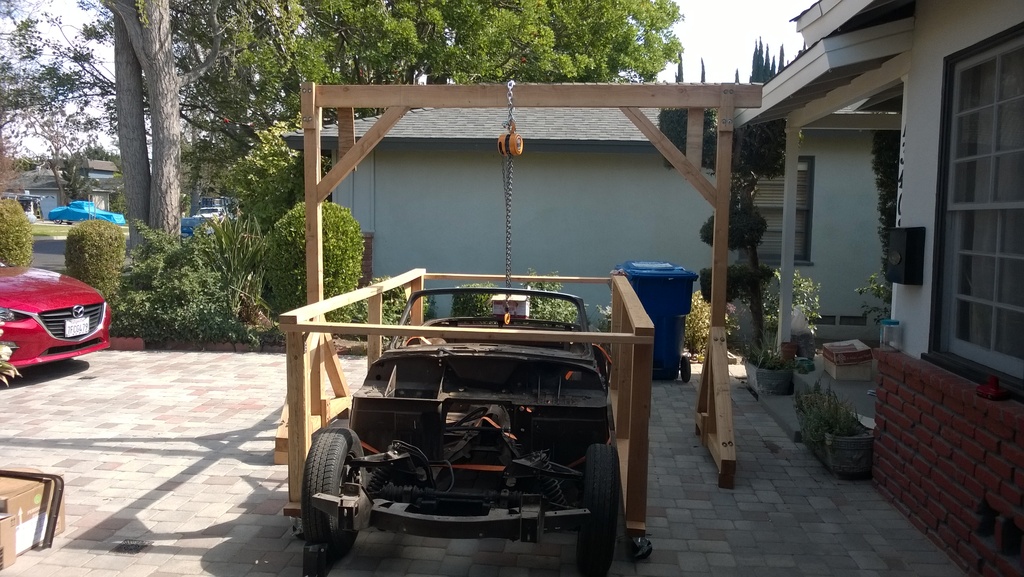
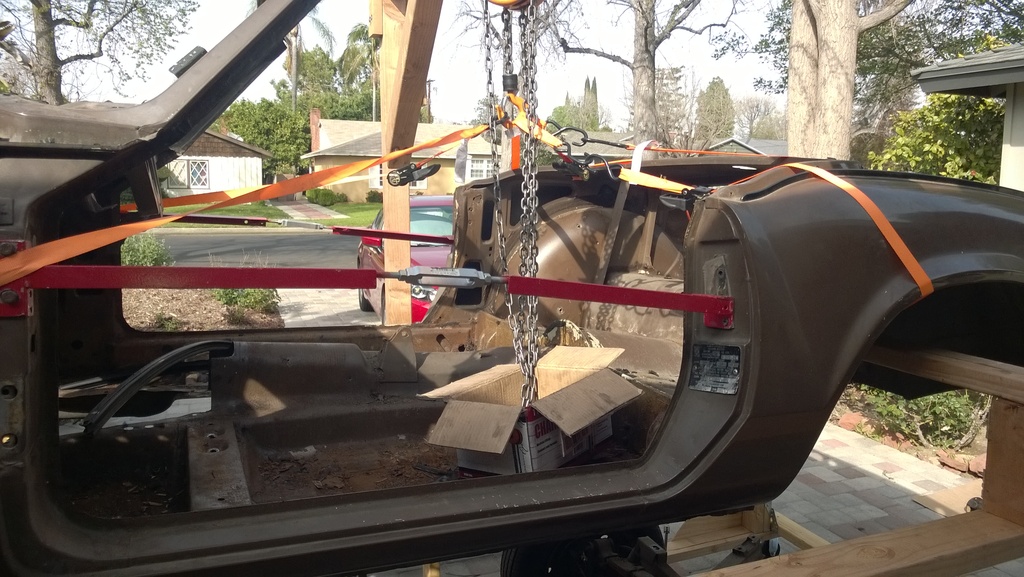
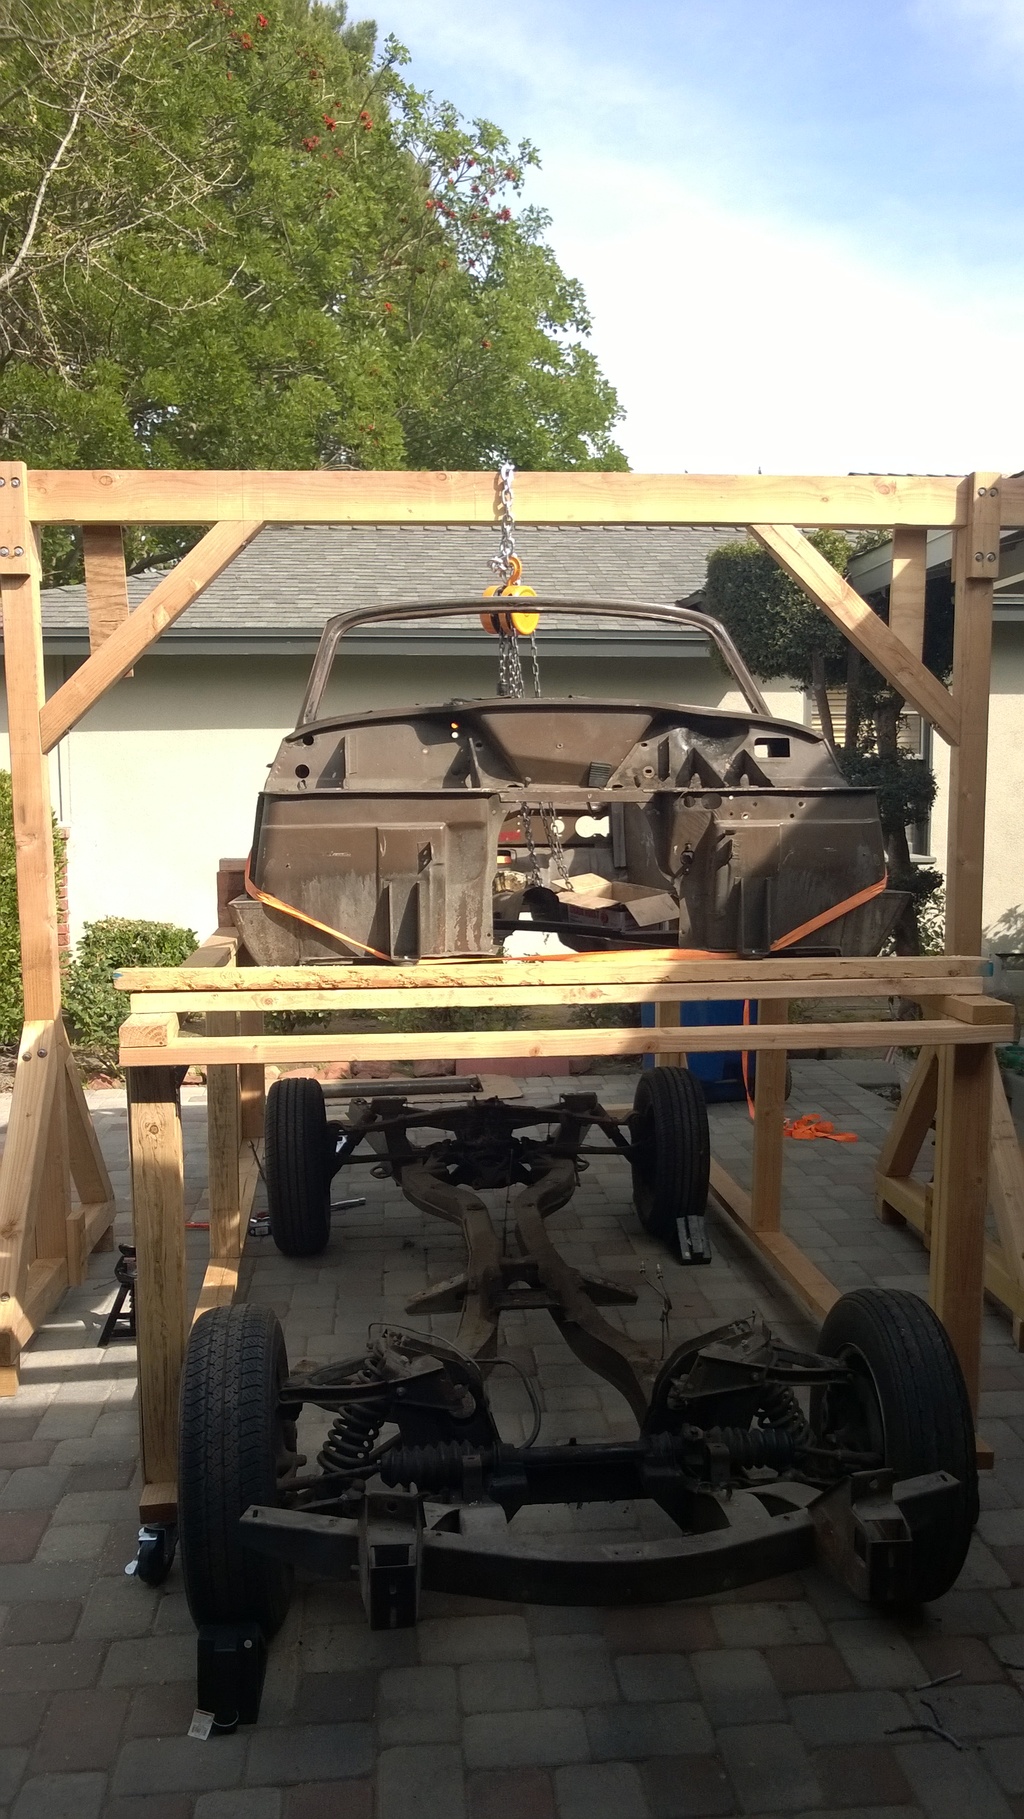
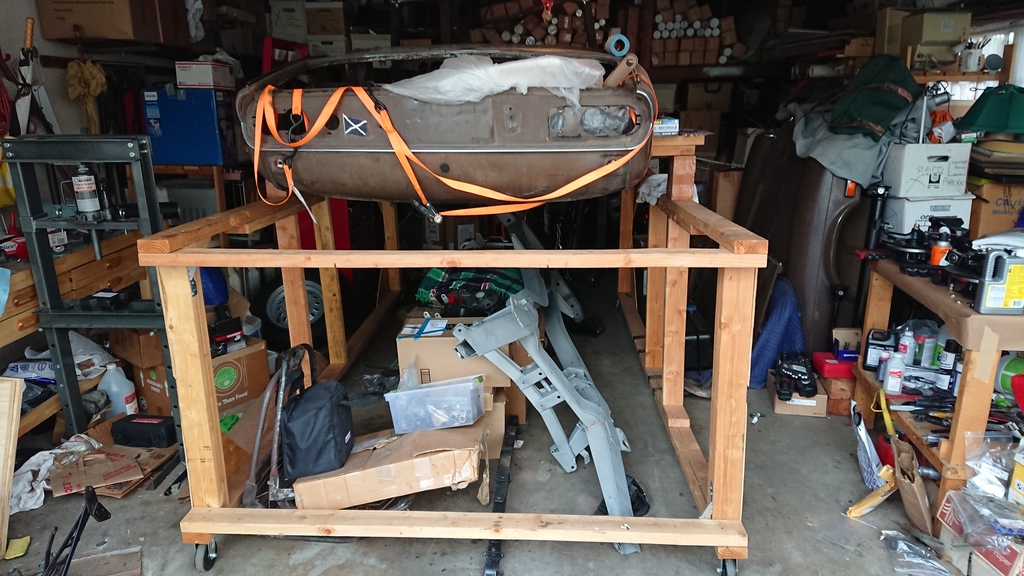
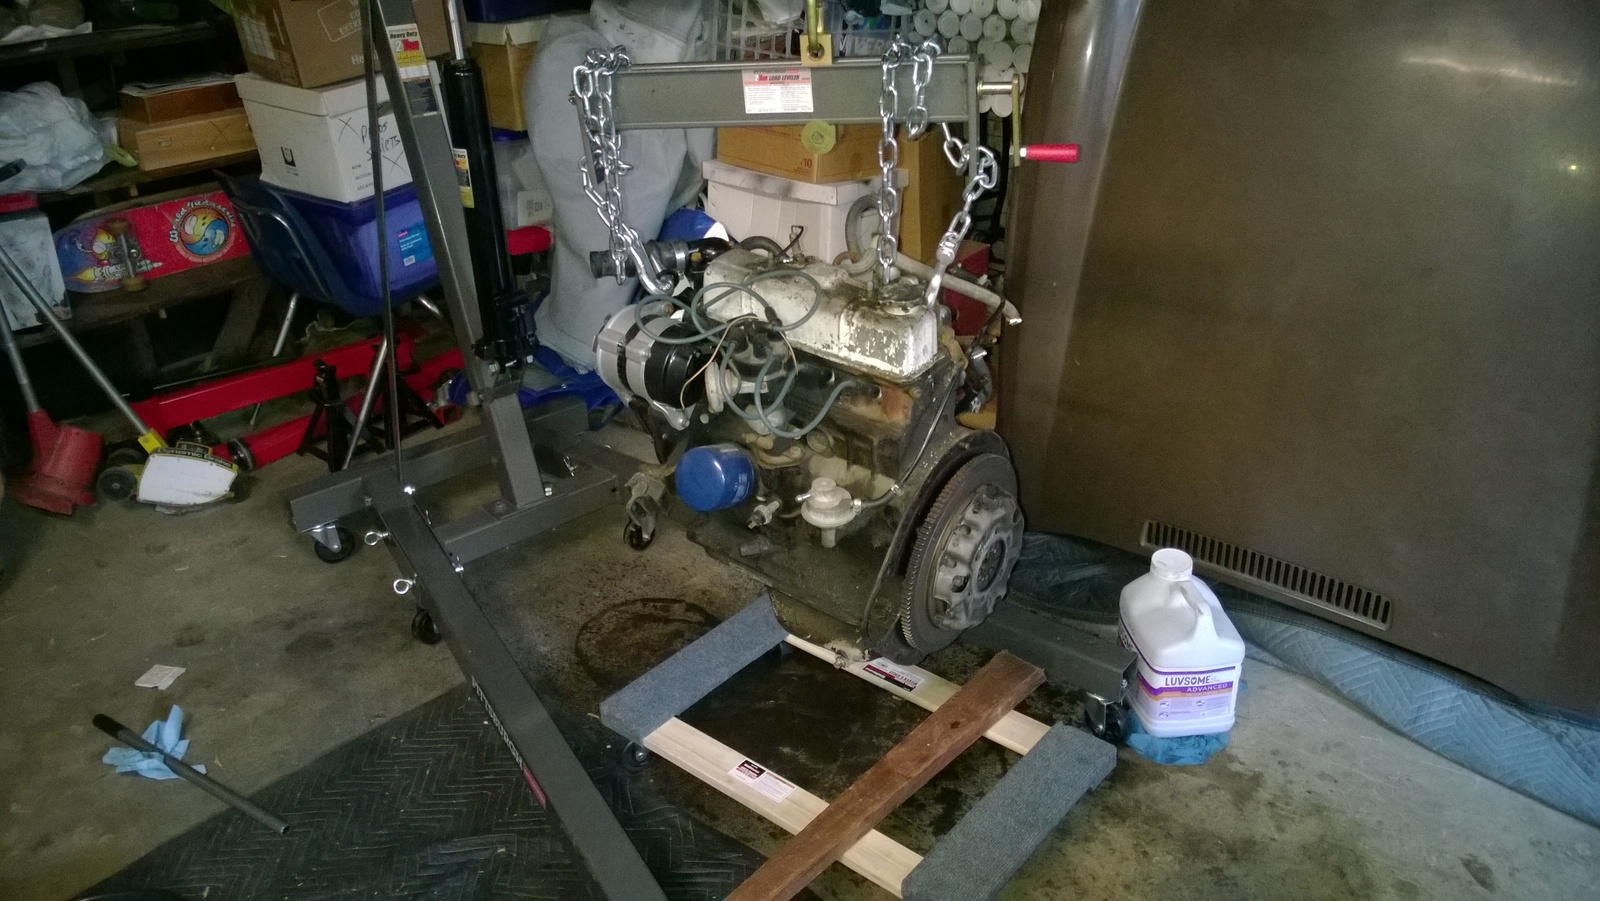
The car is a “body-on-frame” construction meaning that the shell of the car sits on top of a frame that holds the drivetrain. I built a large wooden frame on wheels designed to hold the shell above the frame, so that I could work on the two independently (and without damaging the shell).
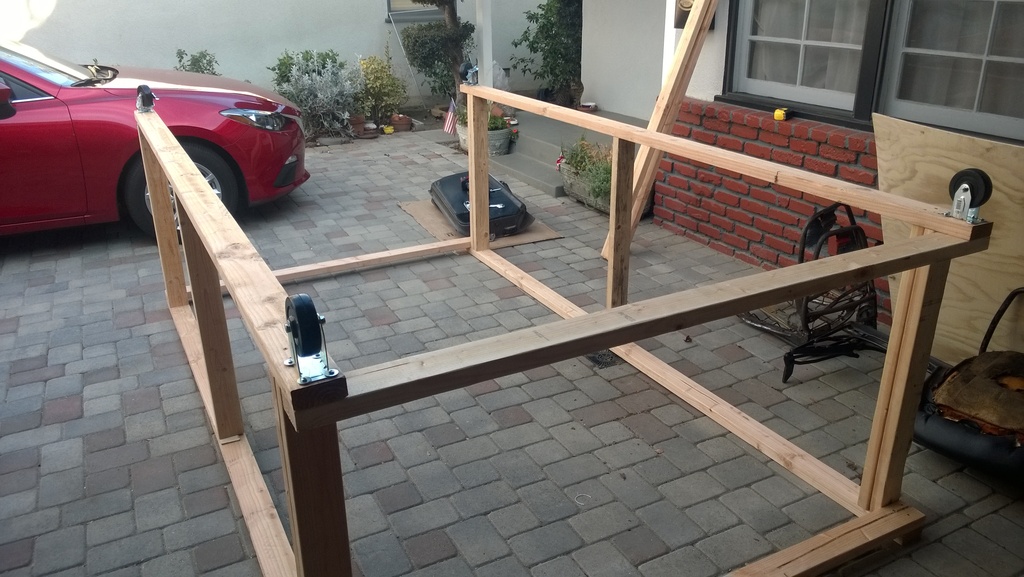
I bought a gantry from someone who had used it to move boulders around a home rock garden, and put the two together to take the car apart:
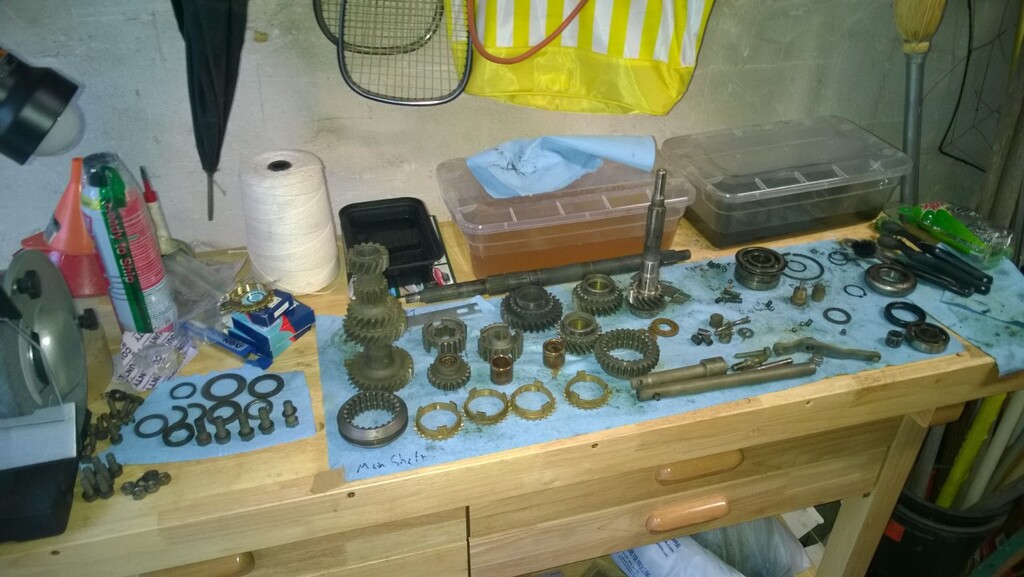
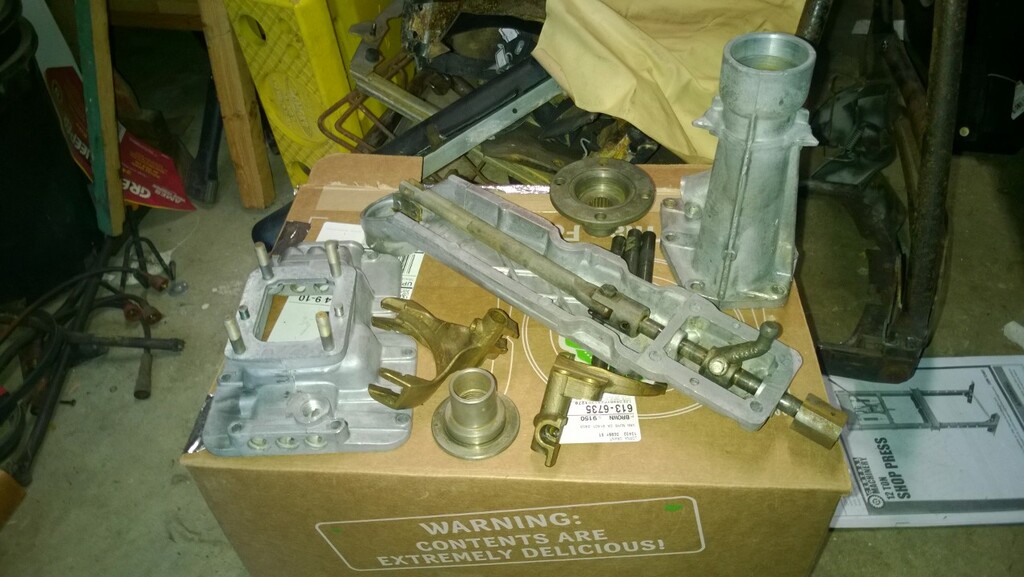
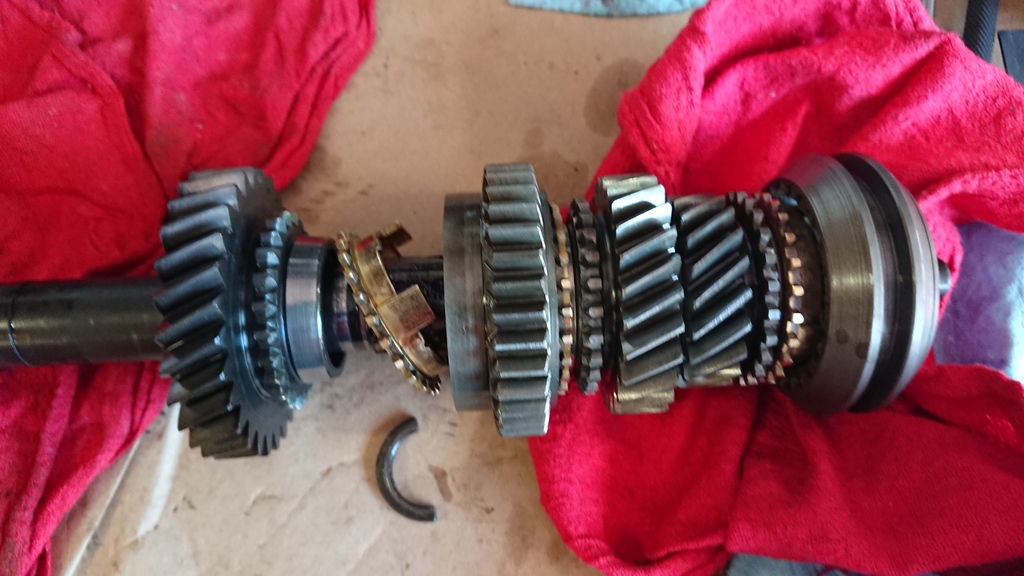
Gears Galore
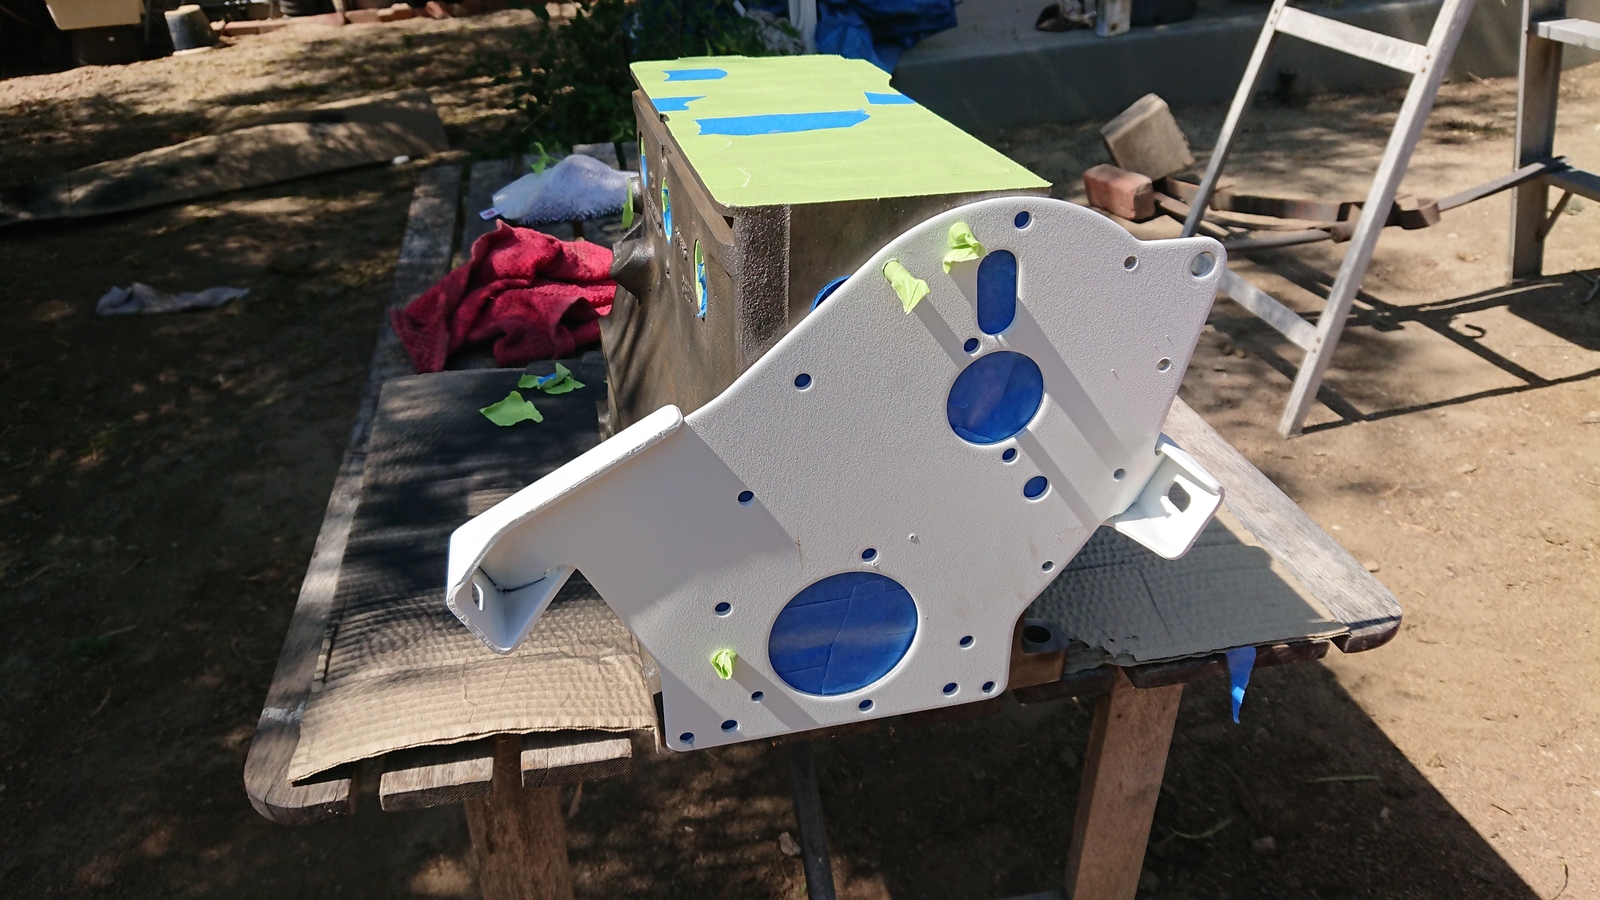
The gearbox was one of the first components I rebuilt, and is relatively straightforward, not requiring much in the way of shimming for tolerances. The biggest challenge is sourcing the correct parts, as there were numerous differences over the years, and it can sometimes be difficult to find the correct fit.
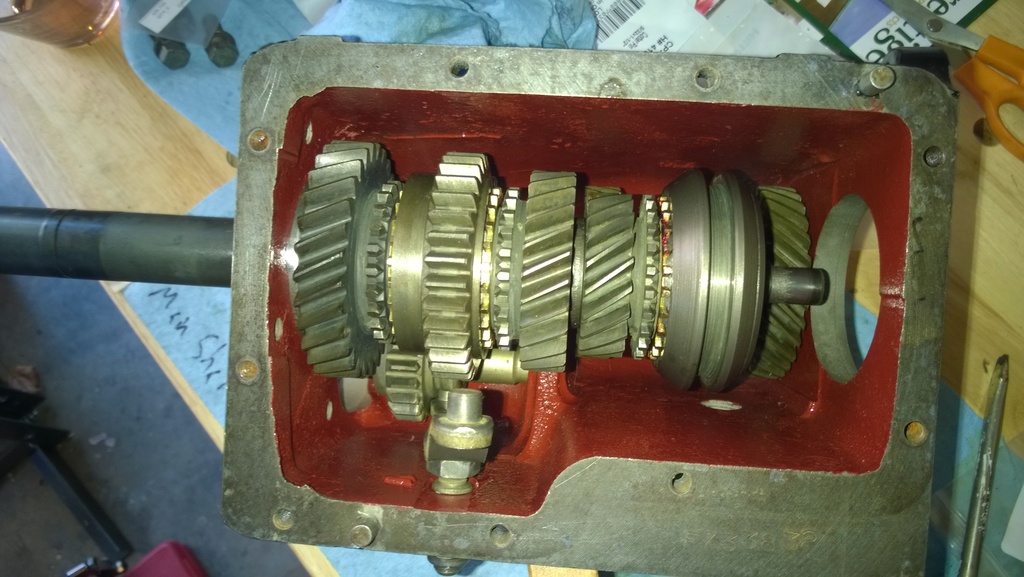
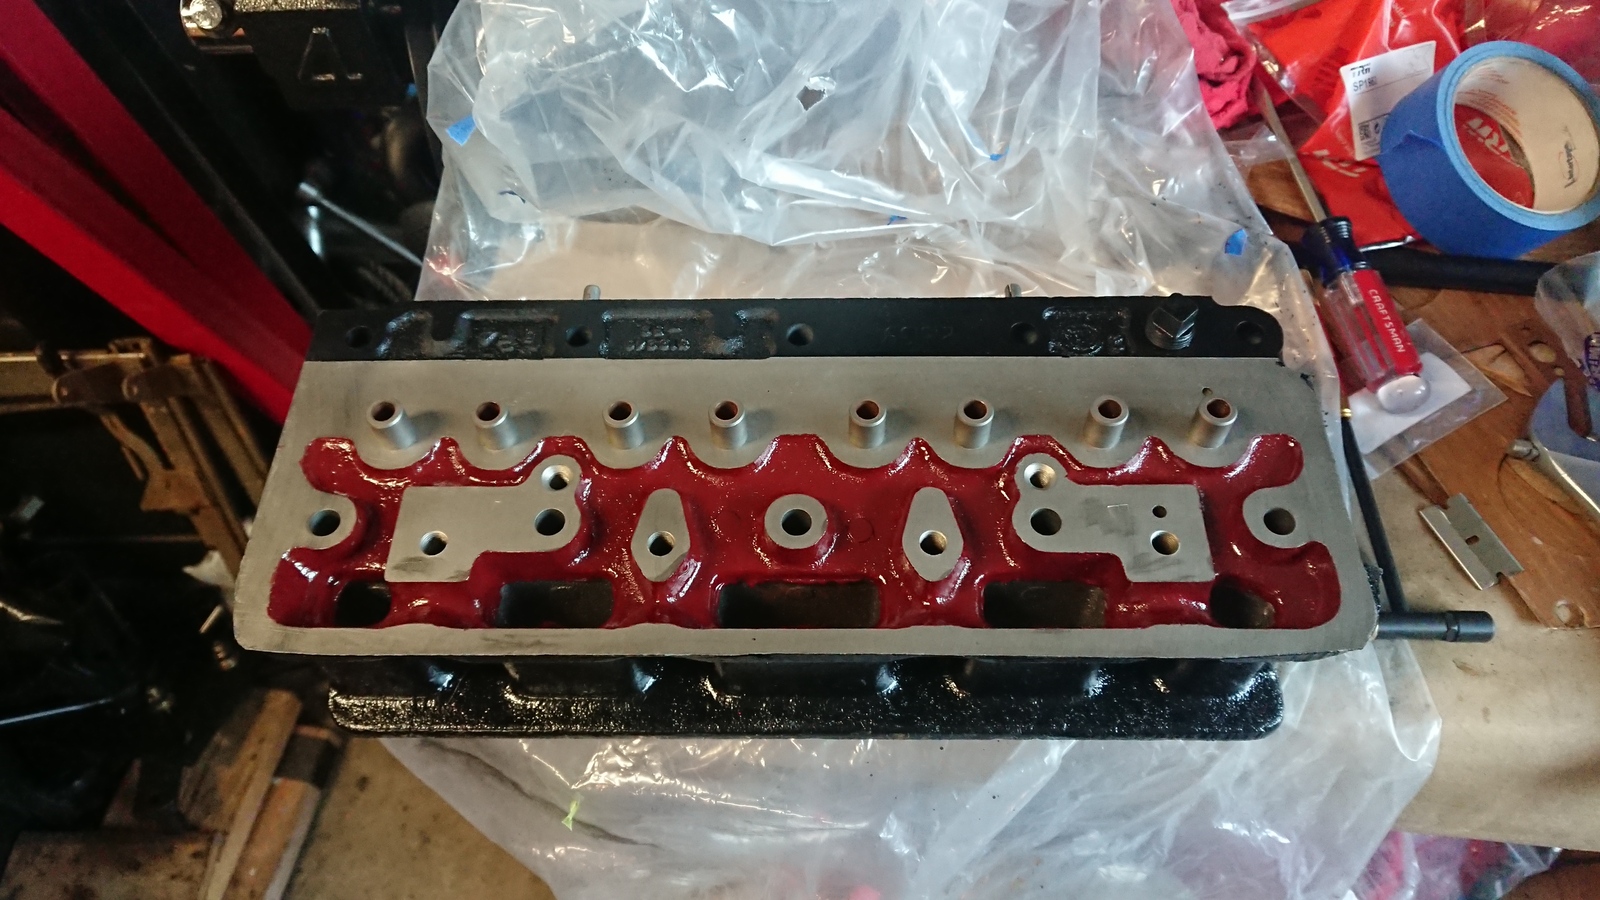
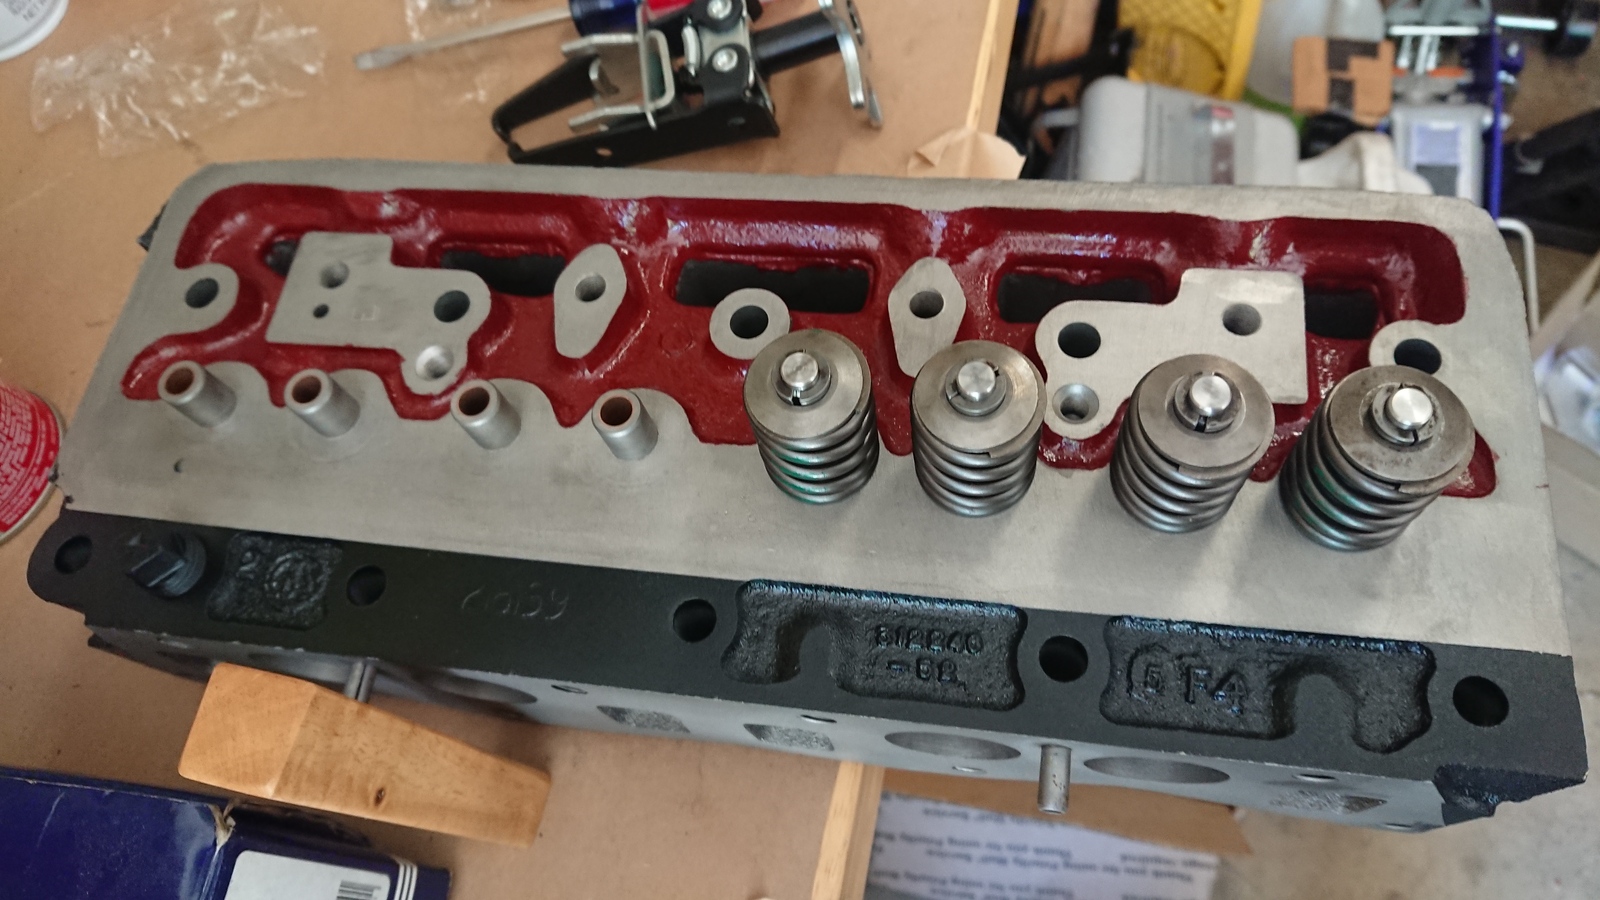
I had the gear case powder coated on the outside, and applied Glyptal paint to the inside. Glyptal forms a very smooth surface resilient to oil and most other chemicals, but it needs to be baked on in some kind of an industrial oven, which I lacked, so I built an “oven” out of cardboard and insulation, using a space heater to keep the temperature high. I would also apply Glyptal to the differential and the engine head.
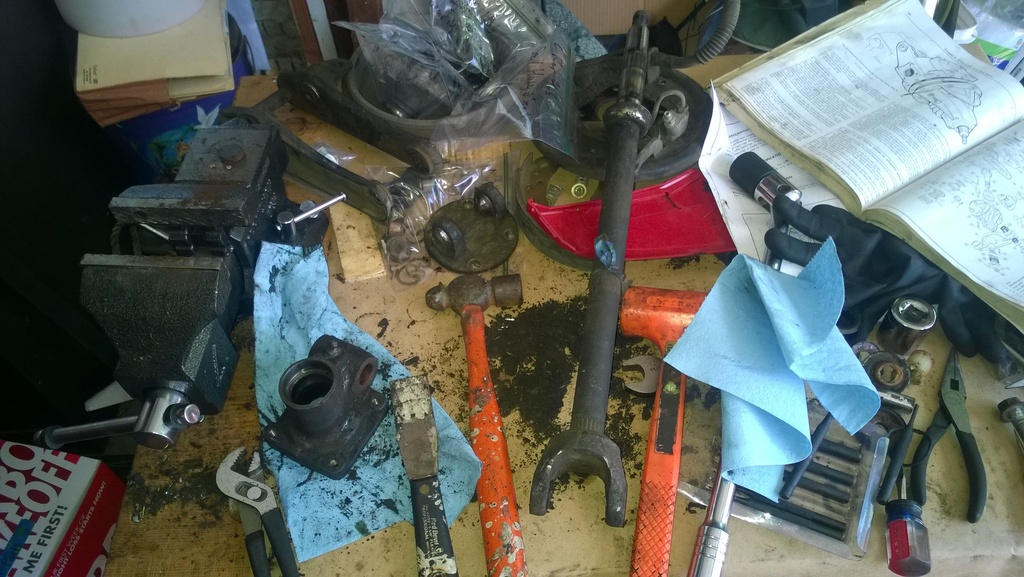
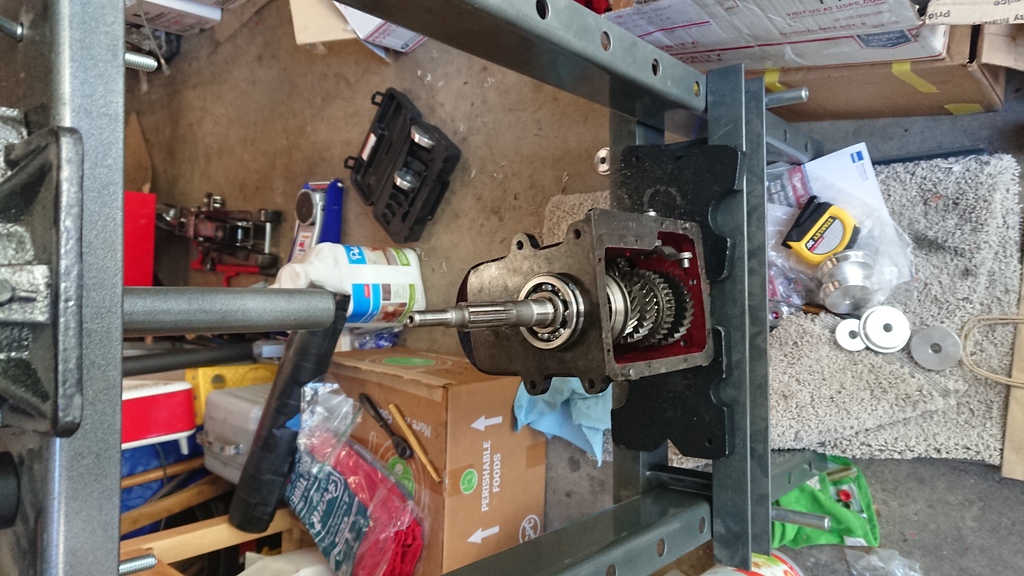
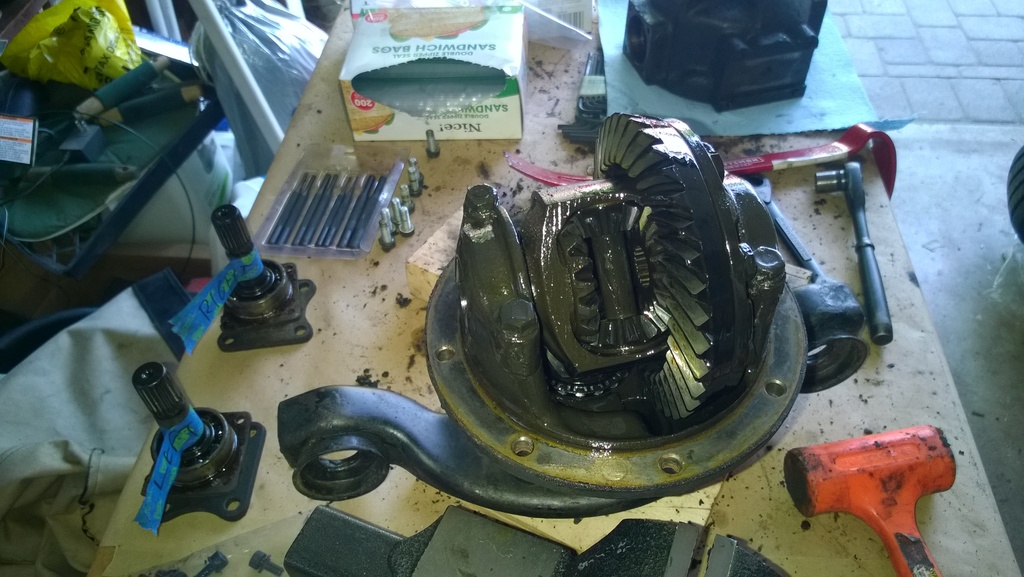
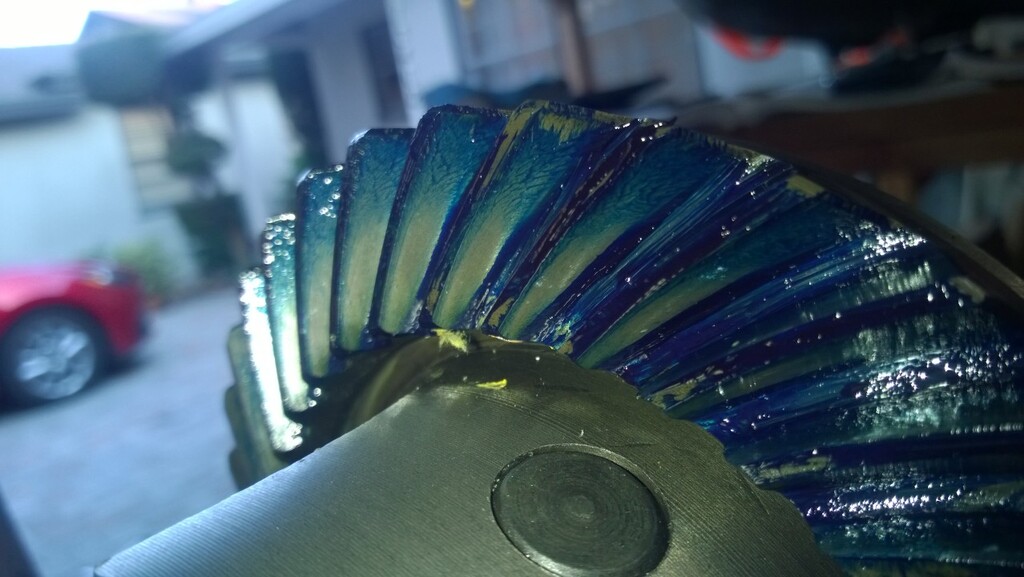
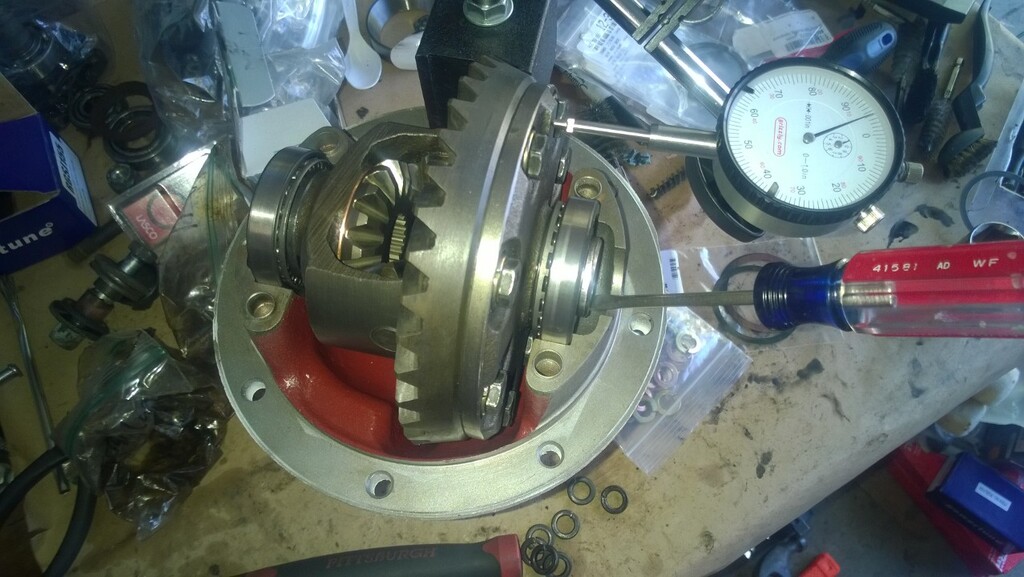
The differential was significantly more complex to rebuild, as it requires tight tolerances to ensure that the gears mesh correctly. This requires a lot of measuring, adjusting shims, and partial reassembly. It also takes a lot of using gear pullers and a hydraulic press - a skill you can get surprisingly fast at.
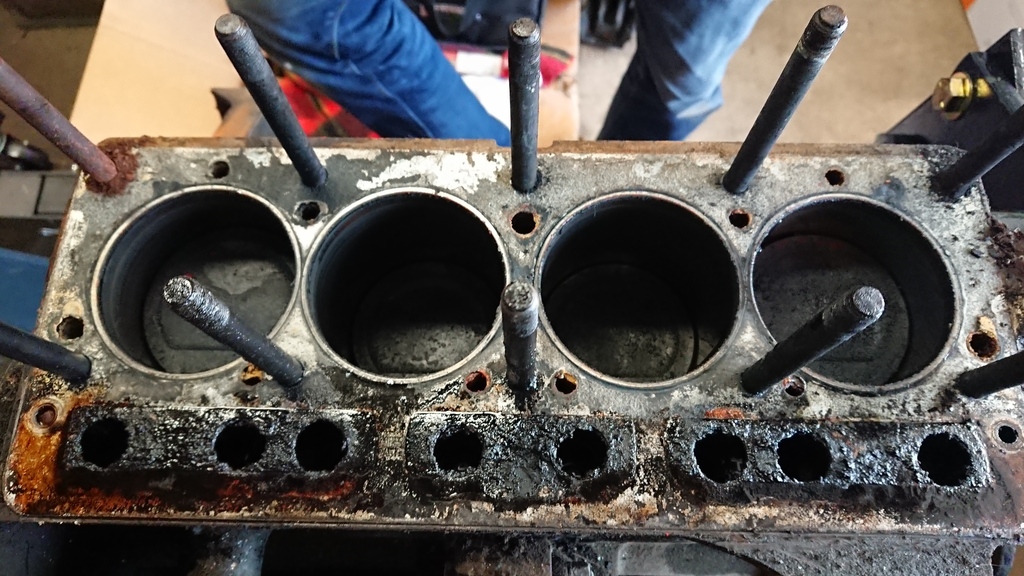
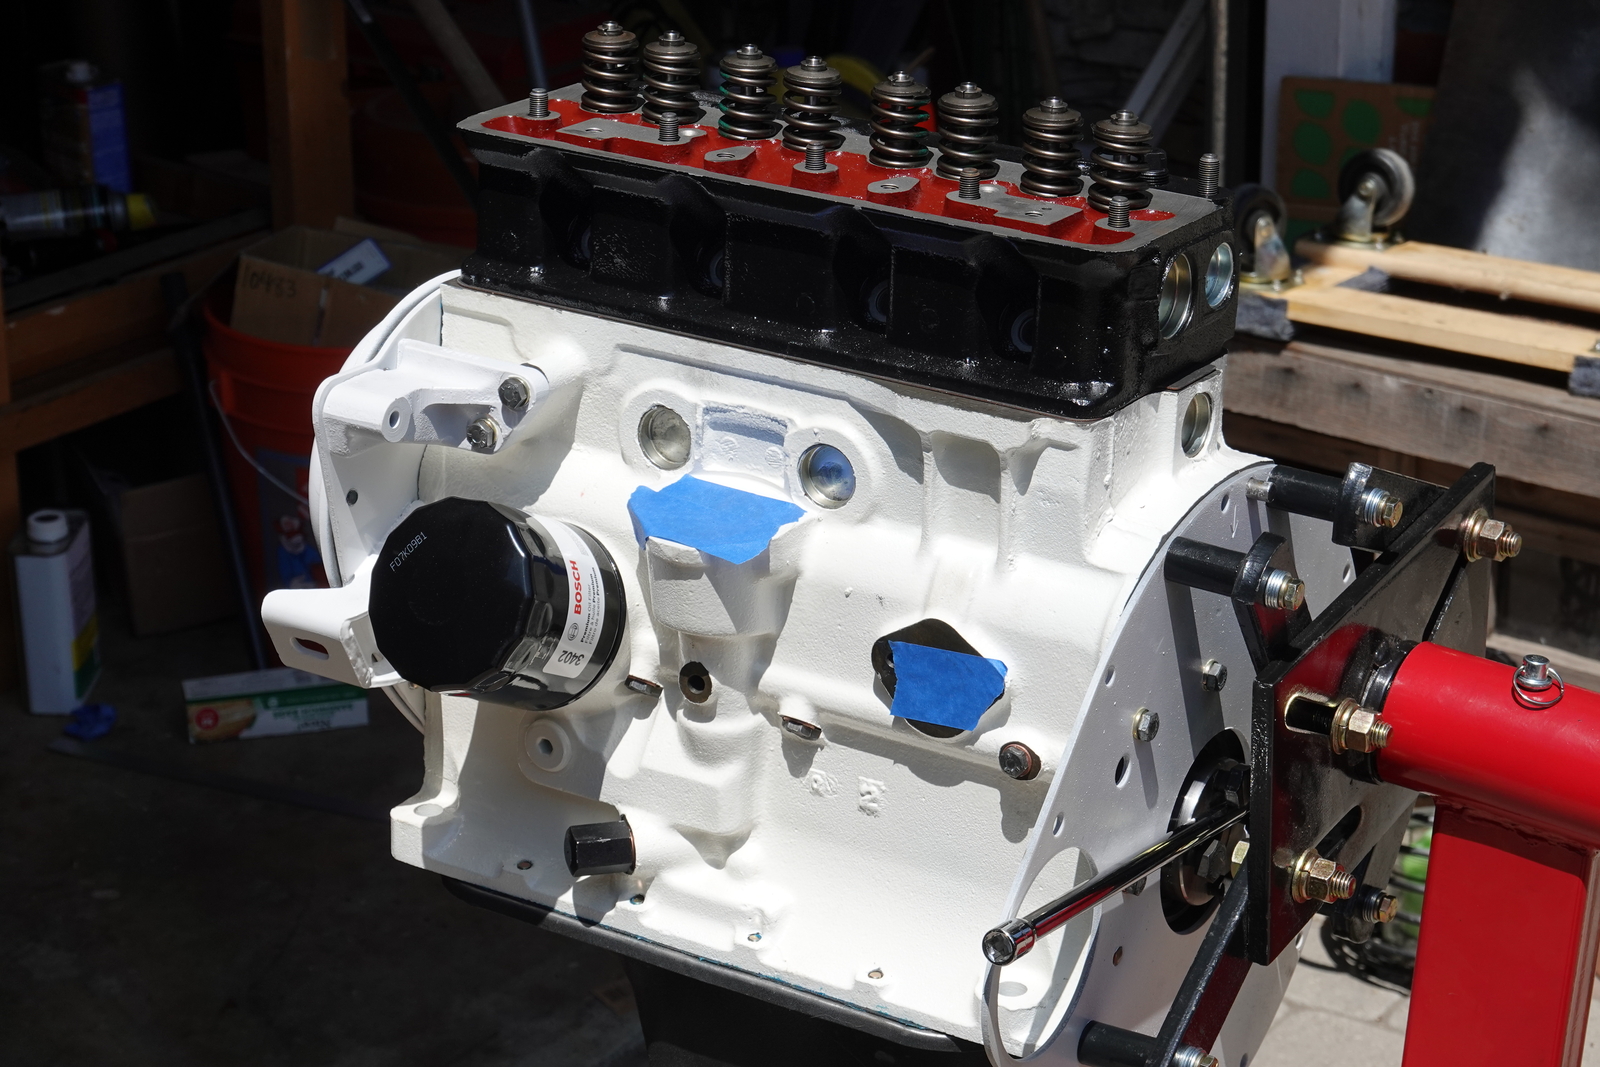
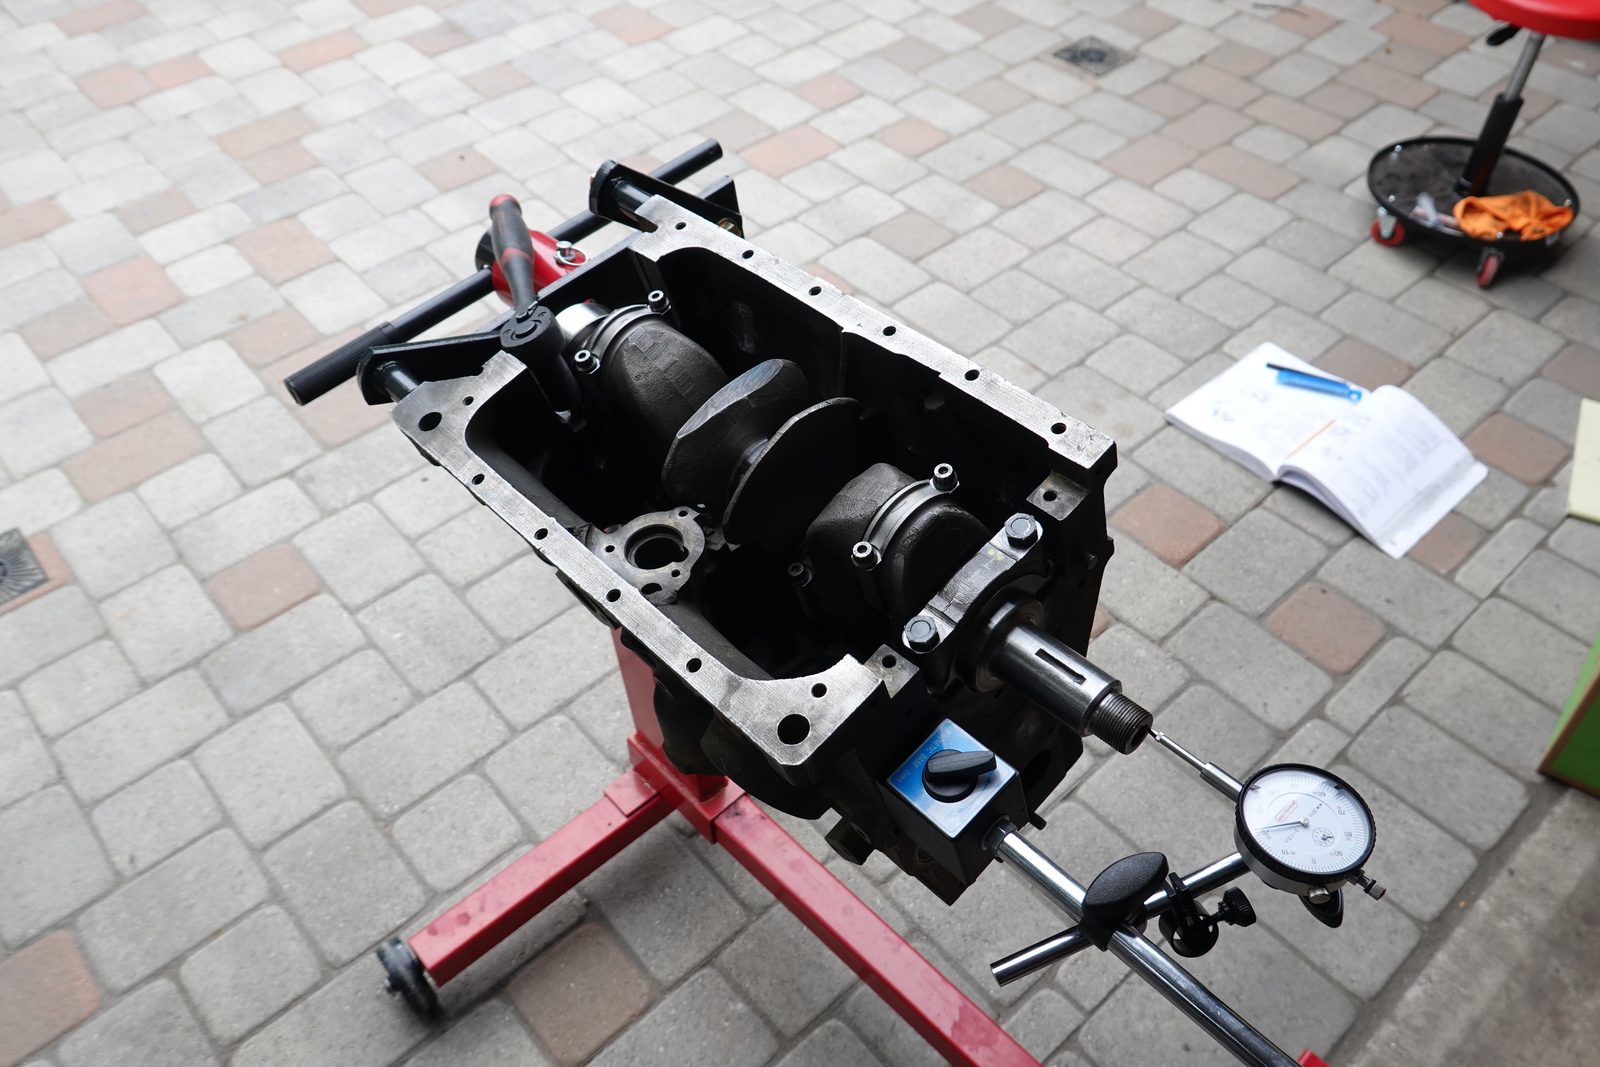
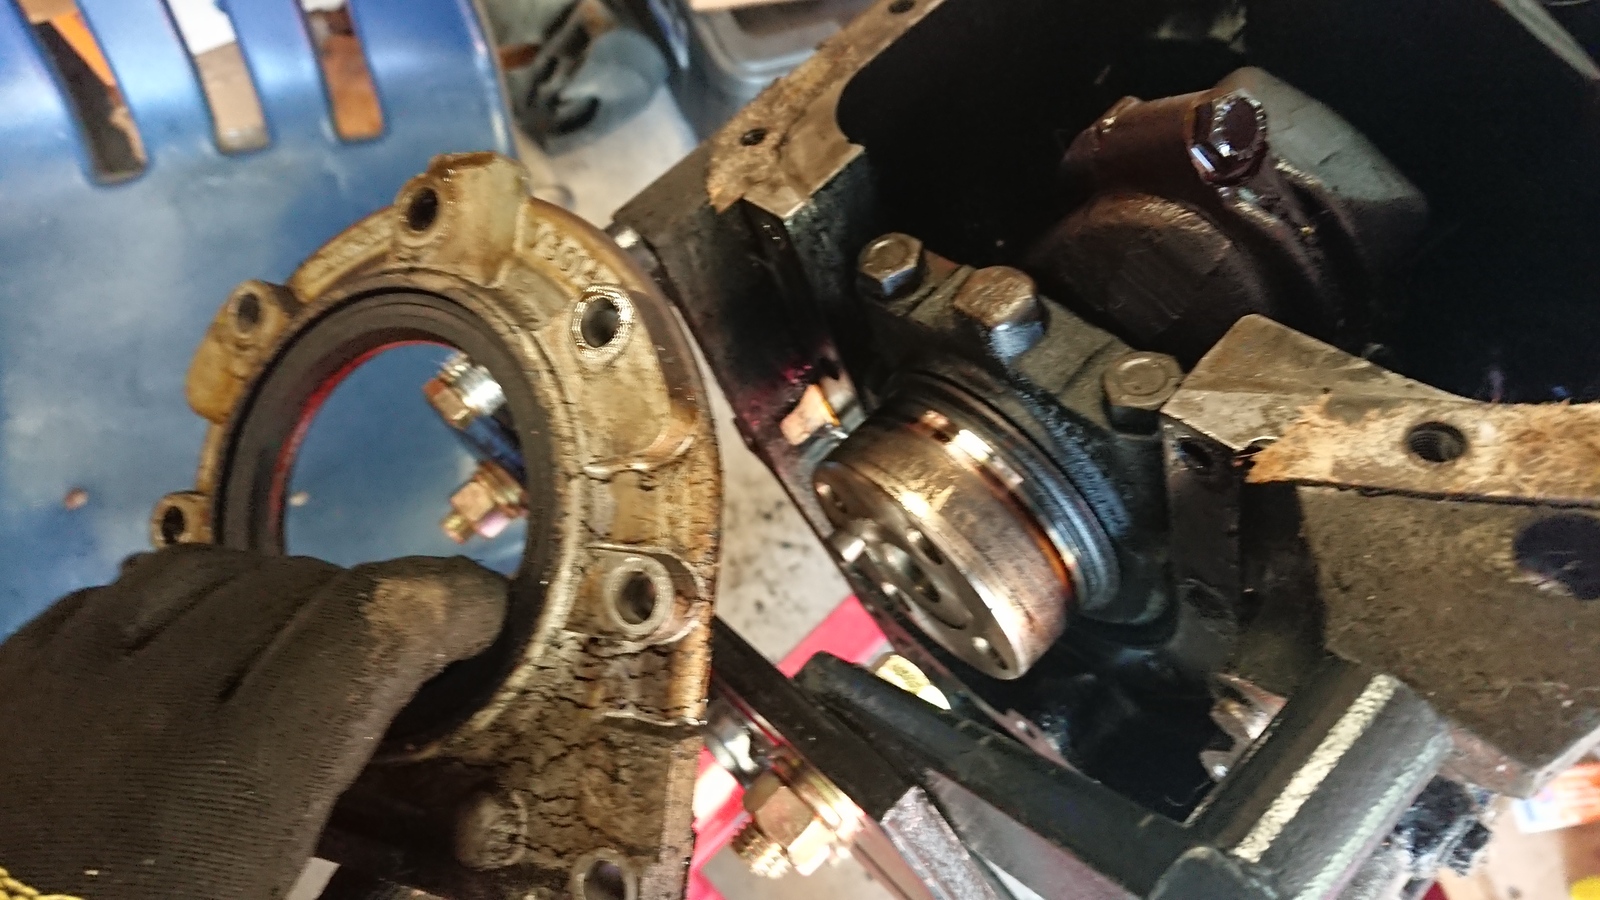
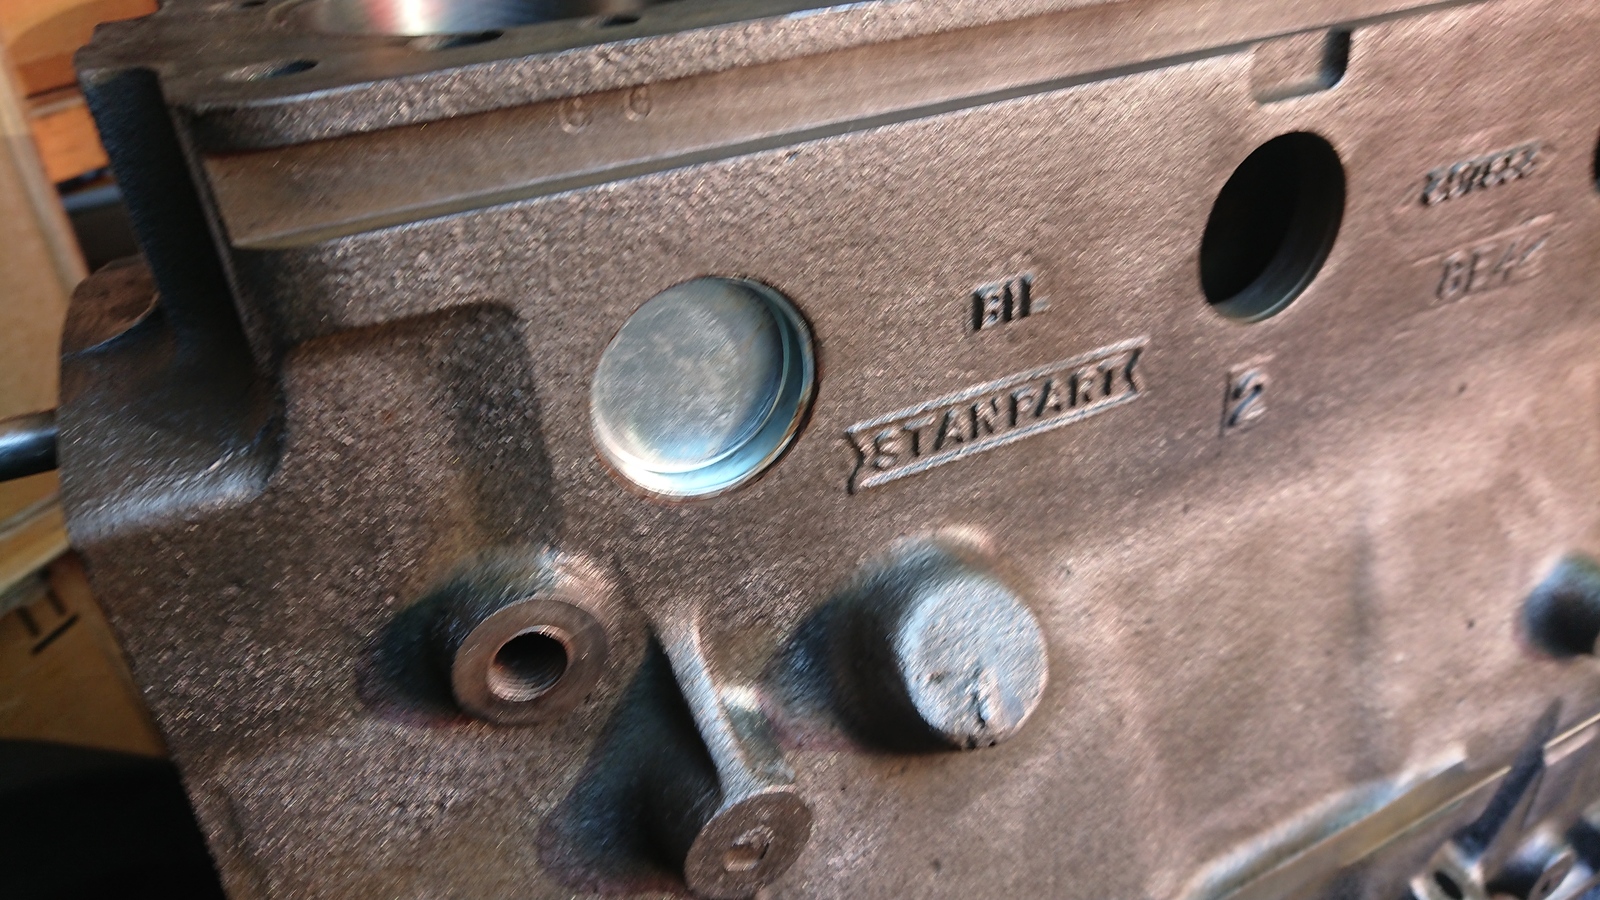
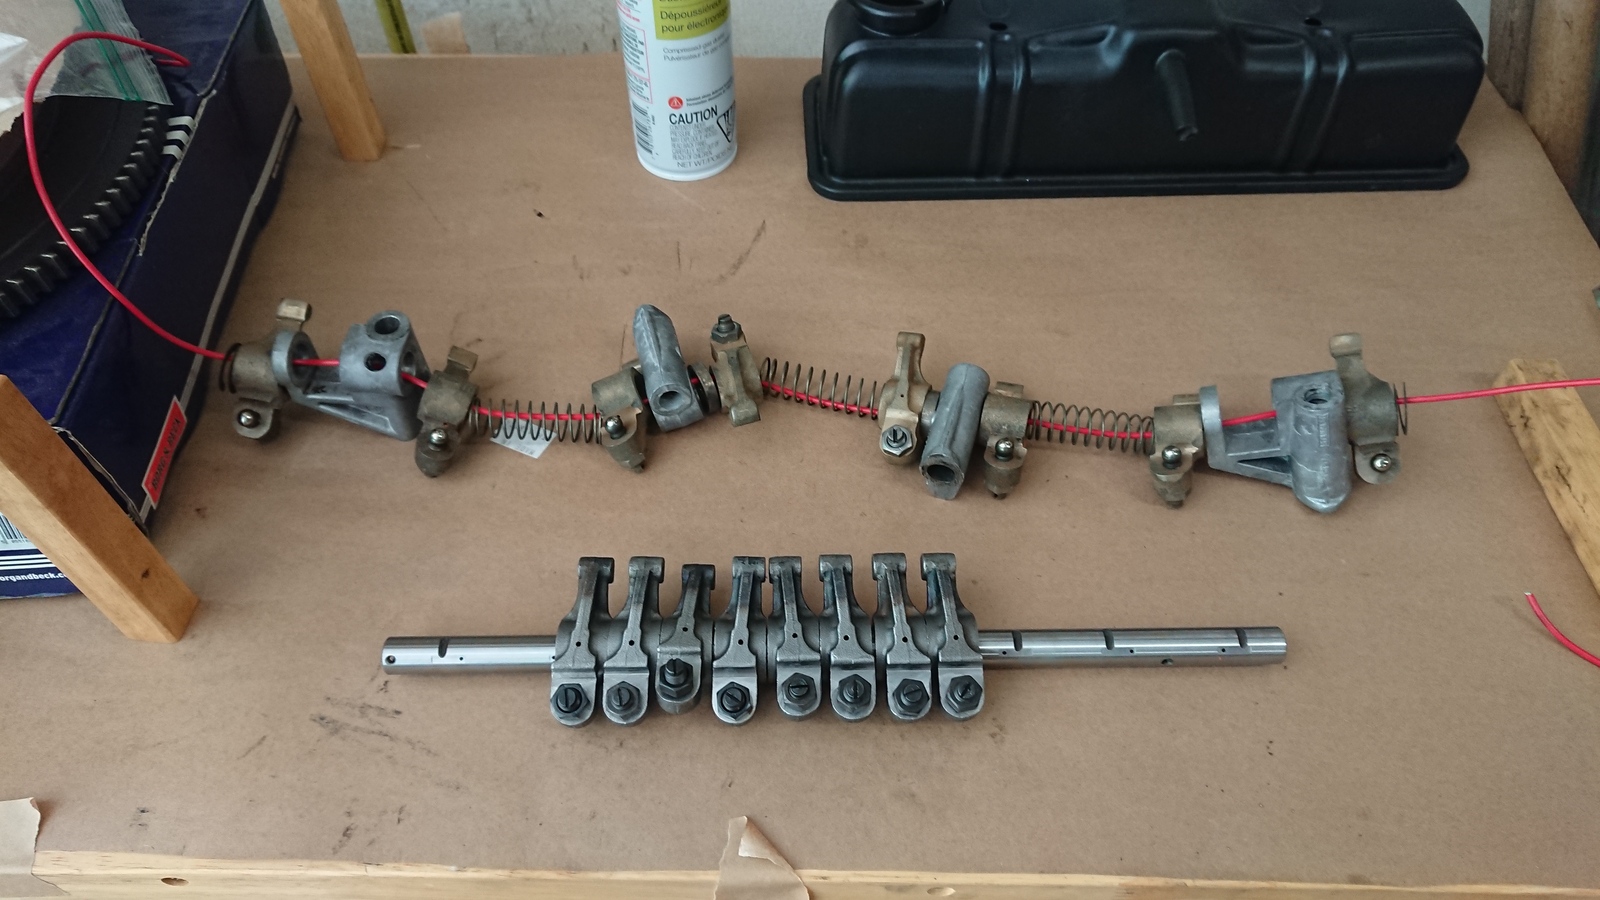
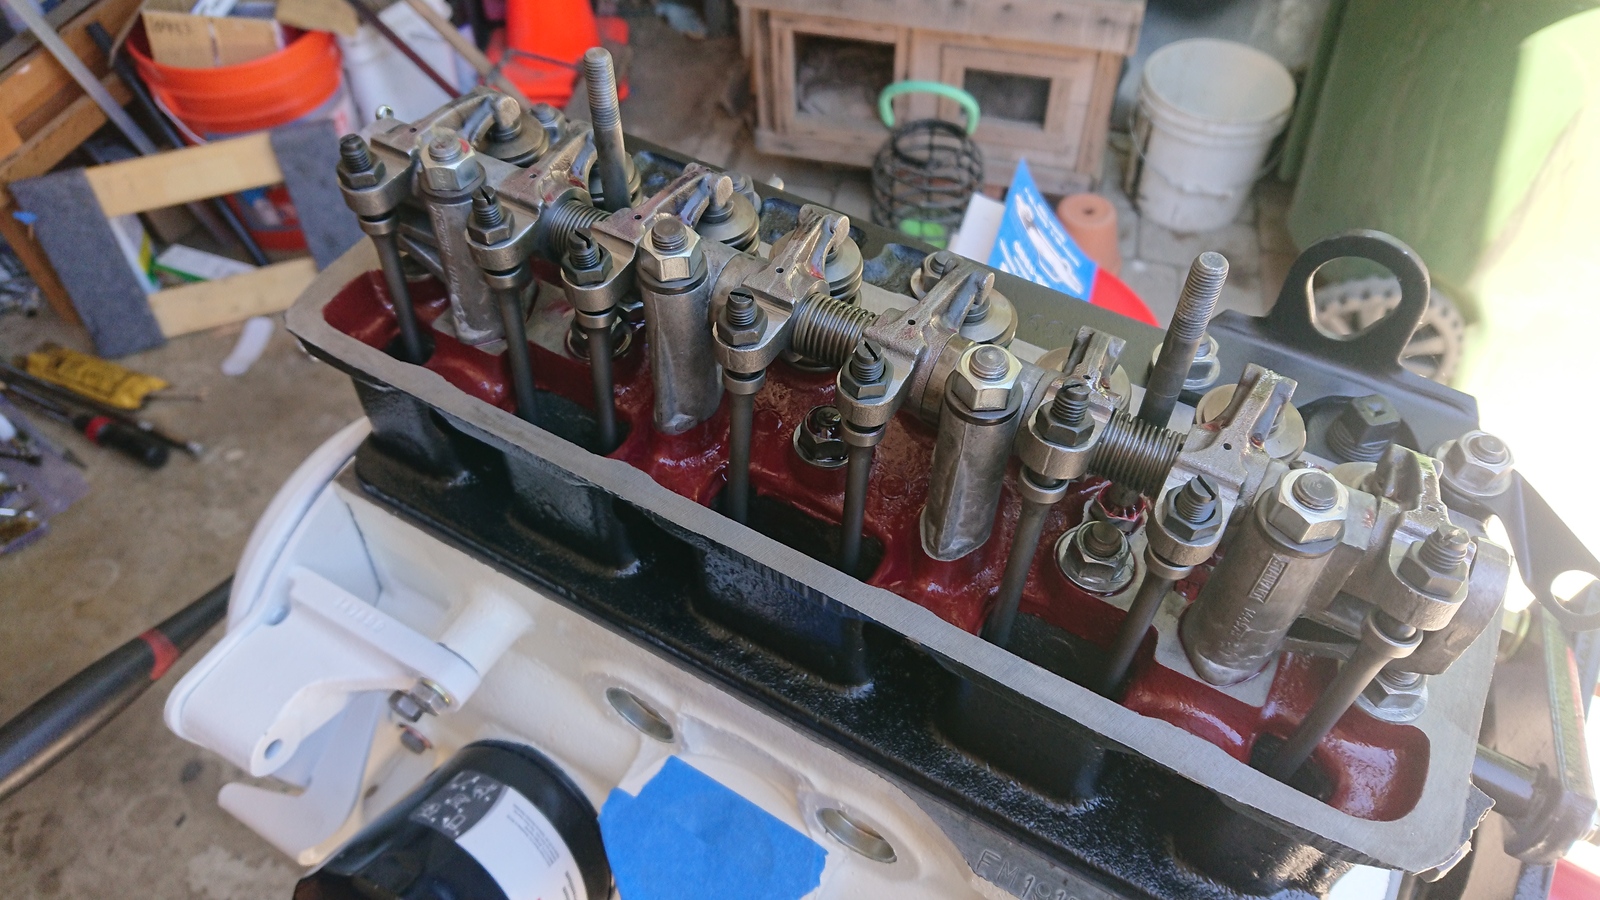
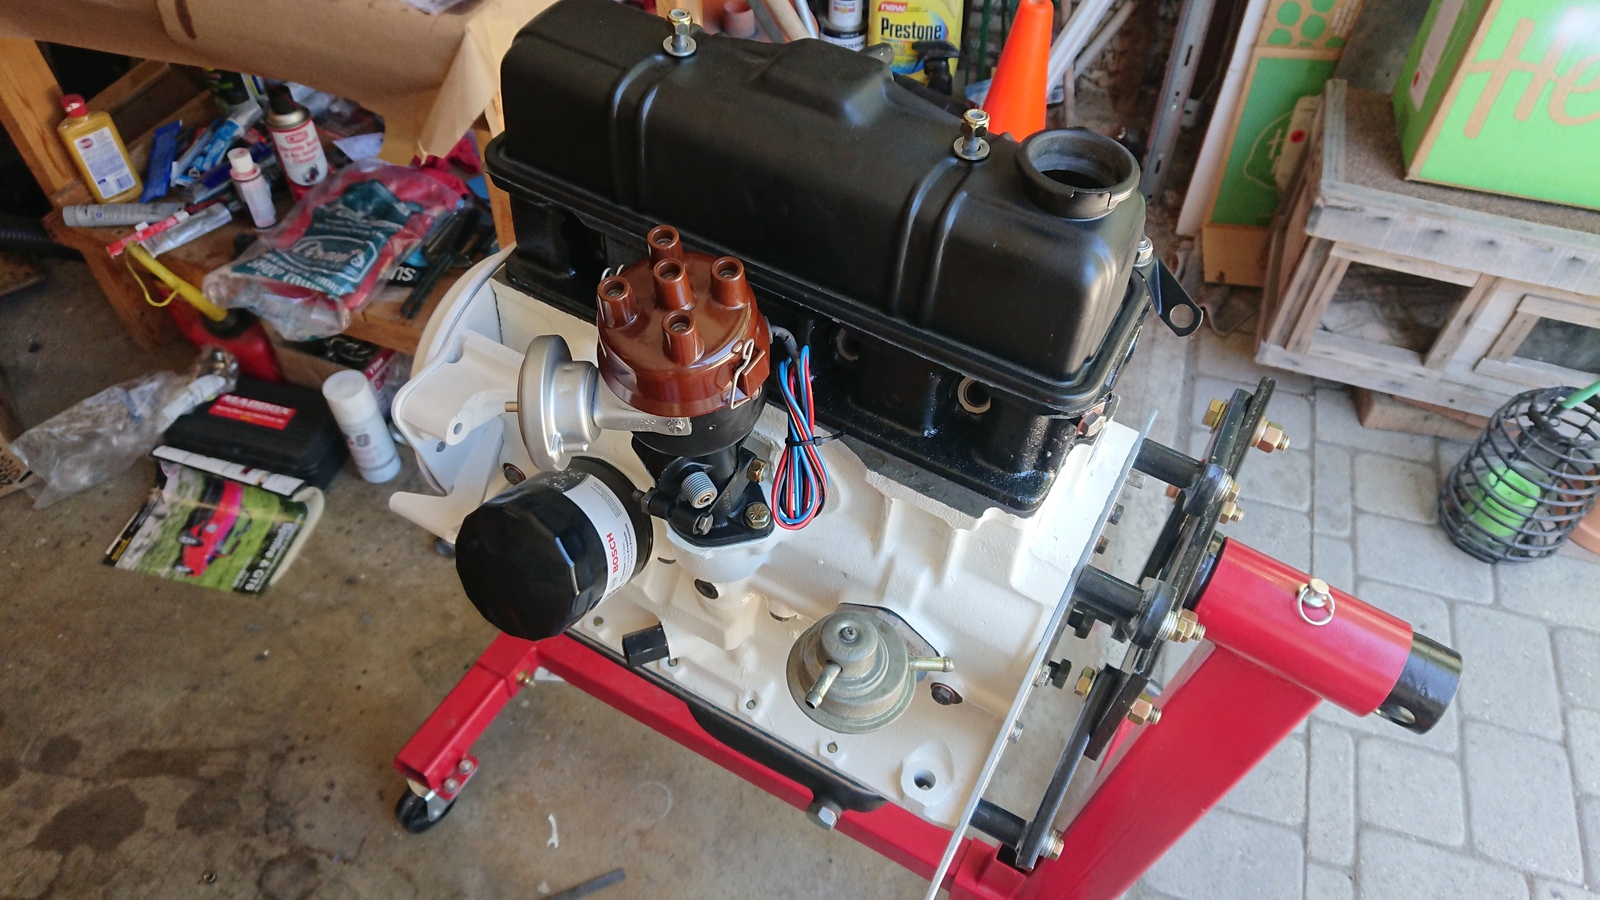
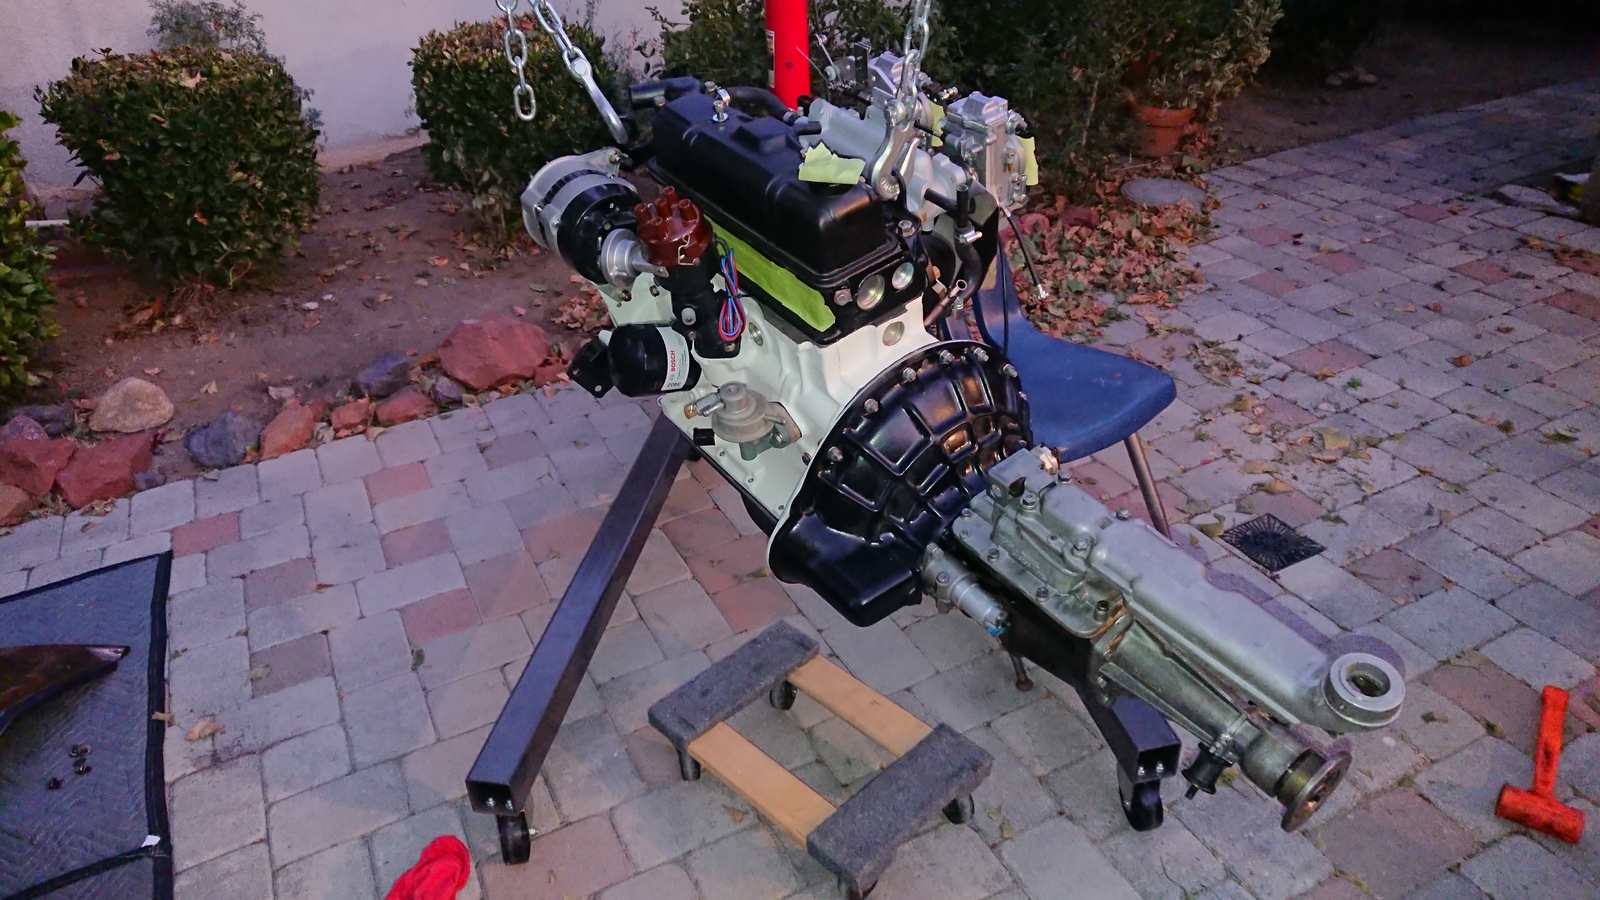
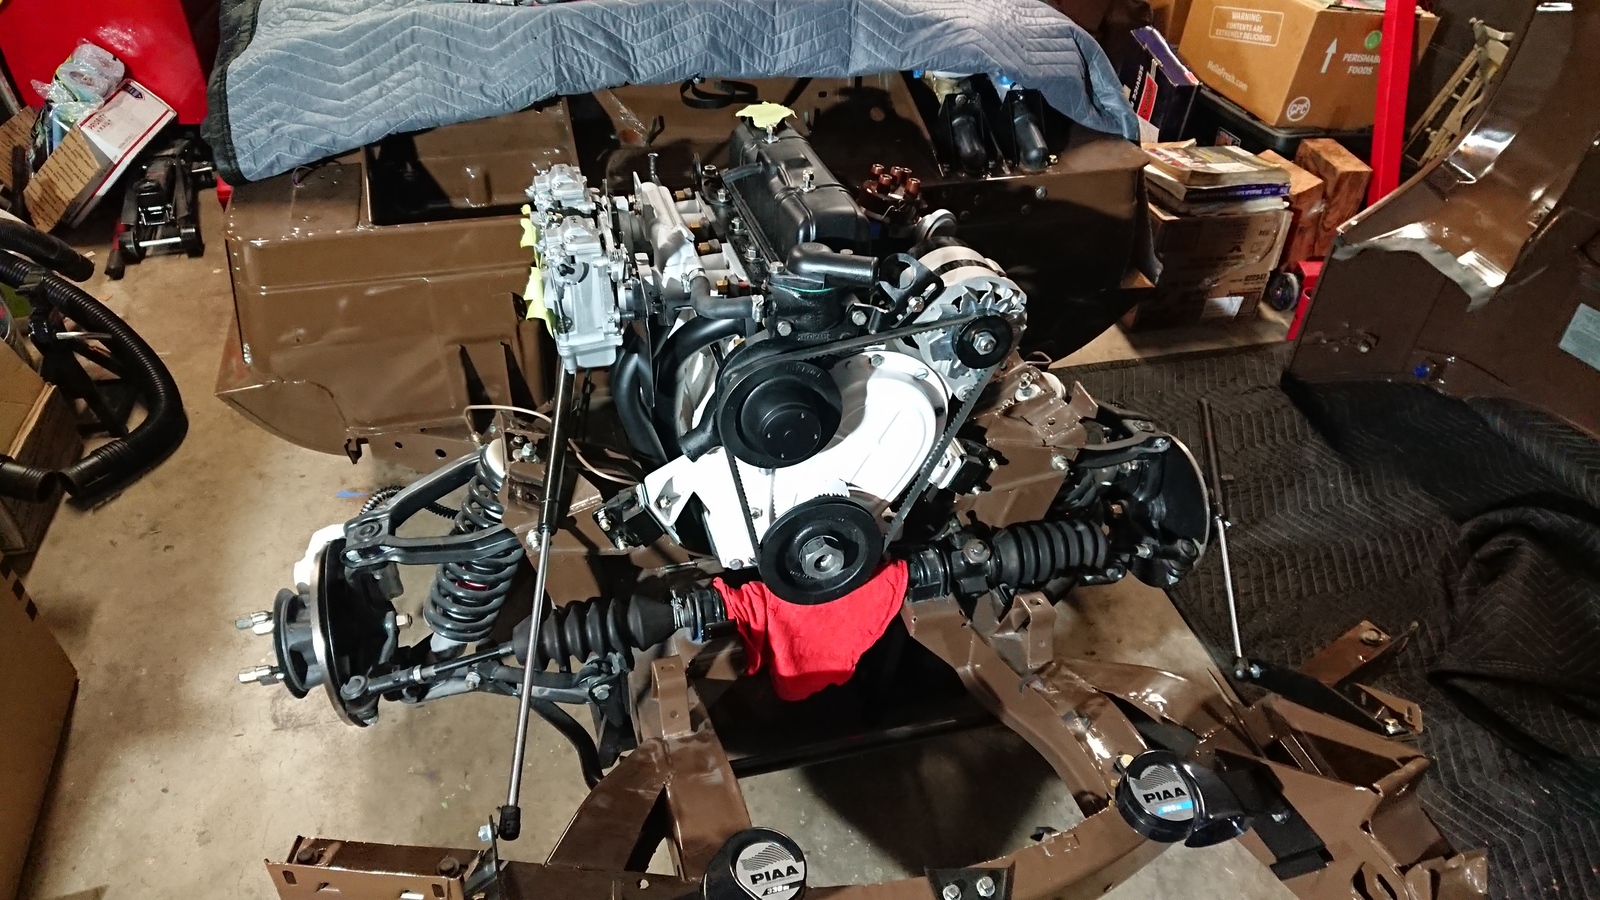
Engine
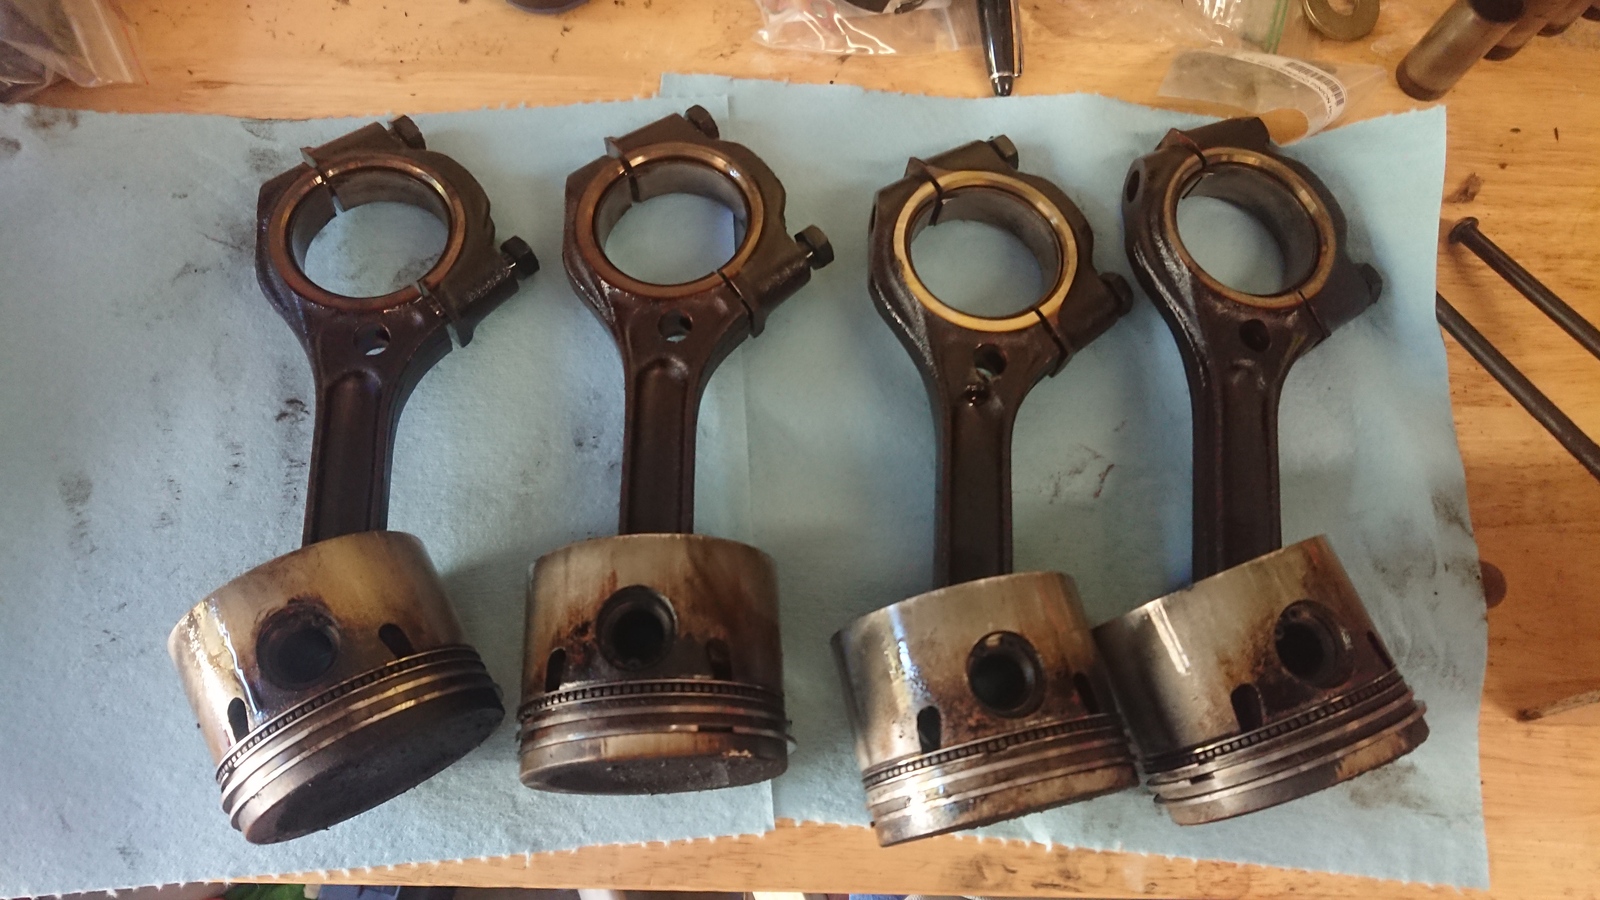
When I rebuilt the engine I wanted to add a bit more “oomph” to the car. The Spitfire was always a sporty drive thanks to its light weight, small turning radius, and reasonable handling. My goal, yet to be measured, was to get the car to around 100 BHP up from its base amount of 63. I did this with the following upgrades:
- Lightened connecting rods
- Improved oil distribution
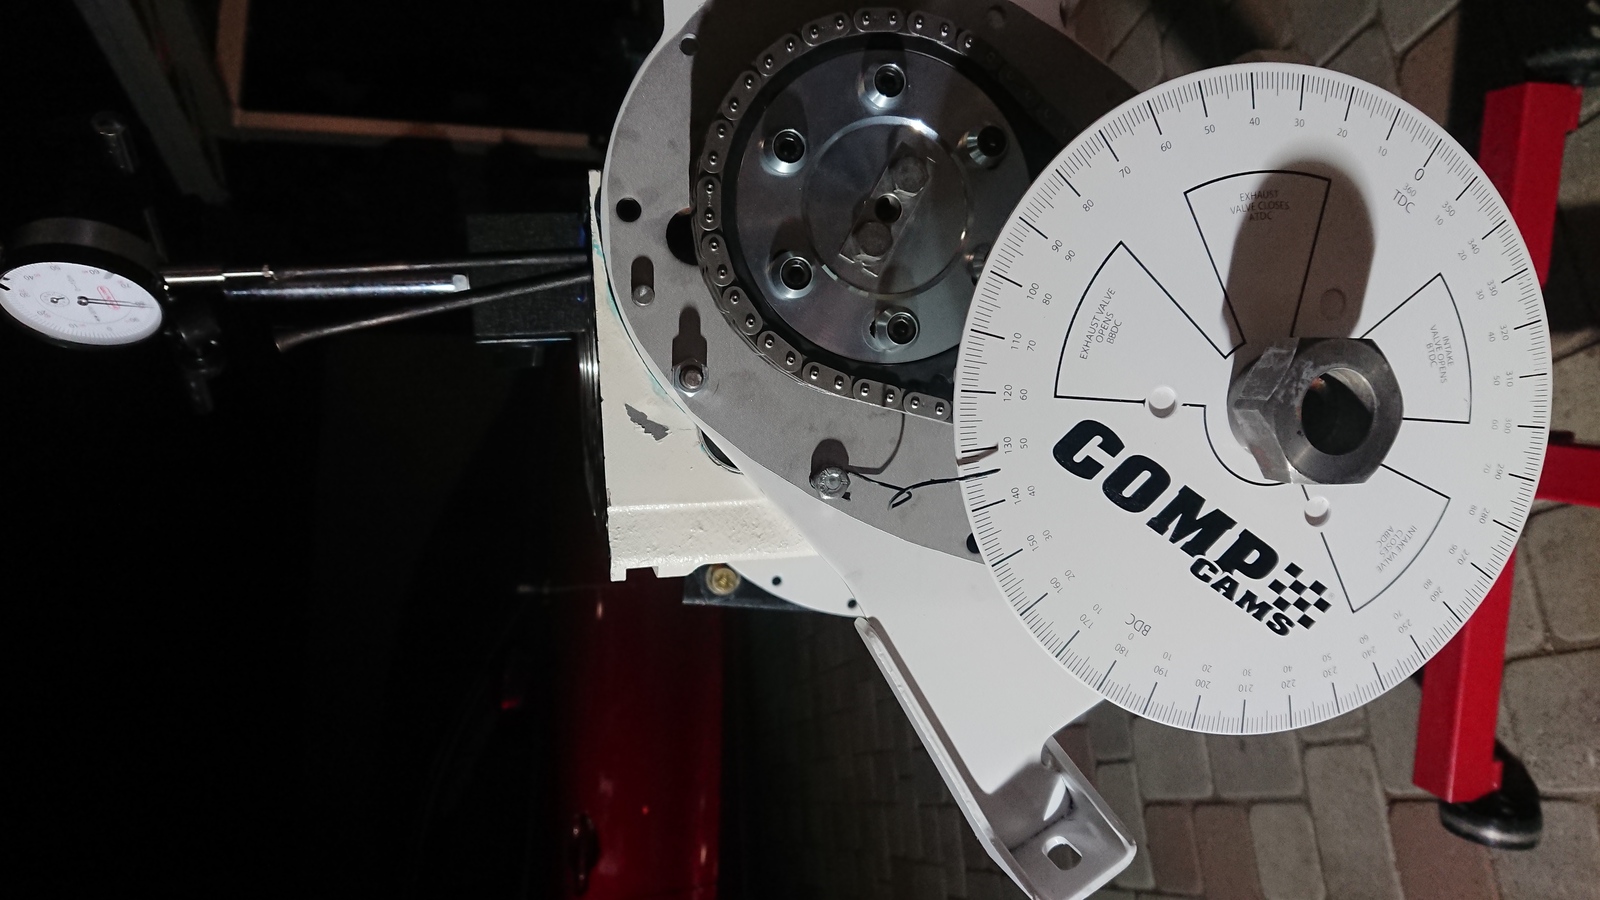
- More aggressive camshaft
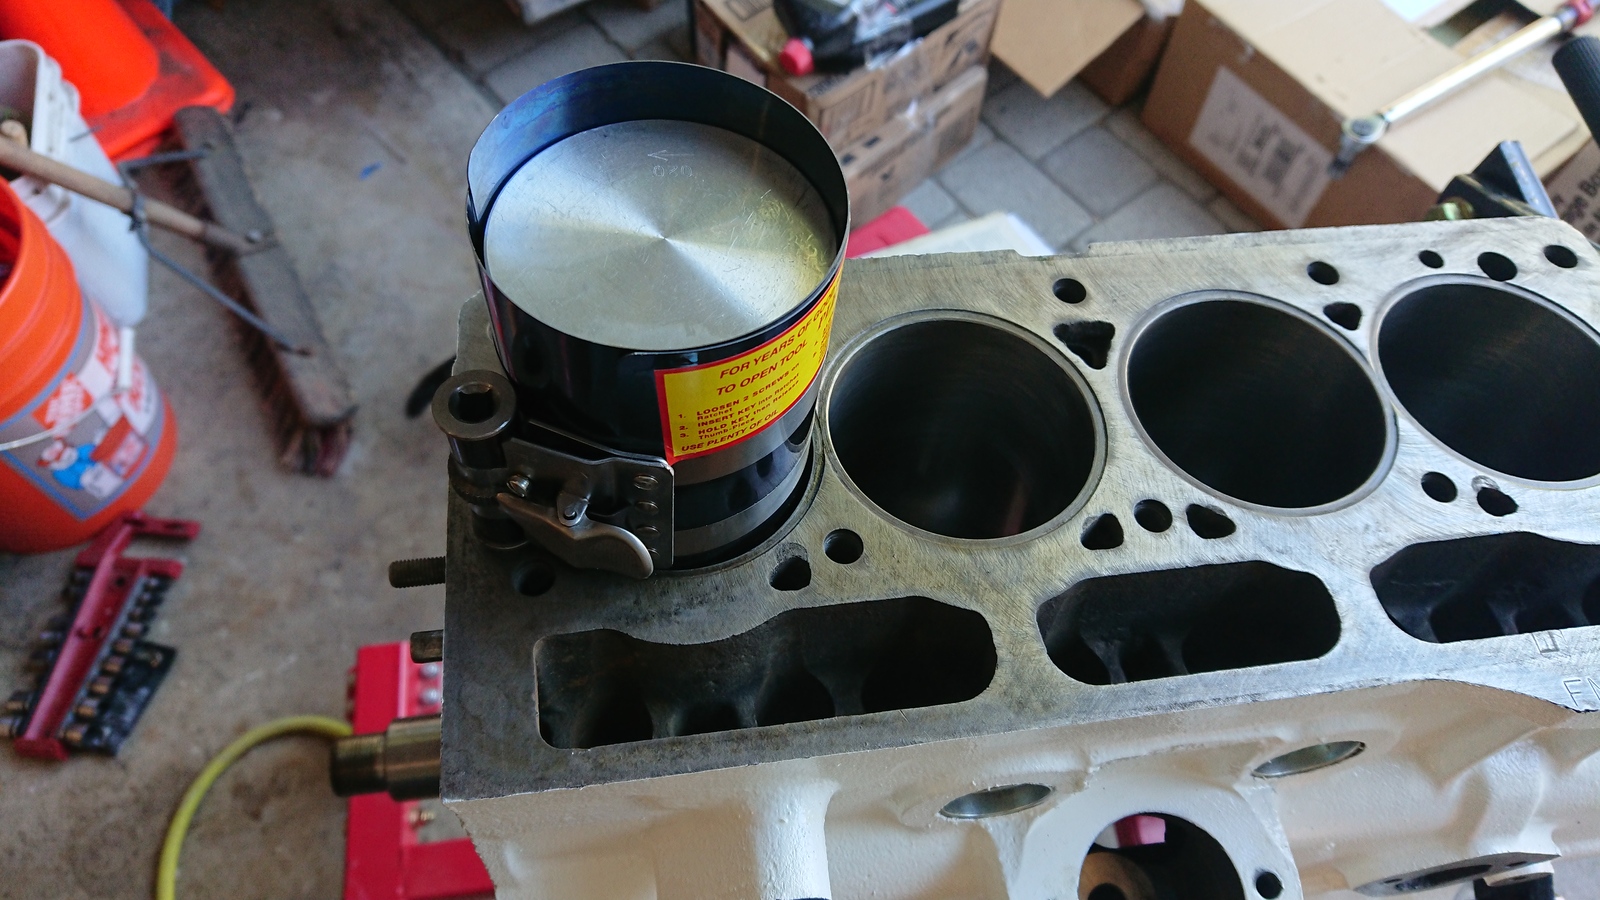
- Increased engine compression
- Improved carburetors
Carburetion is technically not part of the engine, but I will briefly mention that I went with a dual Mikuni HSR42 setup. In retrospect, I do wish I had gone with a fuel injection conversion, as I’ll take digital over mechanical computers any day.
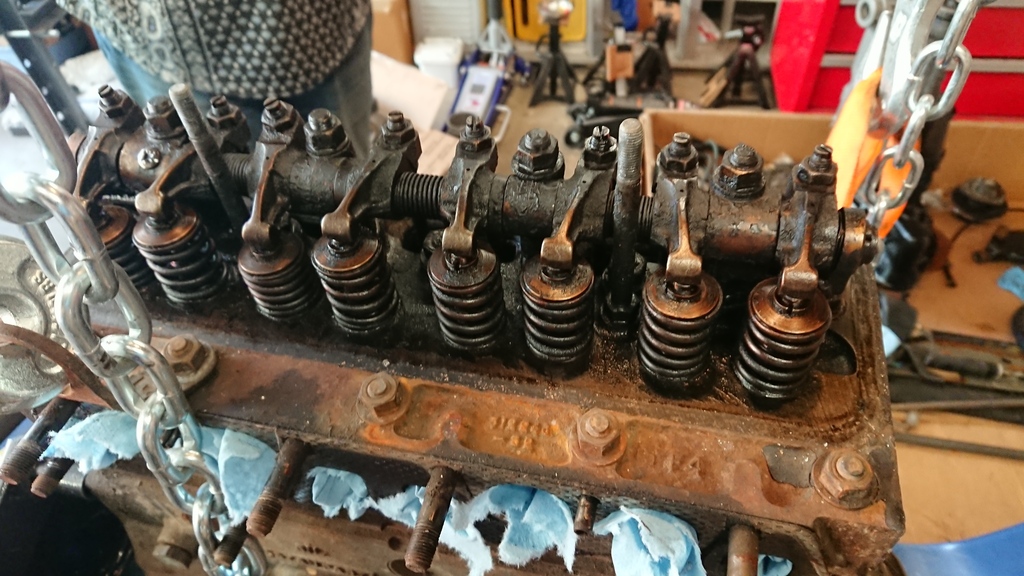
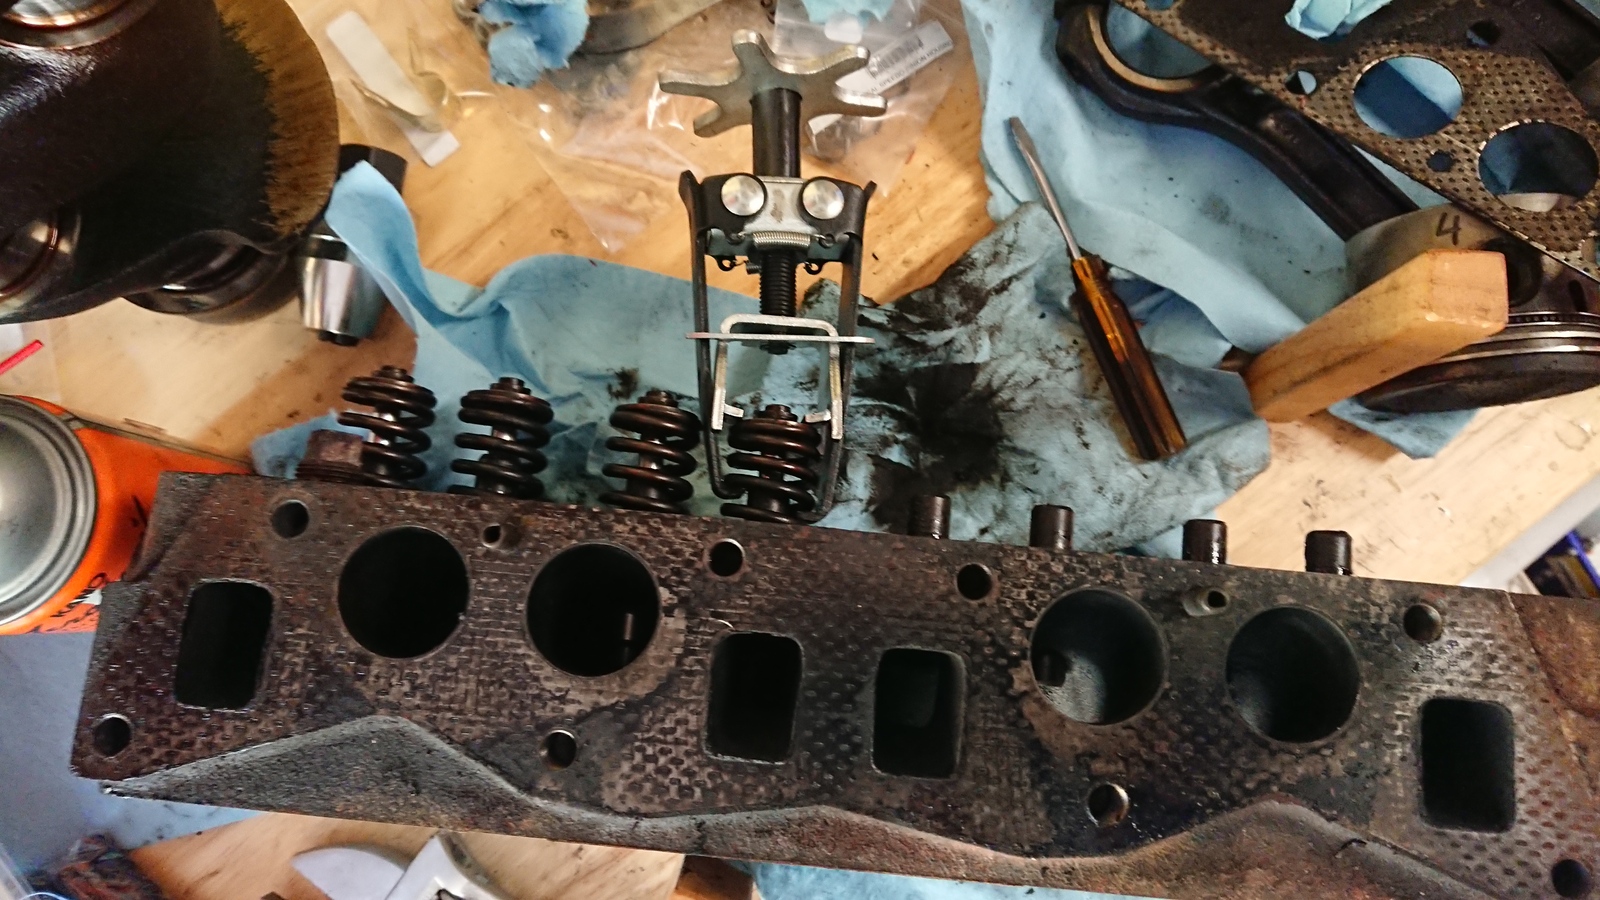
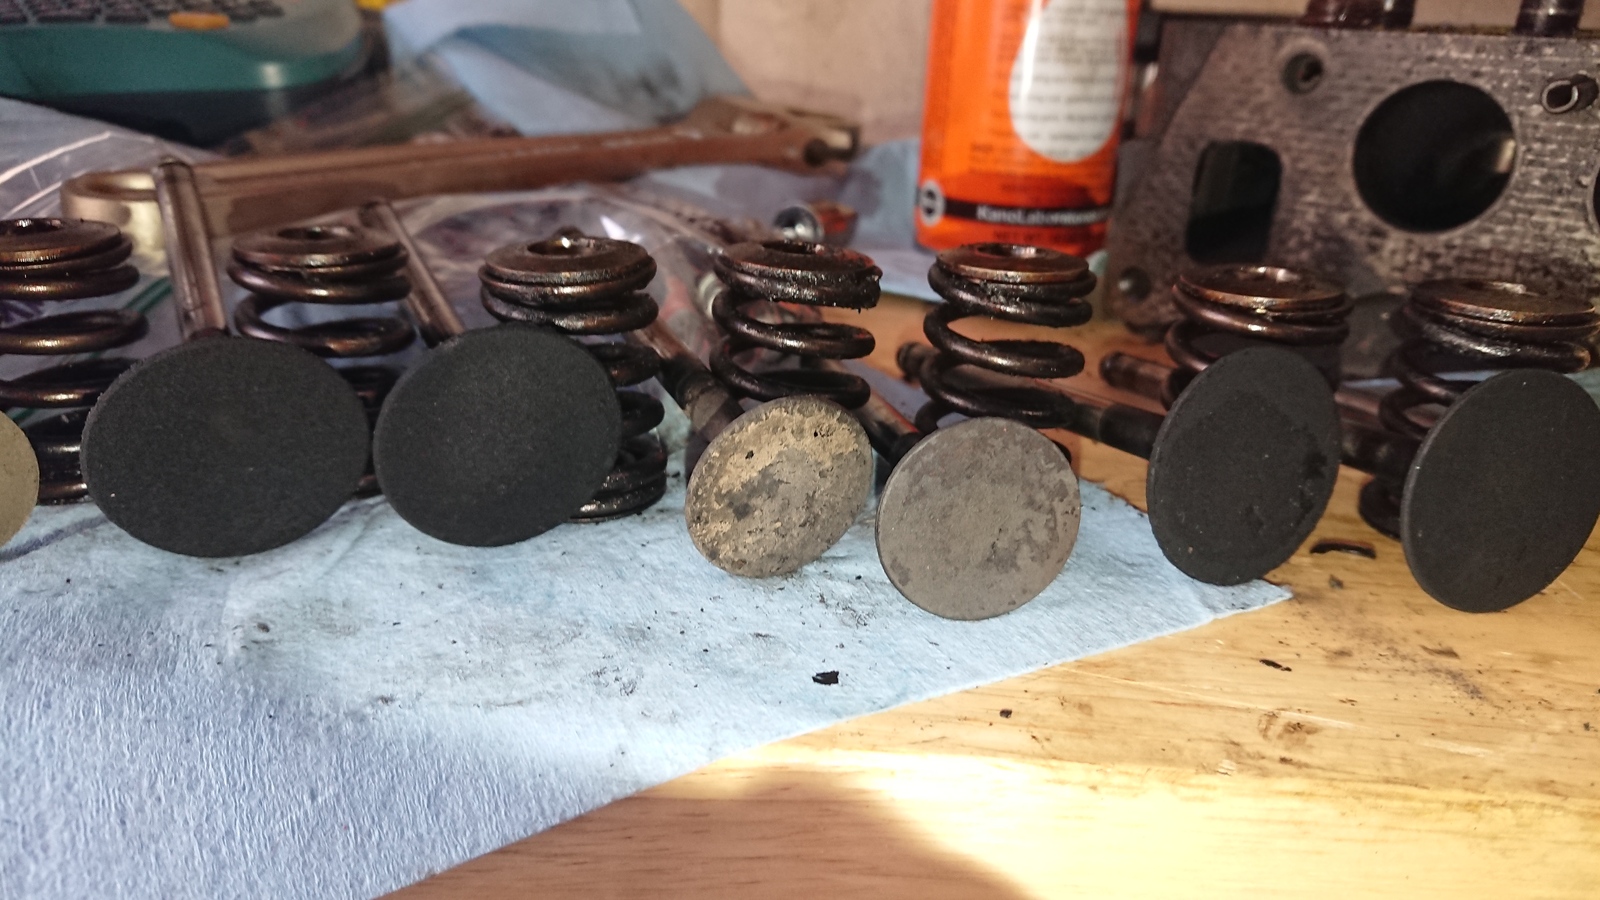
I worked with local machine shops to do the heavy lifting on the engine, including shaving the head (for increased compression), reboring the cylinders, hot tanking the engine, rebalancing, and getting a valve job. I otherwise, as usual, did all of the disassembly and reassembly myself.


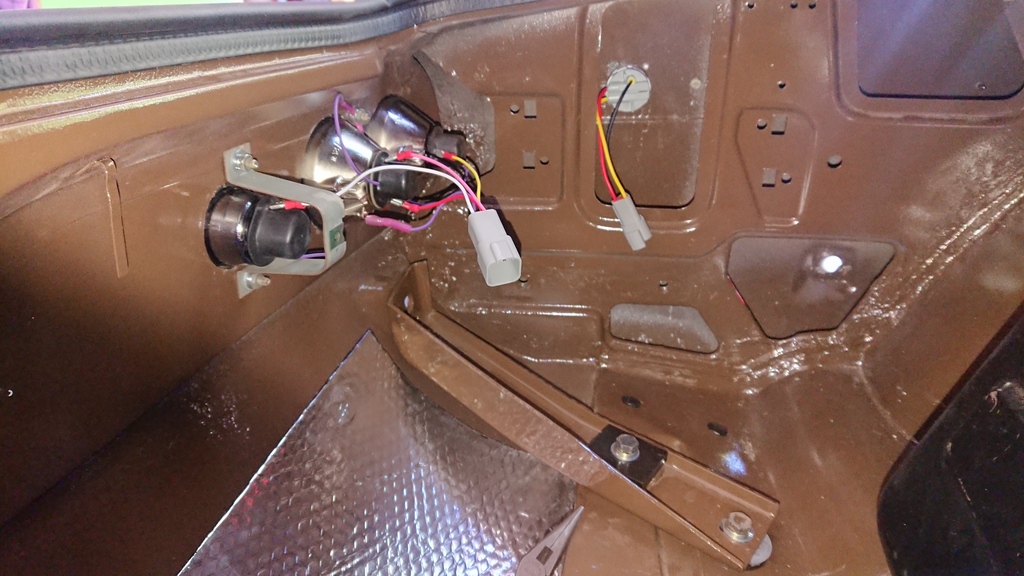
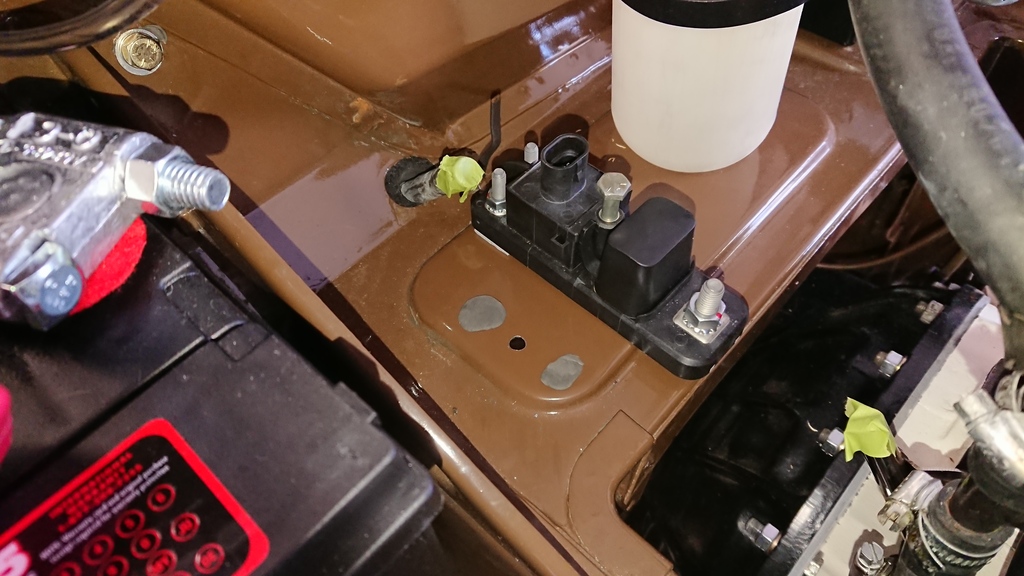
Electrical
British cars of this era were notorious for a slow but steady weep of oil and a Lucas electrical system often called the “Prince of Darkness.” Three fuses should be enough for a car, shouldn’t they?
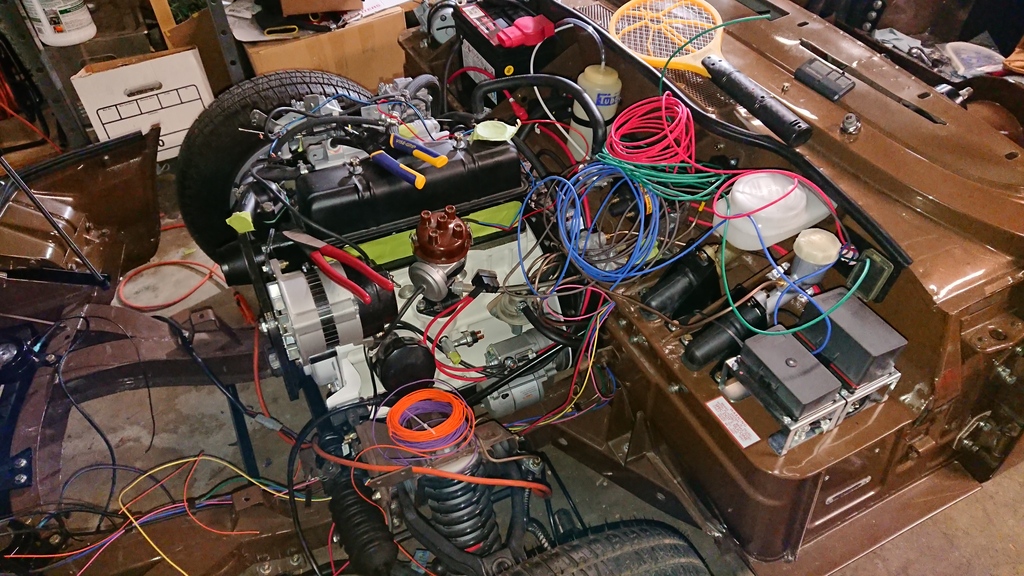
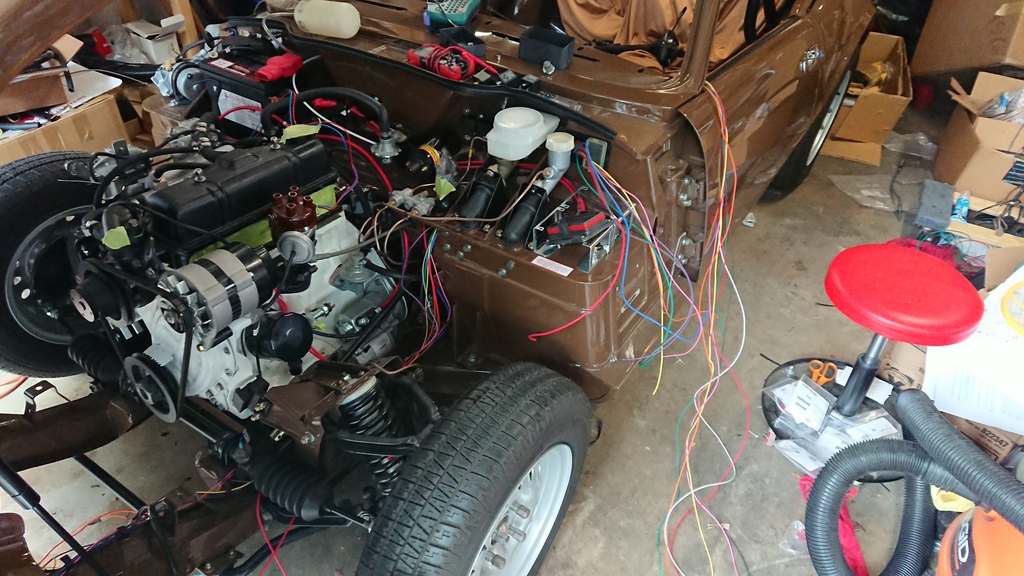
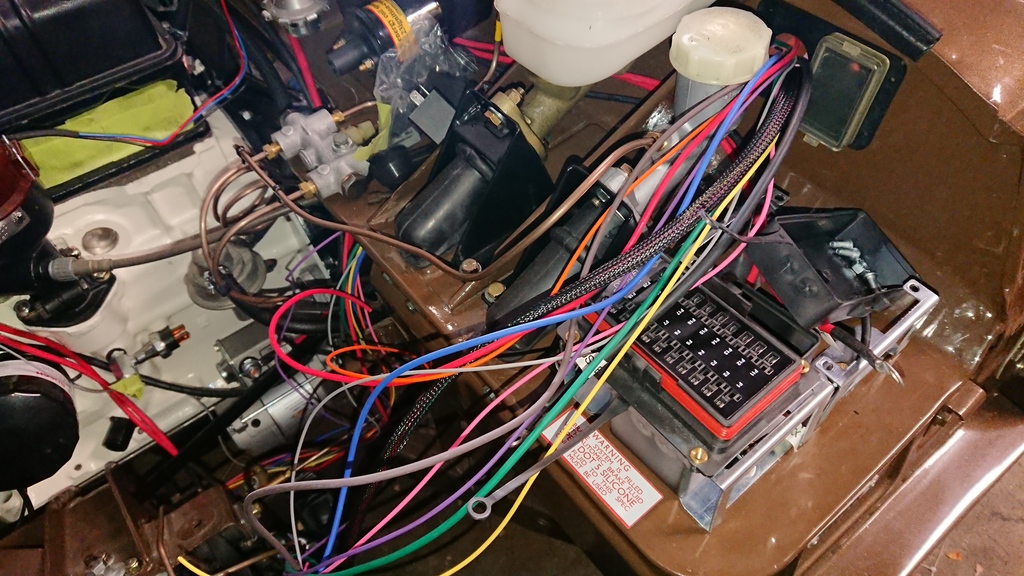
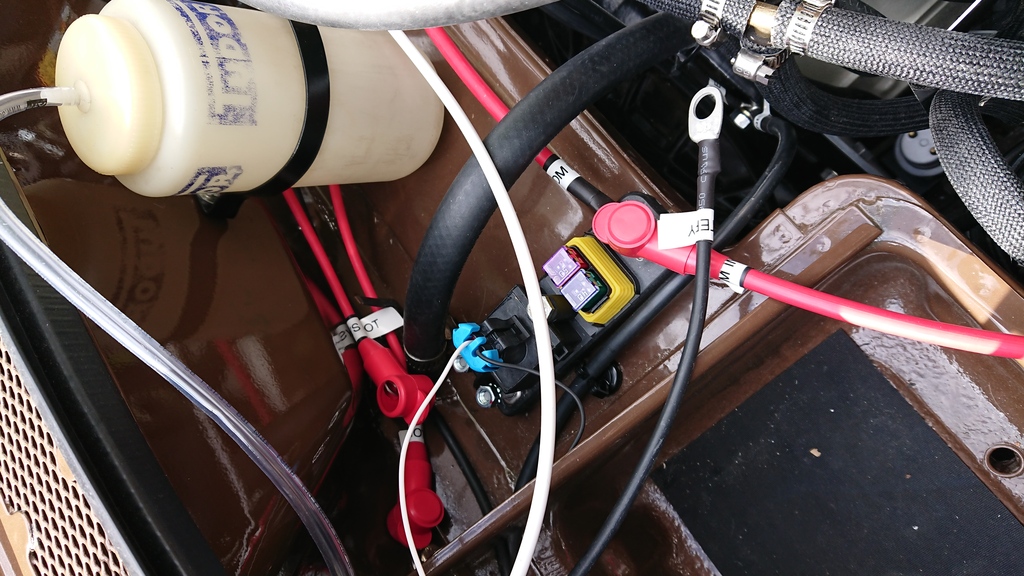
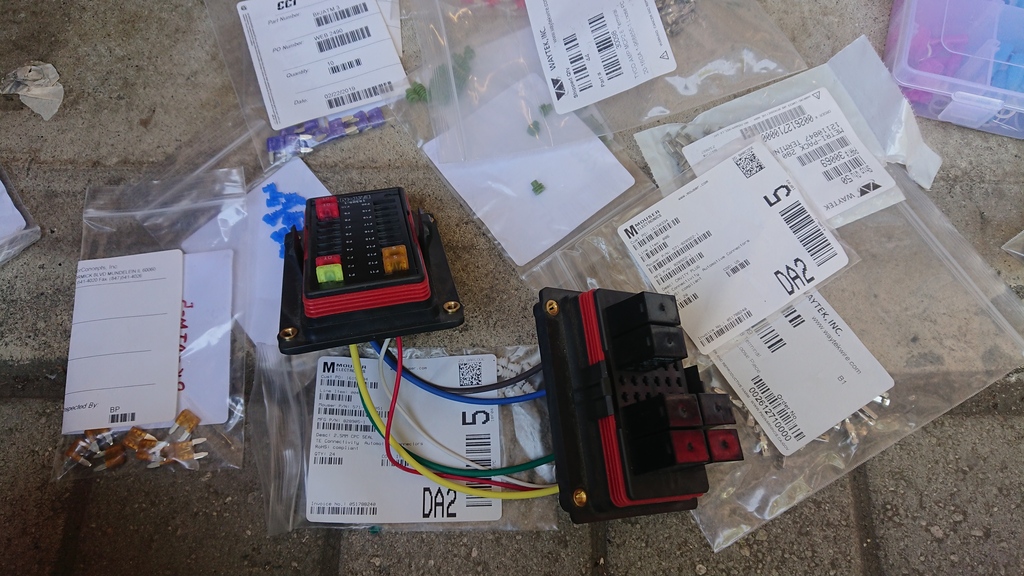
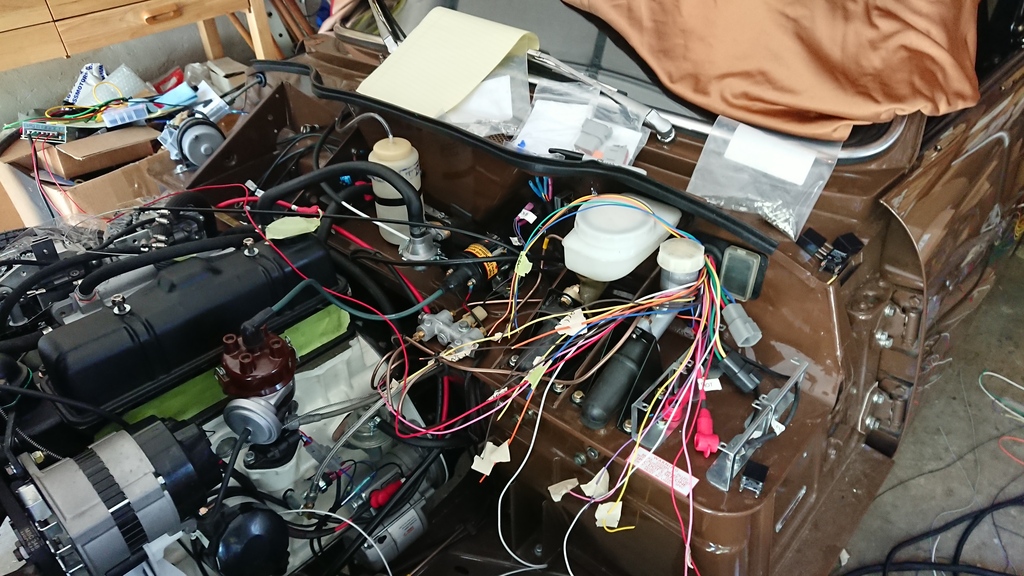
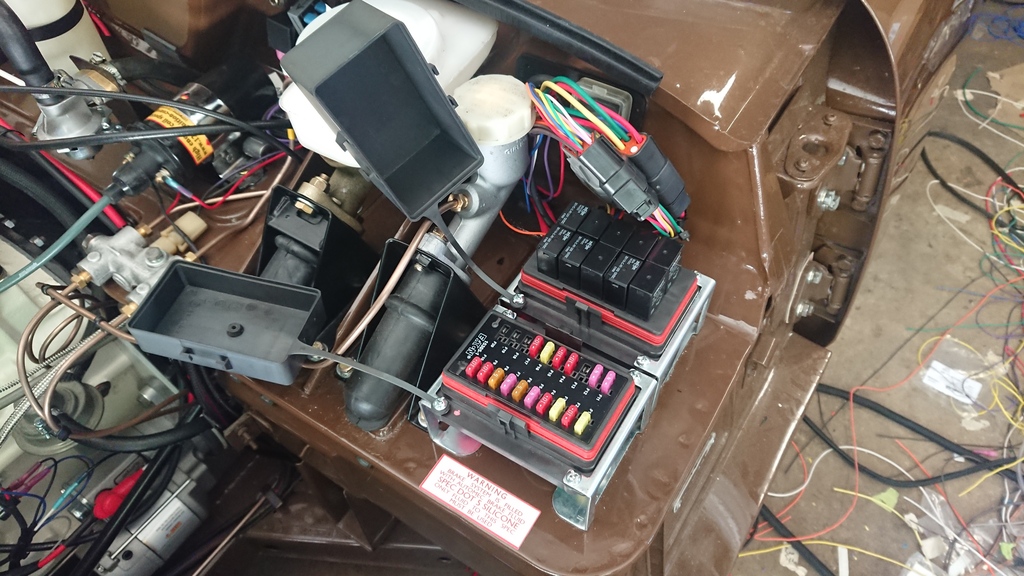
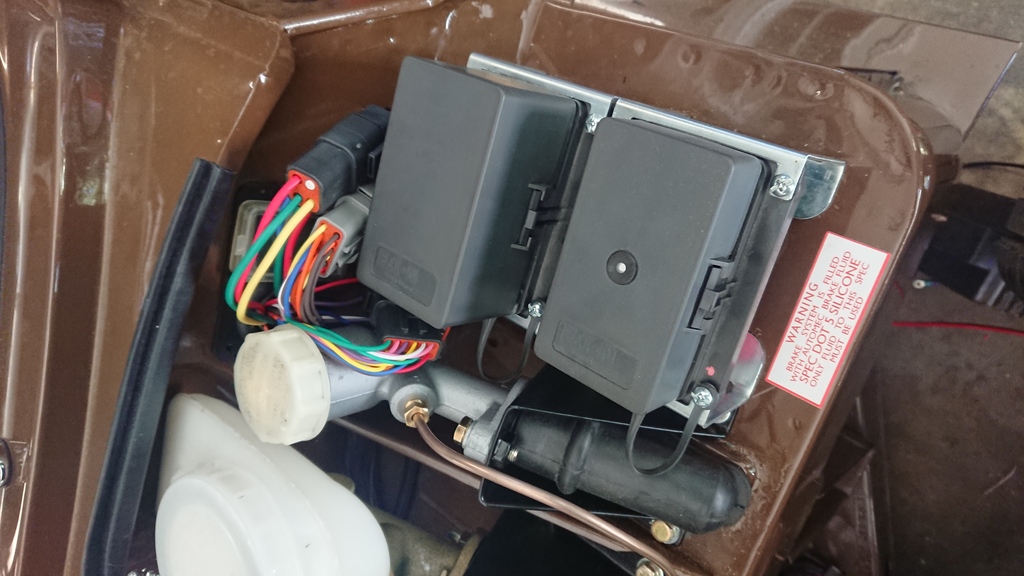
Instead of perpetuating the idea of always getting home before dark, I set out to completely redesign the wiring system. I would use a modern fusebox, connectors, and a bank of relays to keep electrical systems isolated and currents low, where possible. I added ground wiring to the car instead of relying purely on the conductance of the frame, which was a notorious source of flickering lights.
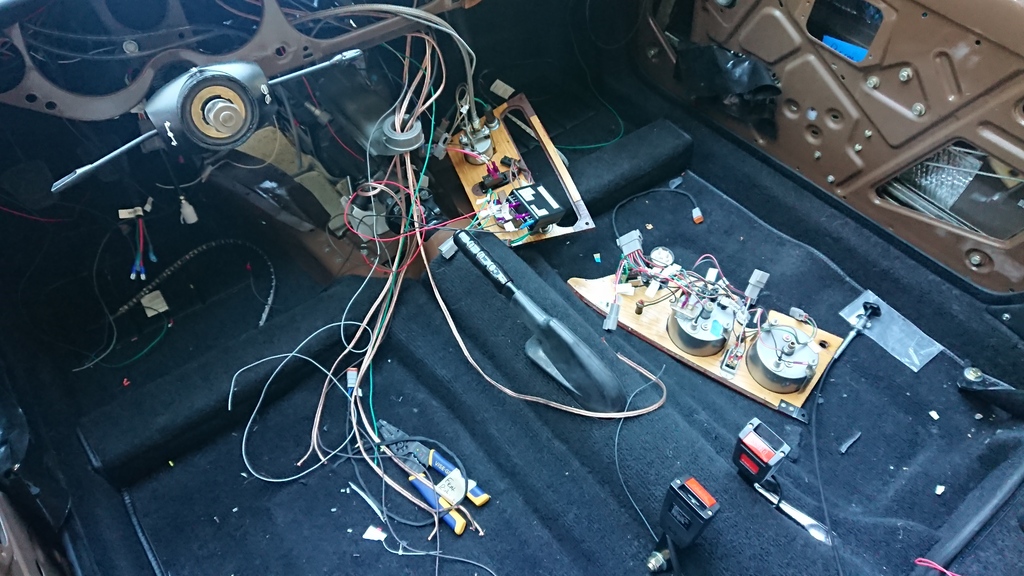
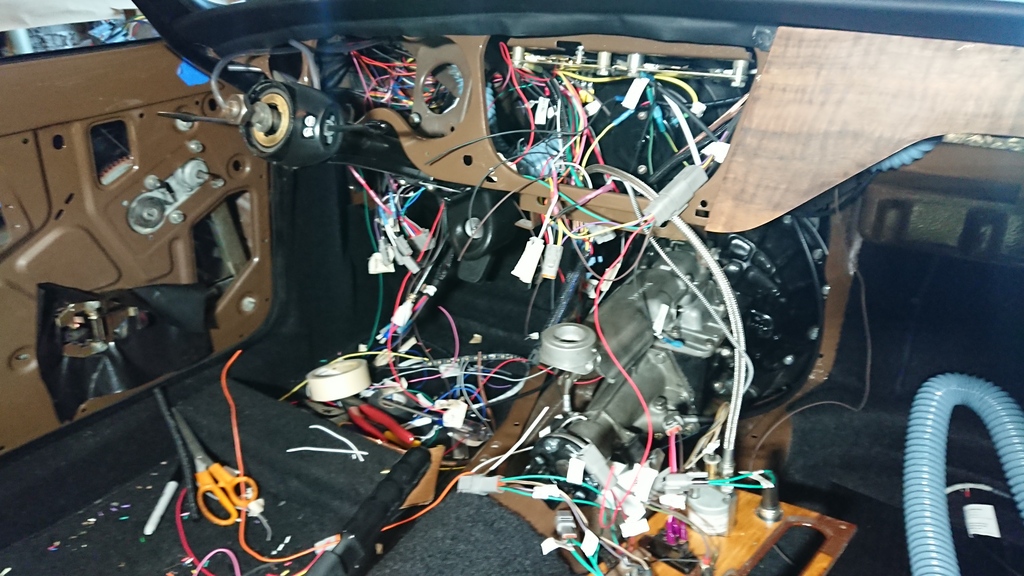
This was one of the last things I did in the car and one of the largest projects, with a large amount of time devoted to trying to keep things tidy. It certainly looked like madness in the interim.
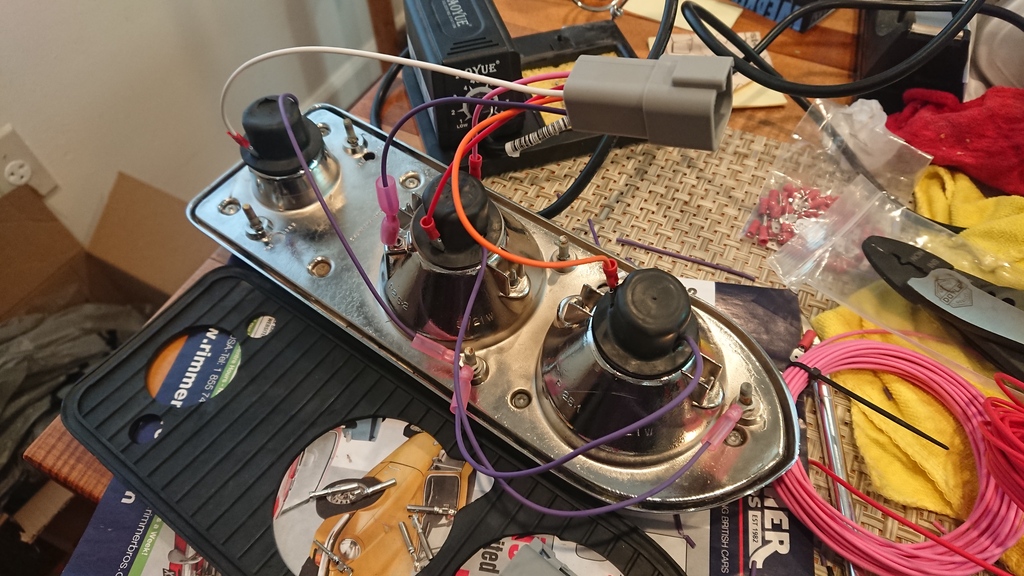

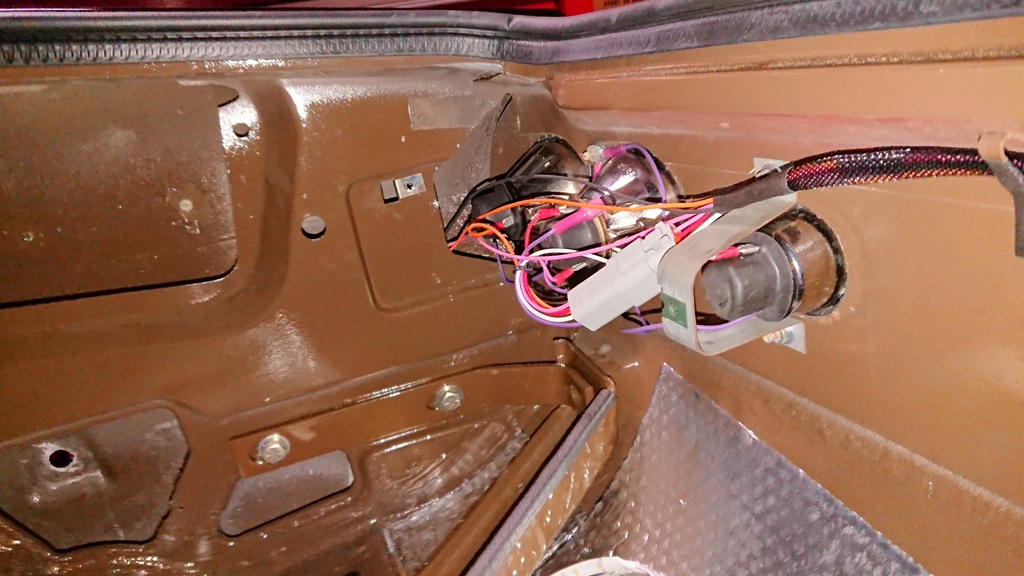
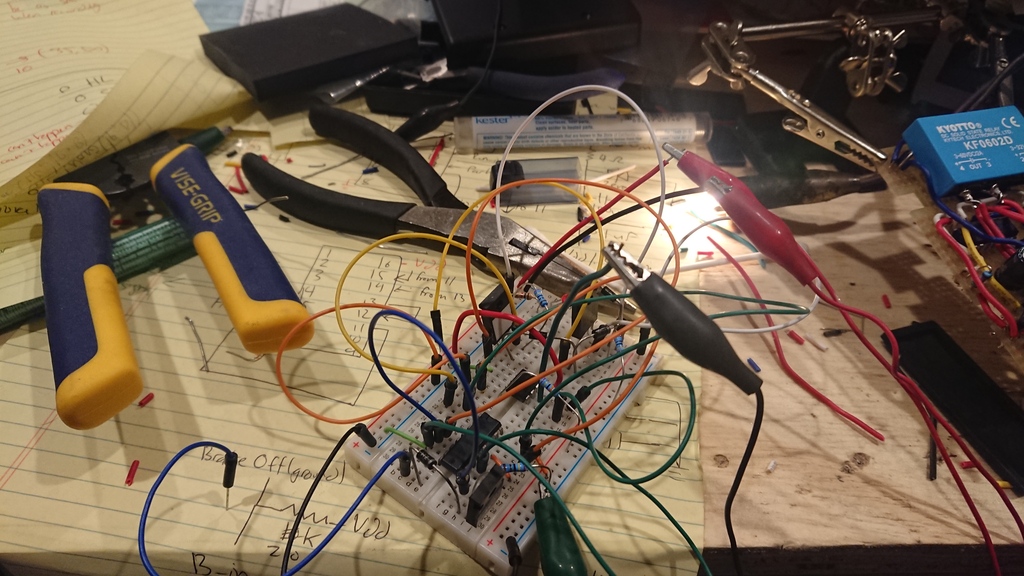
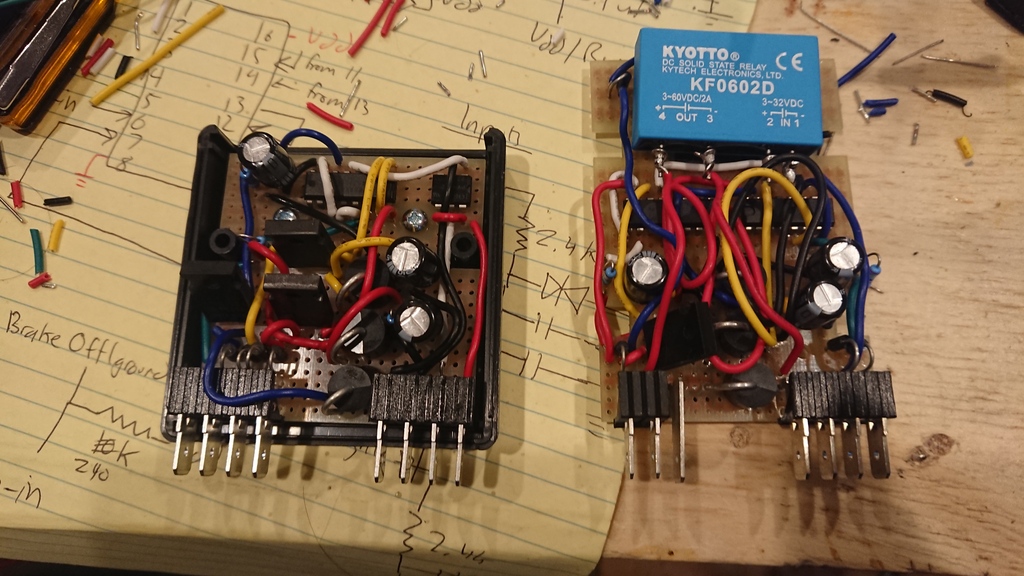
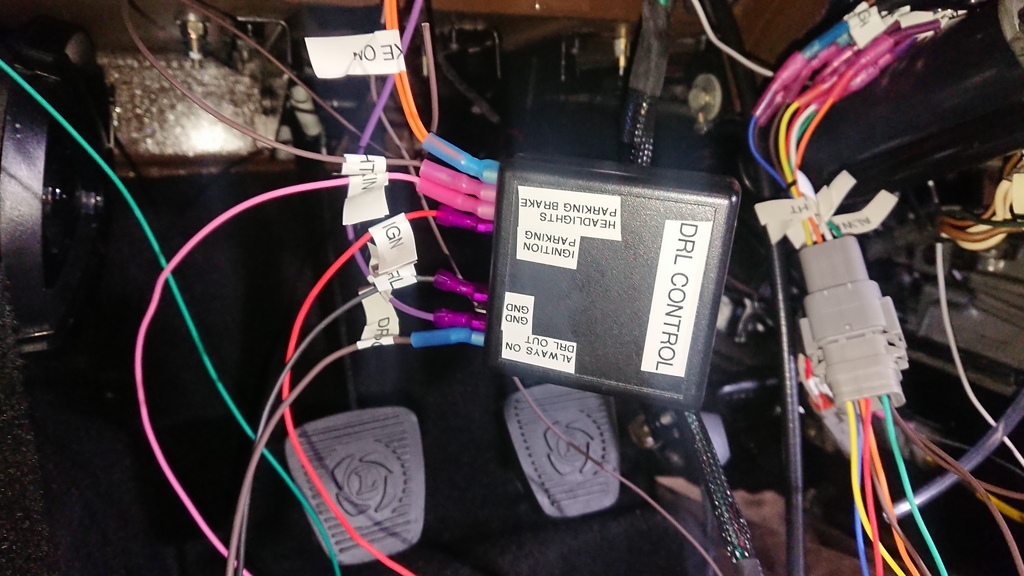
I wanted to have daytime-running-lights in the car, which are lights that are “always on” when the ignition is on, the handbrake is off, and the headlights are off. I created a simple circuit to compute this logic and tolerate the surge of current that can happen when the starter motor is first engaging.
Much More
There were so many other things required to rebuild the car that I haven’t documented here. Some of them can be seen on my posts on the Triumph Experience, and also in the full gallery of images, available here, using “triumph” for access.
Some other cool things I did, worth calling out:
- Installing a new interior and soft-top
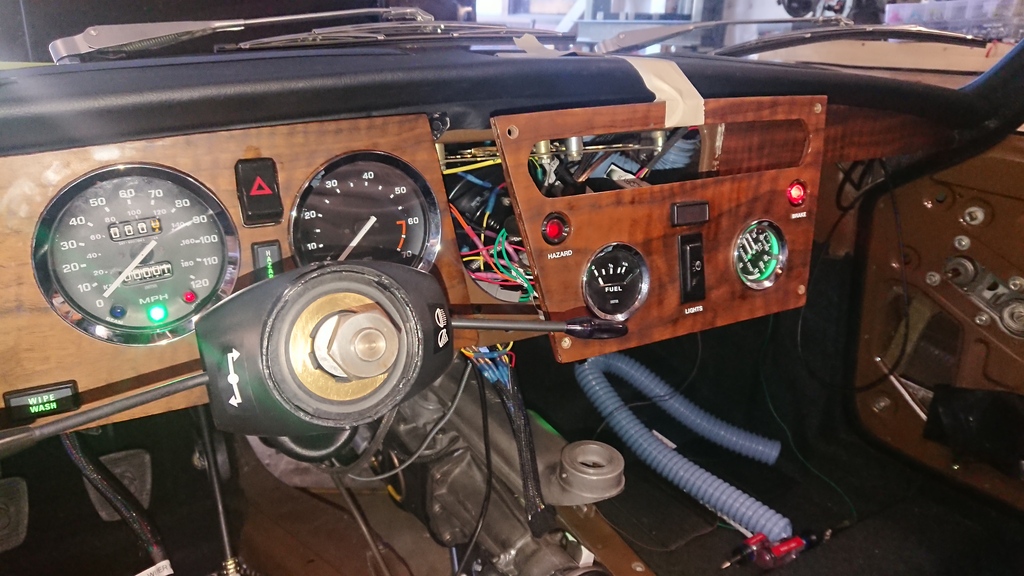
- Resurfacing and laminating the dashboard
- Tuning advance curves for a 123 ignition system
- Converting to LED lighting
- Rebuilding the brake system including running new brake lines
- Rebuilding the heater, including the commutator for the blower motor
- Countless other projects